Saturday, August 10, 2013

EEC Wiring Harness

This weekend was the first real work on the car in almost a month! We dropped my oldest daughter off at college on Wednesday, Band Camp is done, the other two are now in school and surprisingly, we had nothing on the calendar for today (other than a much needed haircut for me).

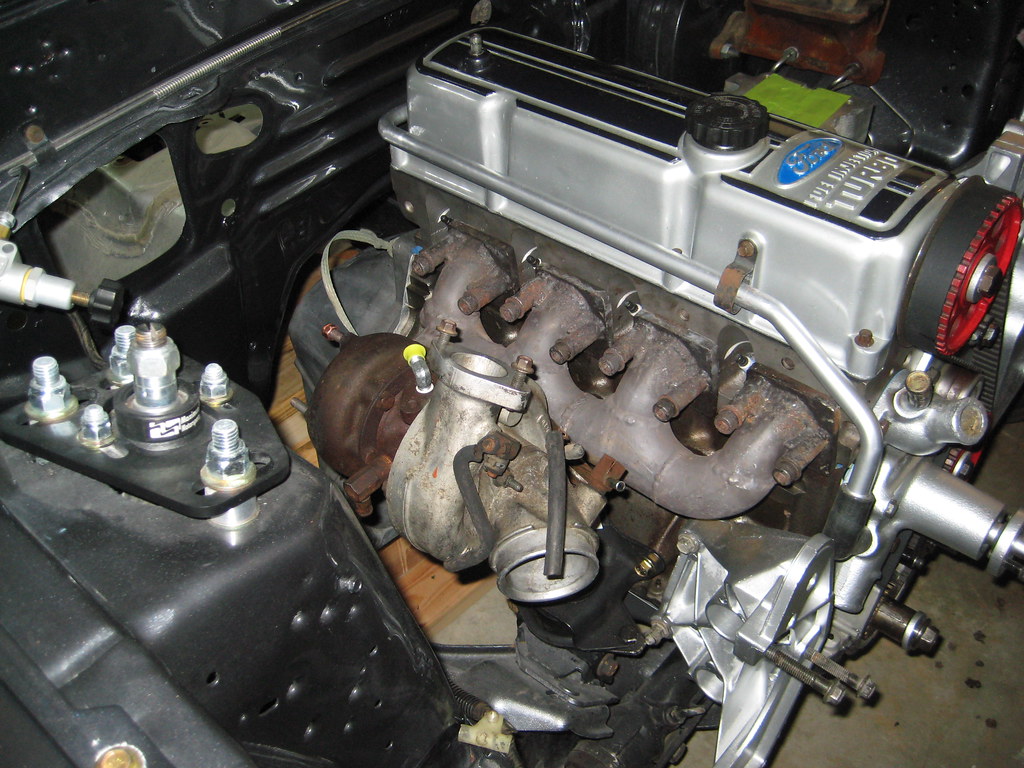
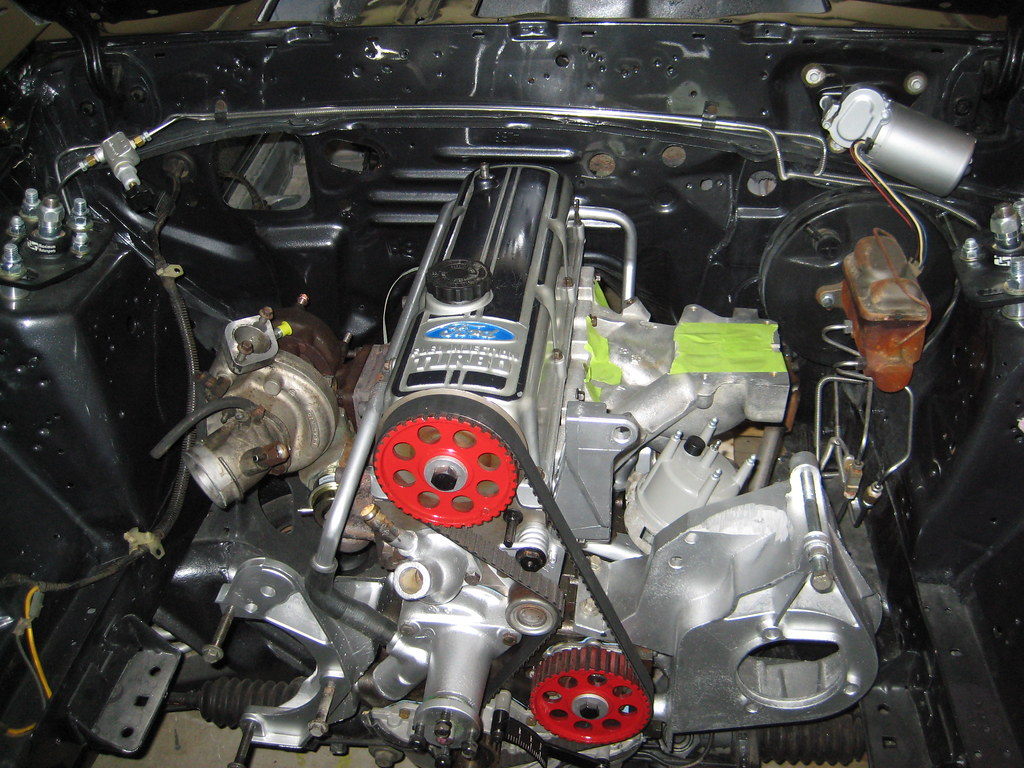
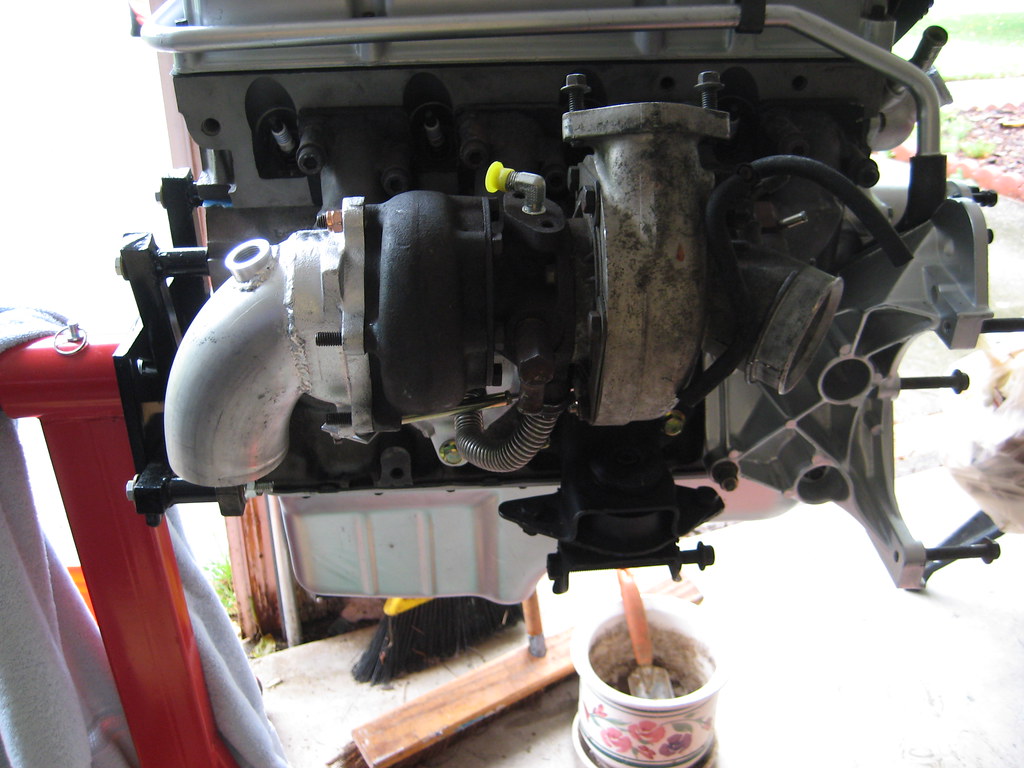
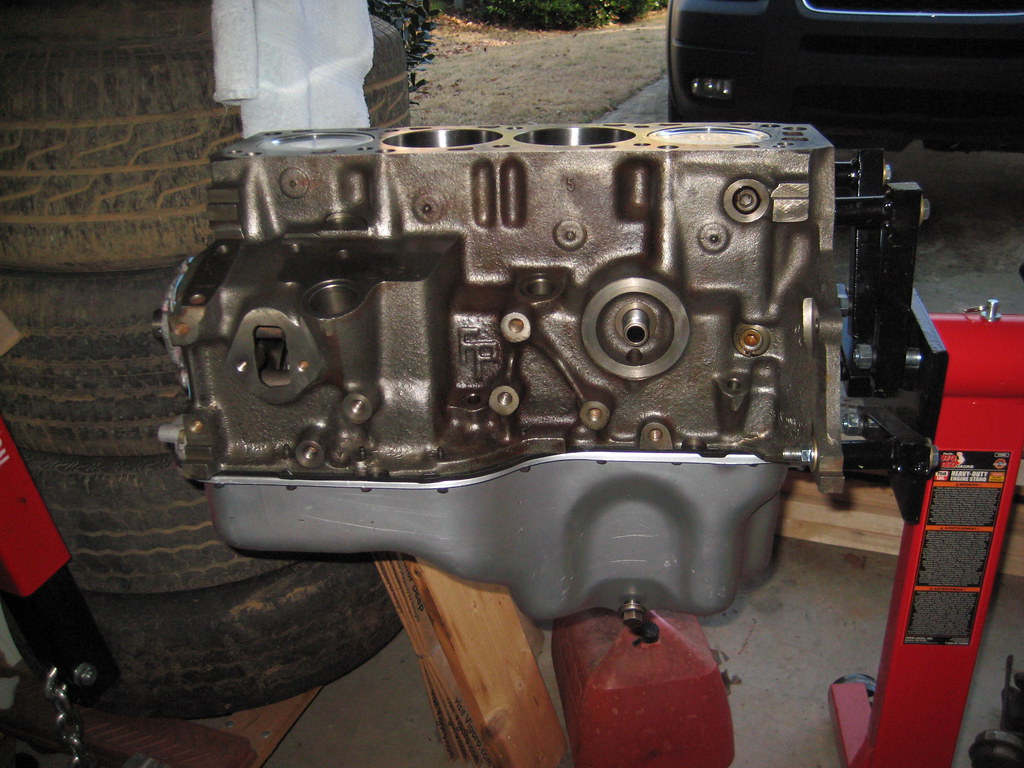
So I installed a few things on the engine (tensioners, upper intake, oil dipstick etc.) then started on the EEC wiring harness. I was originally going to use the 89 xr4ti harness I got with the third motor, but there turned out to be enough differences that I decided to use it as parts for the 84 or 85 harness I got off eBay years ago.

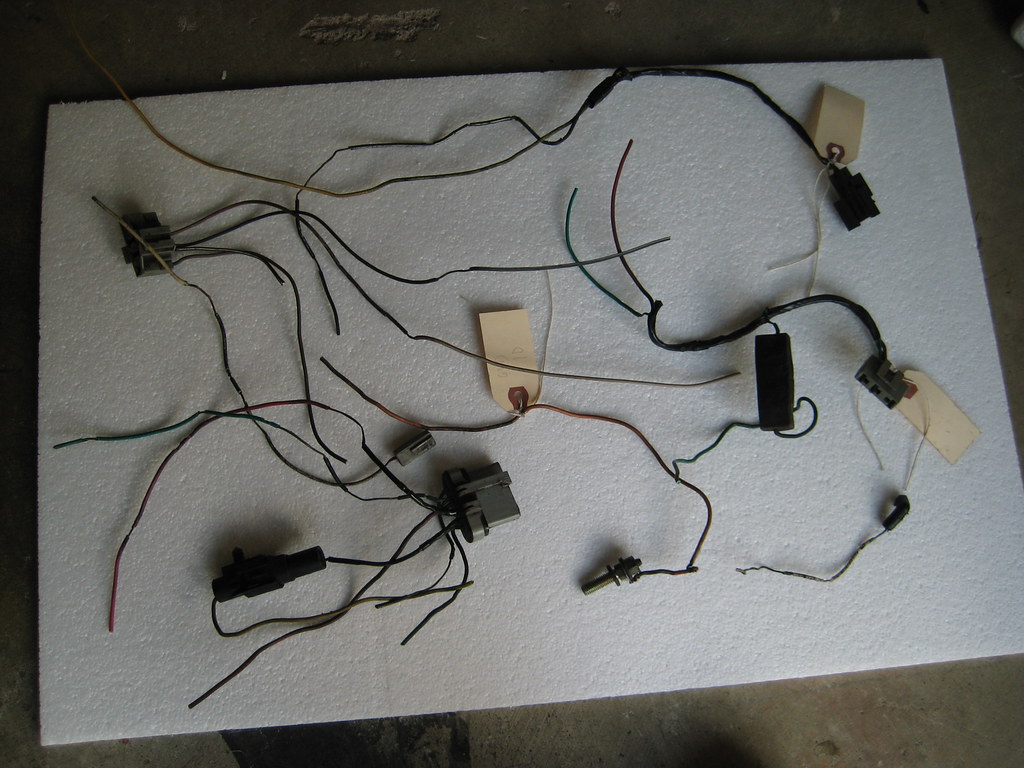
I think I replaced every connector. Wow 30 year old wiring sucks!

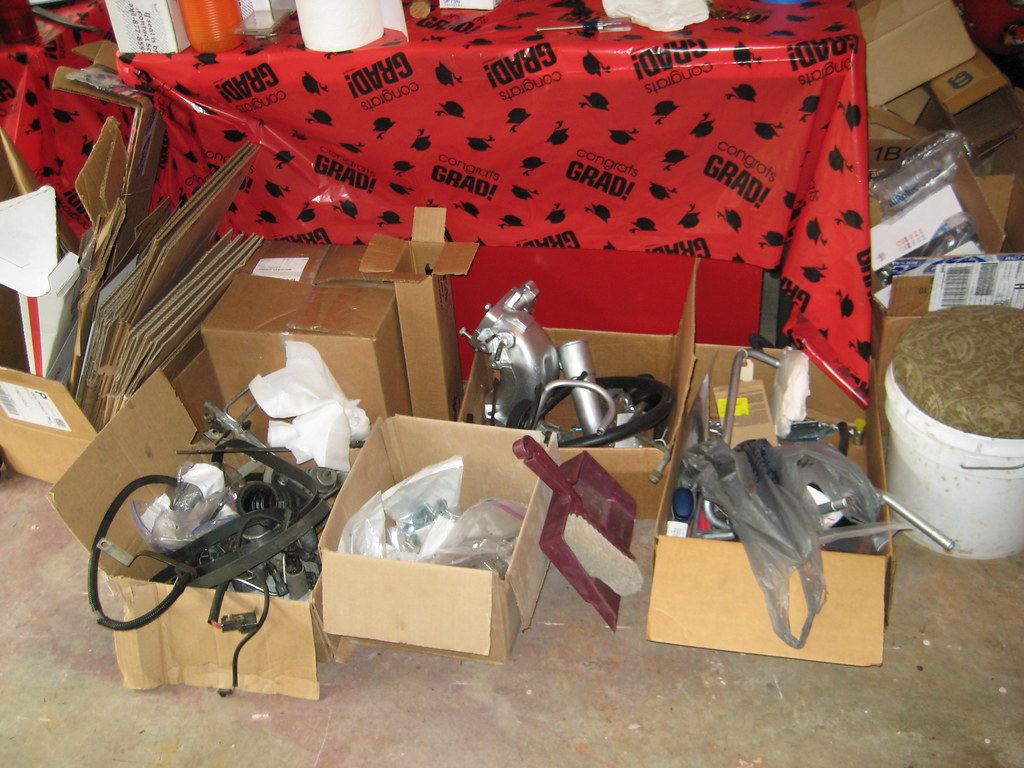
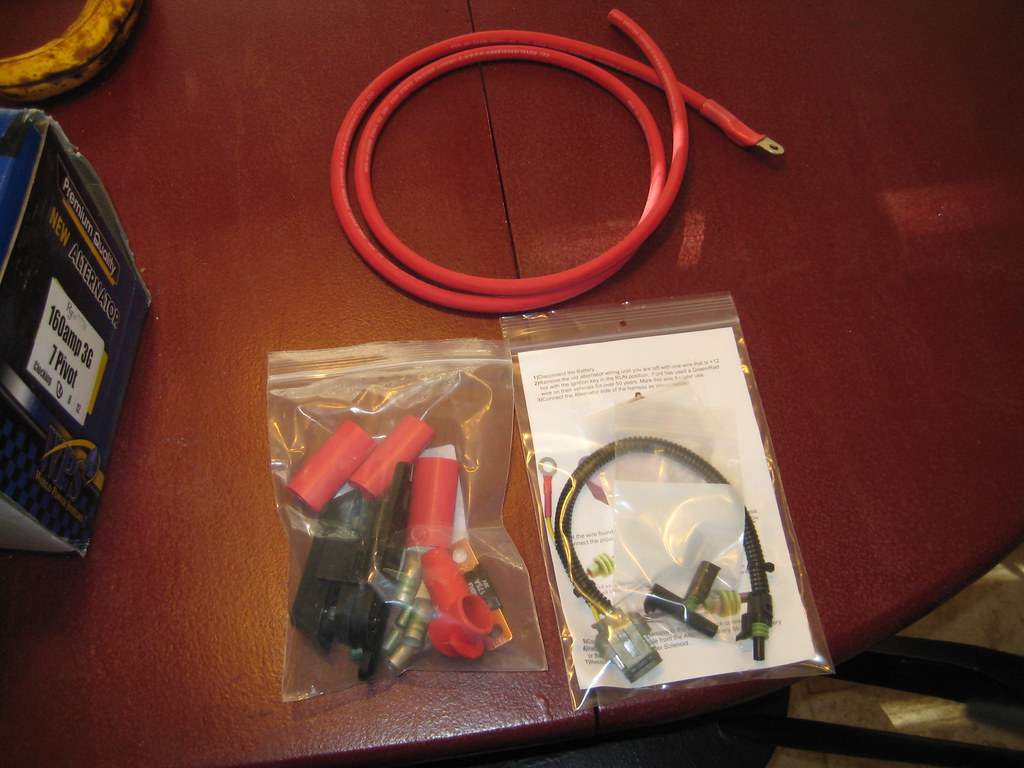
Here is all that I replaced:


Three things left to do before installing all the harnesses:

1. figure out how to position the EEC wires so I can wrap them (anyone with a picture of an 84 RS Turbo/GT Turbo/SVO harness out of the car?)

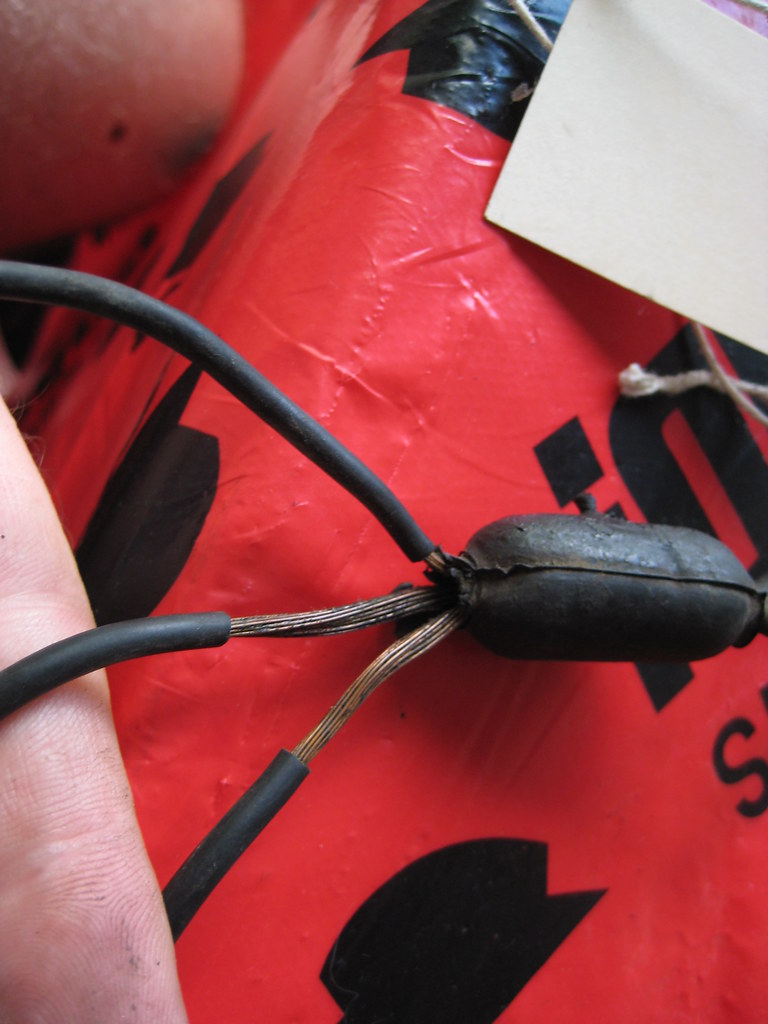
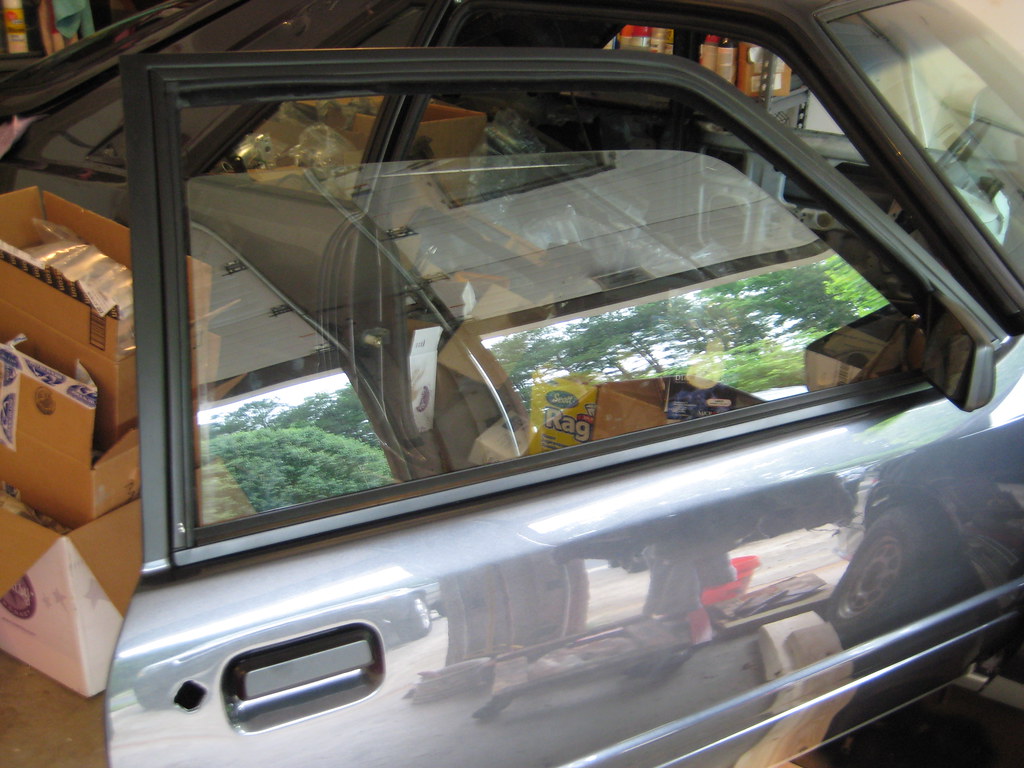
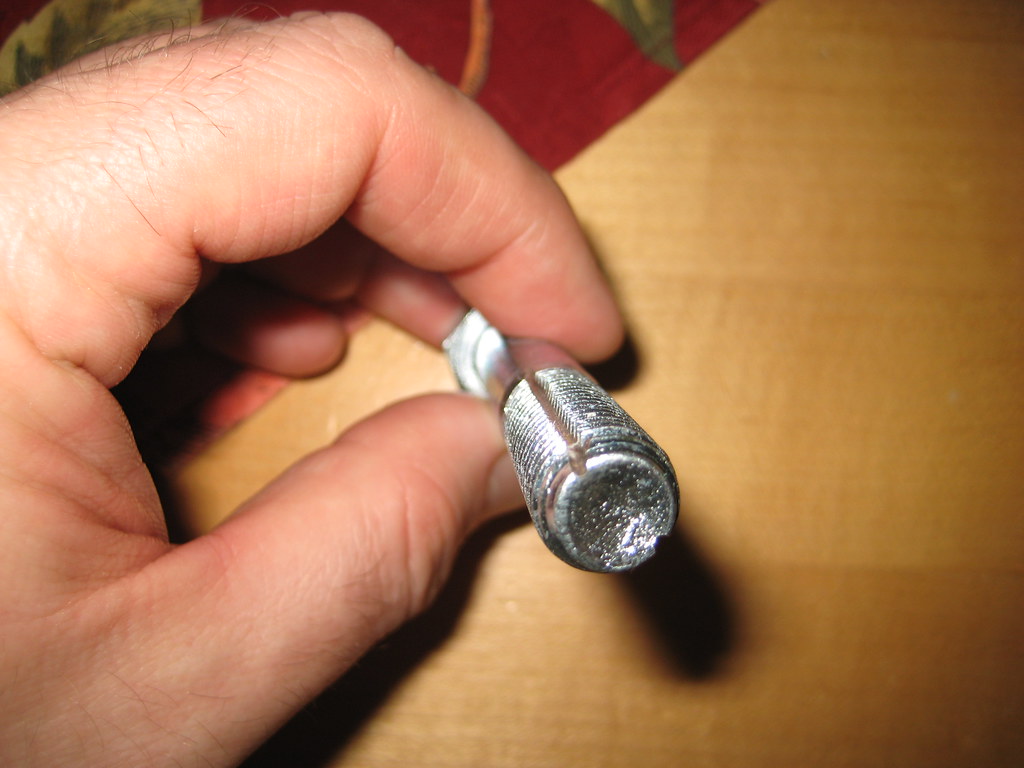
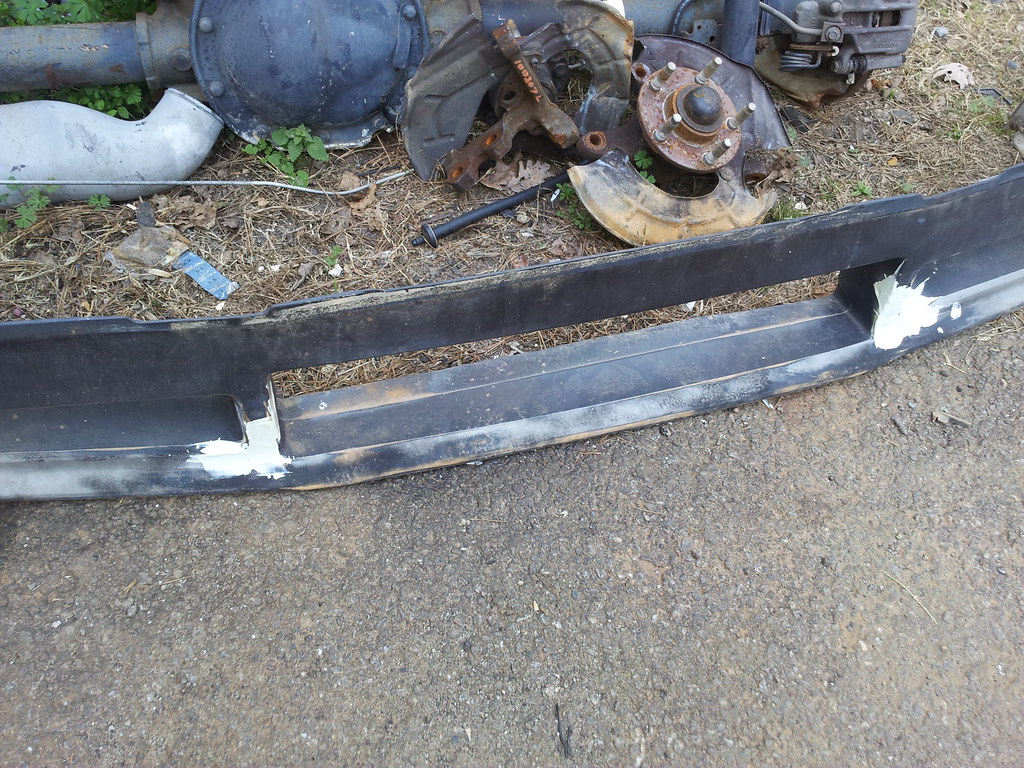
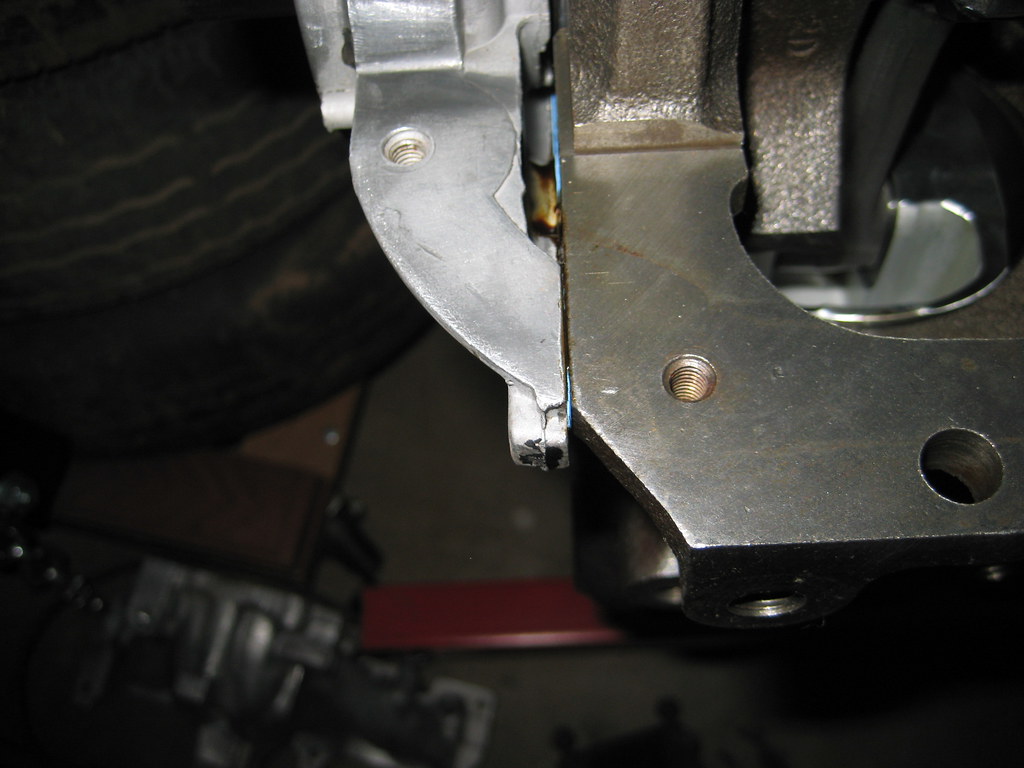
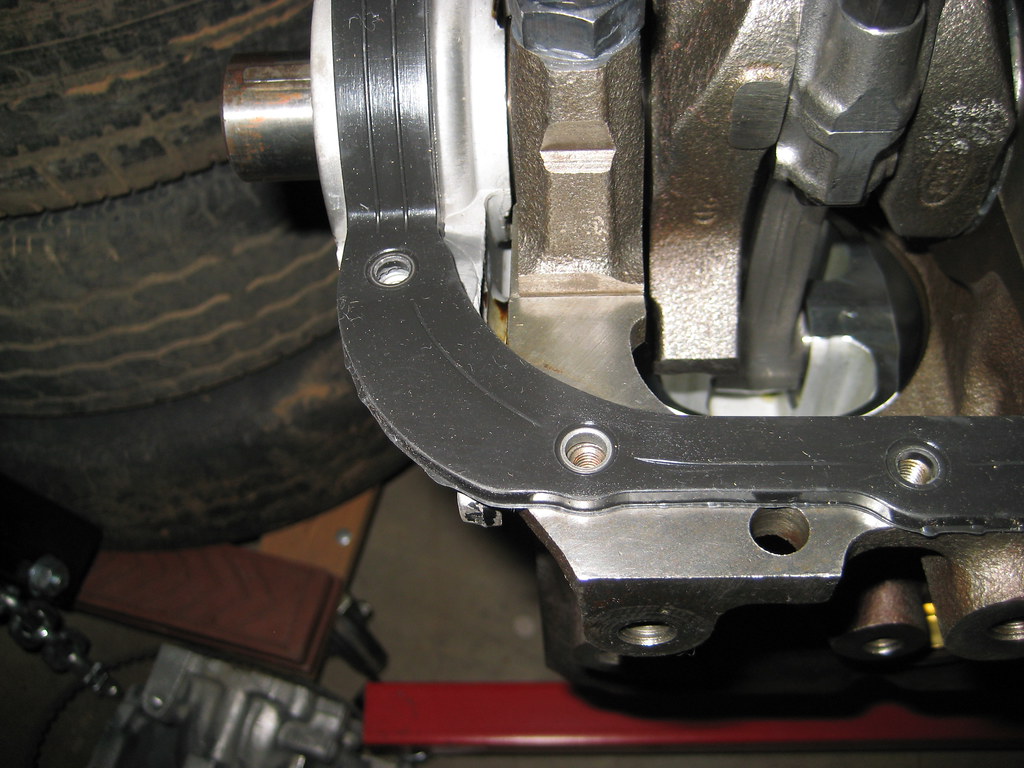
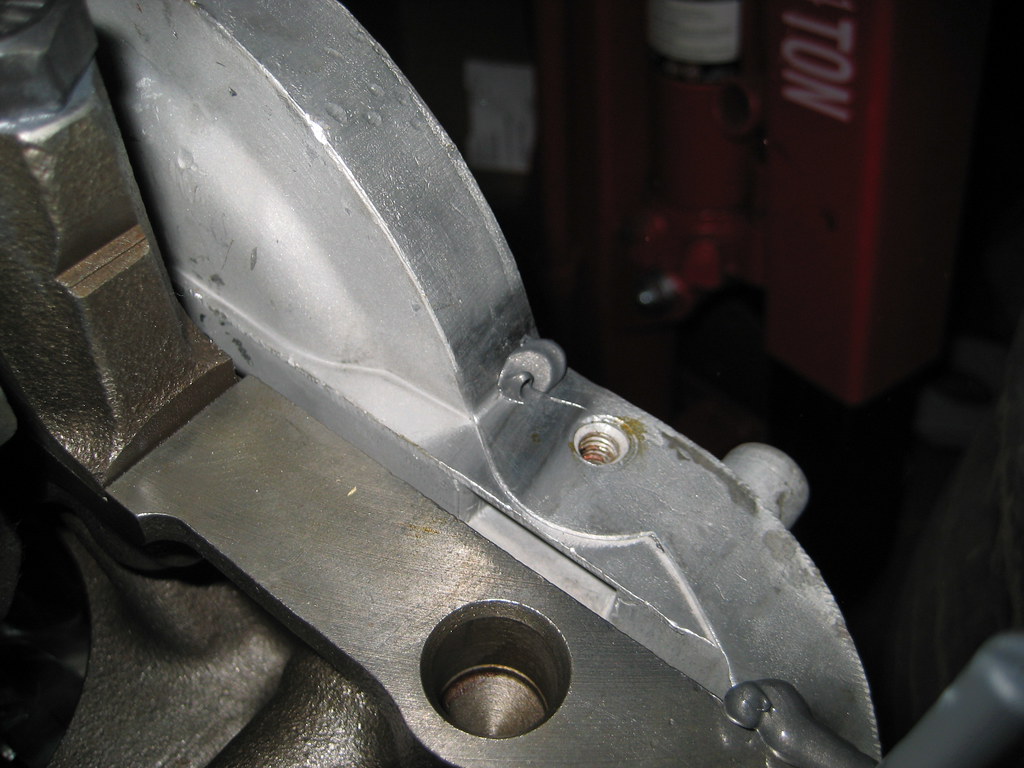
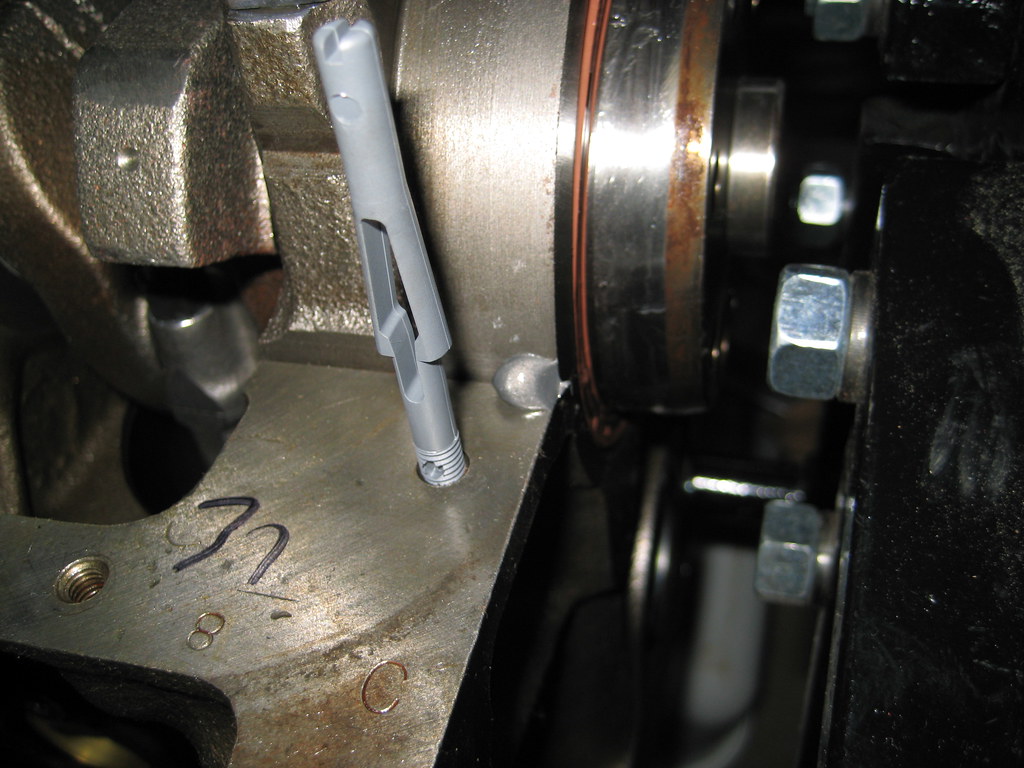
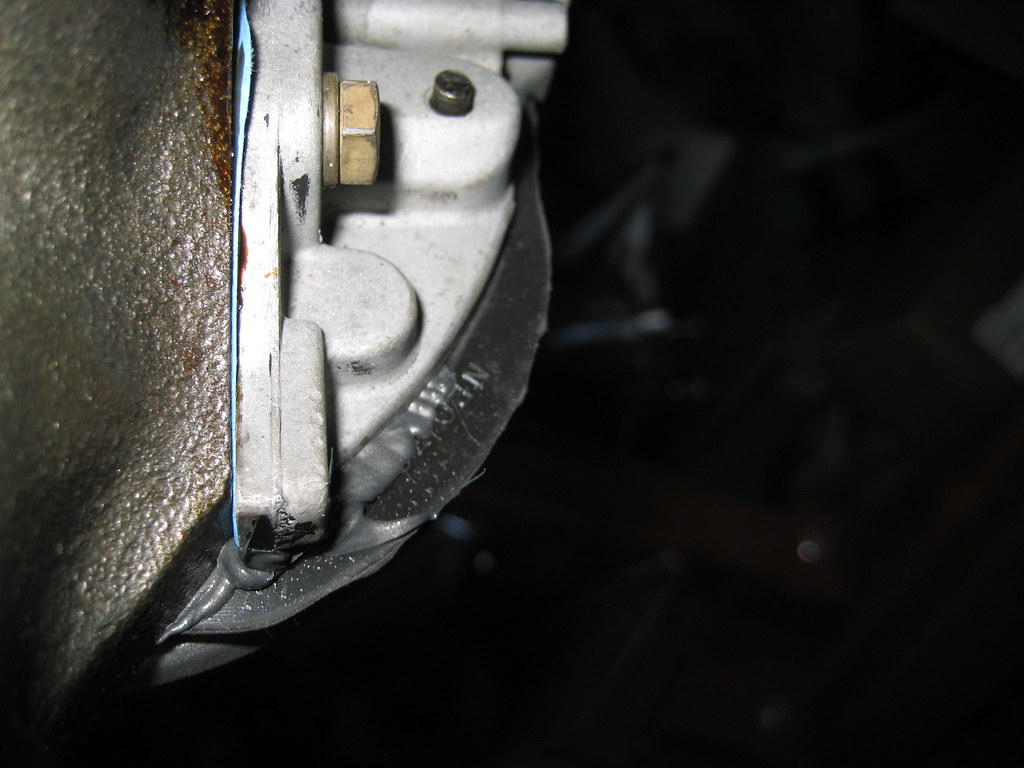
2. Figure out how to fix this:
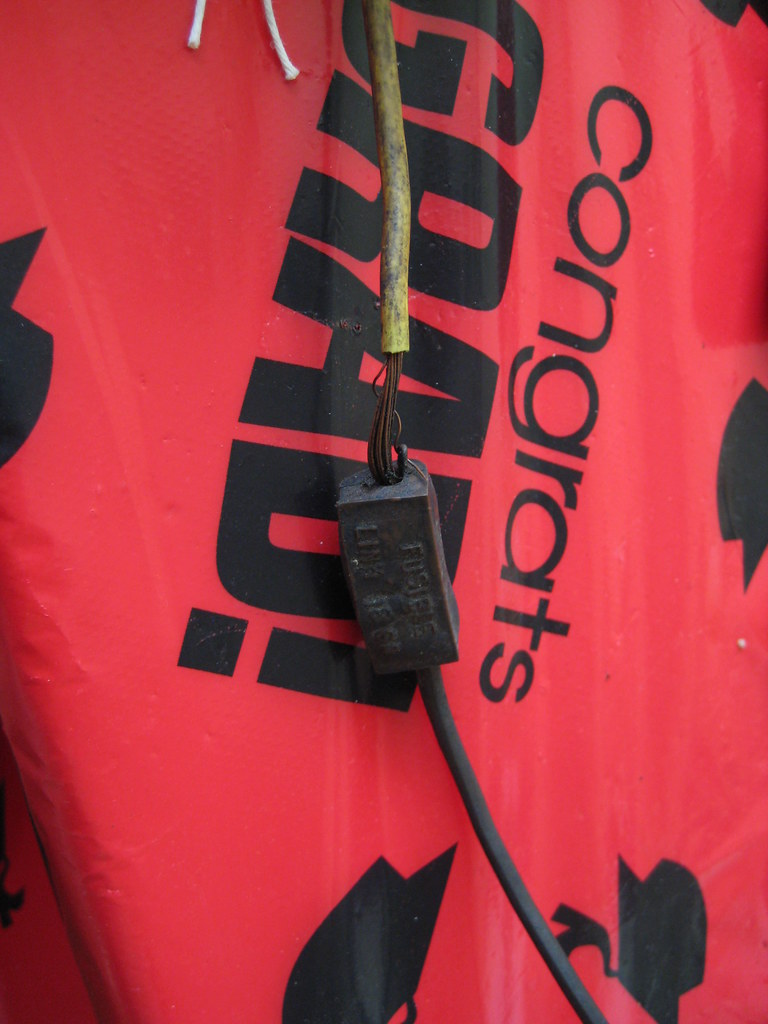
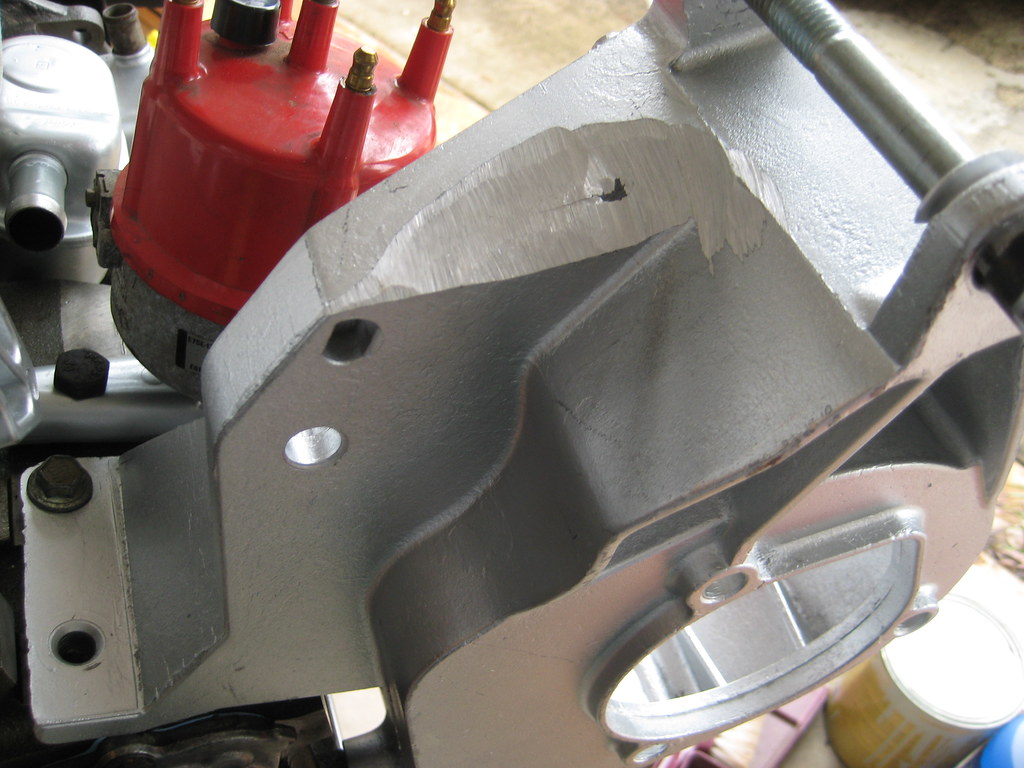
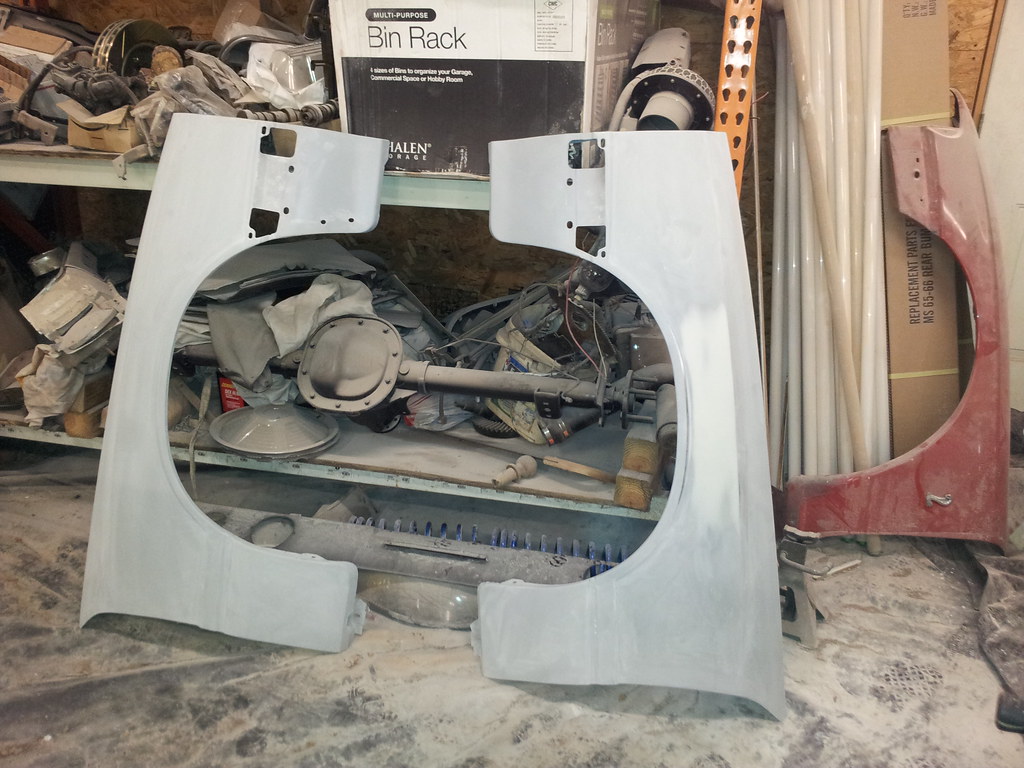
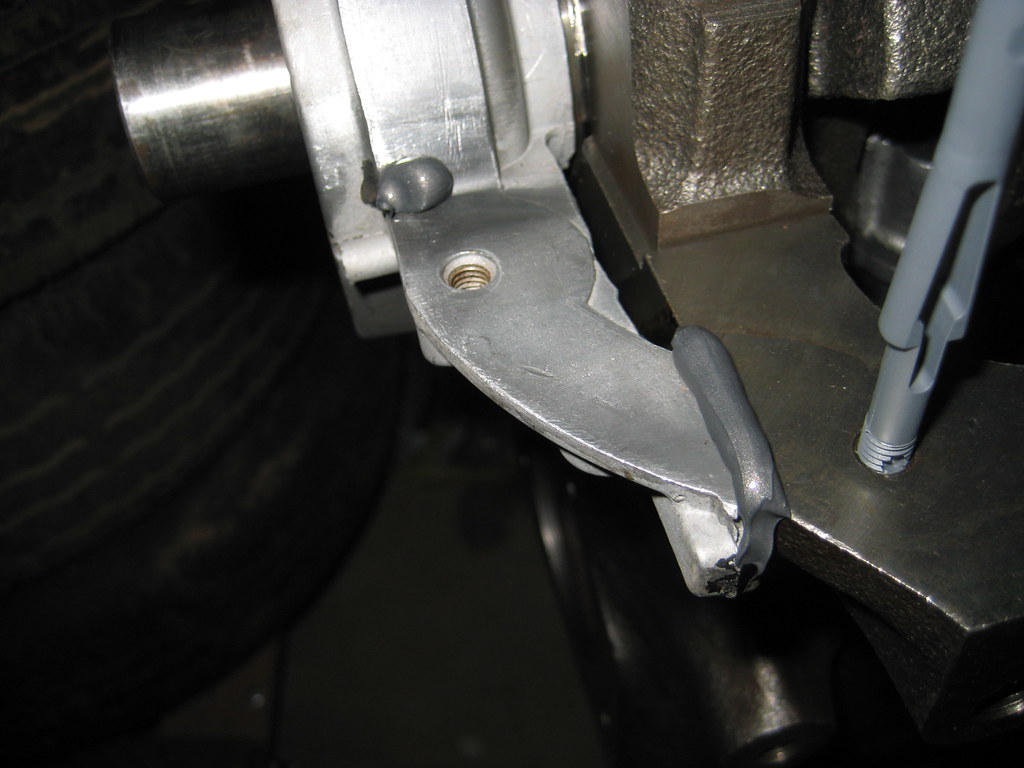
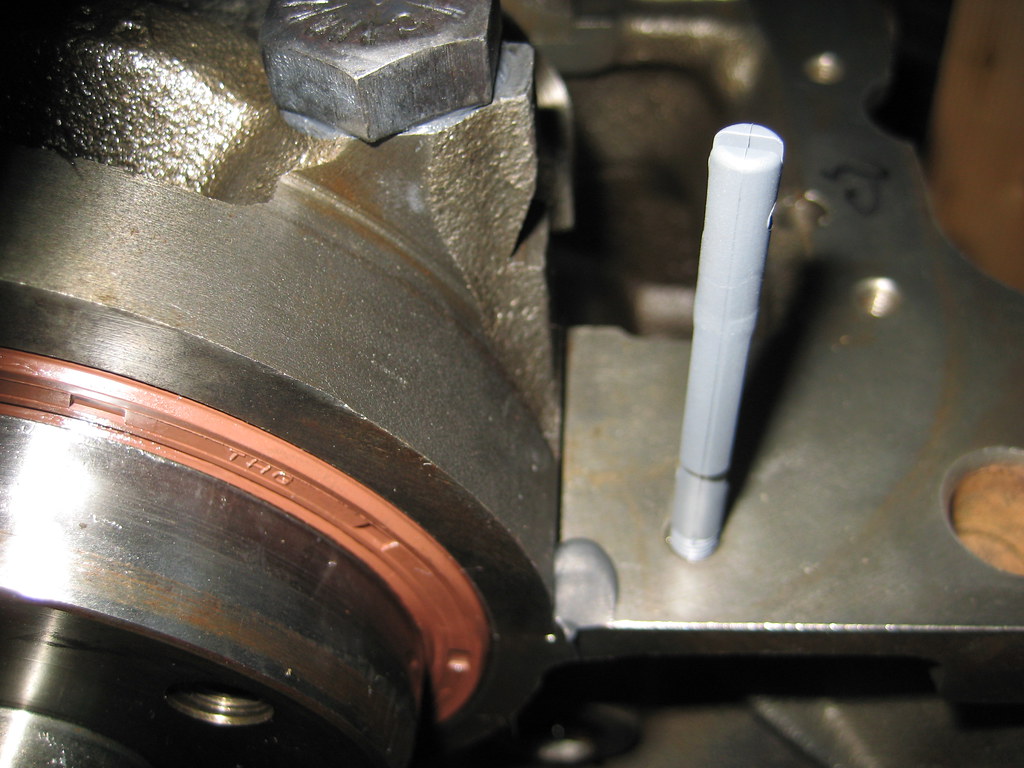
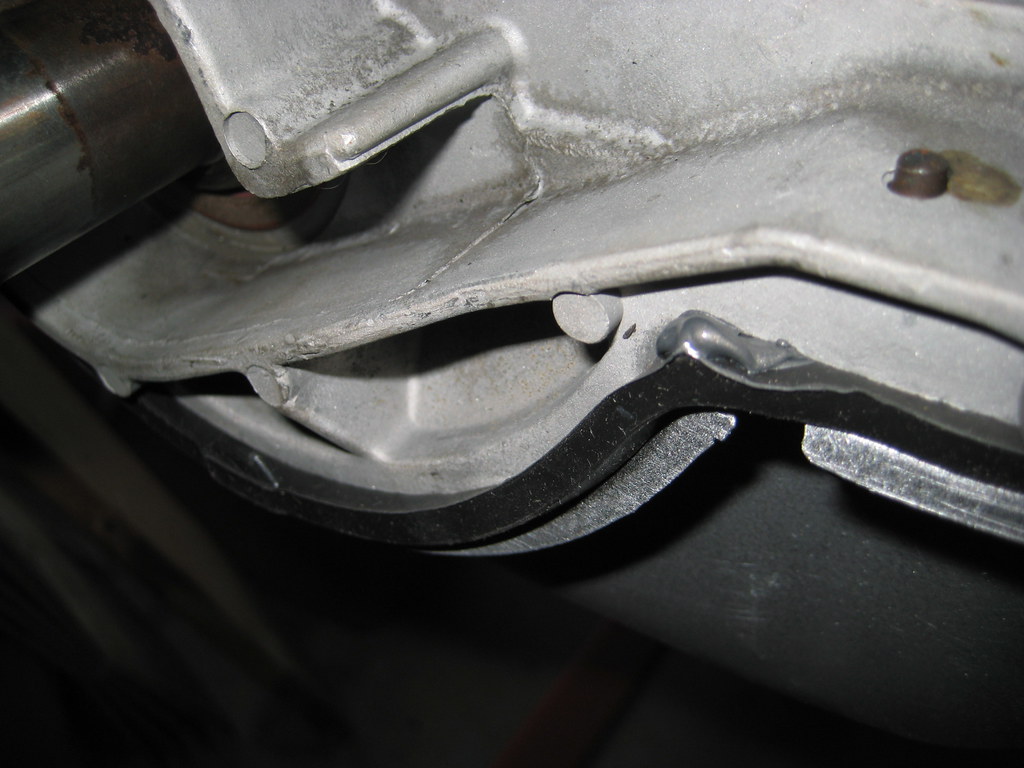
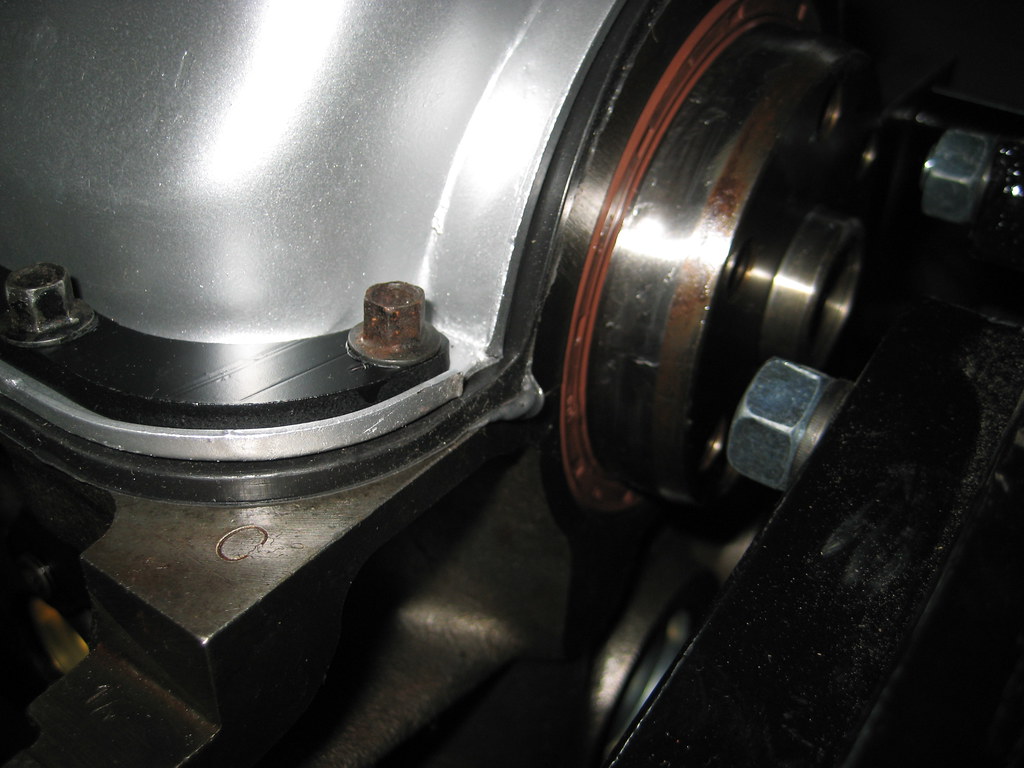


3. And this:


Saturday, July 13, 2013

Engine Installed!

After two weekends of setbacks I made some major steps today. The engine is installed!
Backing up a couple of weeks, the flywheel turned out to be the wrong one for the clutch, so I had to find and get another one resurfaced. Then the metal plate the fits between the block and bell didn't fit, it was hitting the crank since it was so warped. And it rained like crazy for several weeks!
Here is a picture of the clutch.


A picture of the transmission attached to make sure everything fit!
 

The engine ready to go in.


Installed! (no pictures of it going in, both of the other adults in the house were helping install)


Huge thanks to my wife and oldest daughter Meghan for helping get the engine positioned, holding the hood open etc.

I then cleaned up the garage, broke down the engine stand and crane and put them in the shed! Strange not having an engine sitting between the two garage doors. There has been one there for a couple of years. 

Next up: put all this on/in the car! And then get the transmission installed, but I need some parts for that first.
 

I also want to thank Bob Martin for the idea of an engine 'box' for when I removed the engine from the engine stand but still needed to install the flywheel, bellhousing etc.

Some pictures of the temporary box I used:


Saturday, July 6, 2013

Looking like a Capri - hood scoop on!

Looking like a Capri! (I know this hood isn't correct for the 84, but since 1985 when I saw my first Capri I've always wanted one!)


Sunday, June 9, 2013

We have a passenger window!

It has been a busy spring! Oldest graduated from HS, had company party, kid this-and-than but got a good 5 hours in today:

- installed the trim around the outside of the passenger door
- installed the new weatherstrip around the passenger door window
- installed the regulator and window
- installed the outer dew-wipes. Remove the rubber from the ones I got from FMR and installed on the re-painted originals. Originals felt stronger.

Finished exterior of the passenger door:


(Yes I messed up the new paint on the door trim! Damn glass wouldn't go in easily!)

Then I installed the new wastegate, new studs on the output side of the turbo and mounted the turbo. It took three tries to get everything the in the right order so I could tighten down everything:


Thursday, May 23, 2013

tail lights

Teaser. Jason at Performance Automotive in Acworth sprayed the slats the body color then cleared all the lights. They look great!

With my daughter's HS graduation this weekend I don't think I'll get any time on the car until Monday. Then it is put together time!


Wednesday, May 1, 2013

Paint is done! 4 Years and 6 days later ...

Before and After:

4/25/2009:


4/30/2013:


4 years and 6 days later!

Sunday, March 24, 2013

One Step Closer: Engine Assembly


Second project for the weekend was to do more engine assembly. First was to clean the bolt holes in the block for the ARP studs. A couple of people in other threads suggested cutting a bolt length-wise and packing the cut with grease to collect any 'gunk' in the holes. Good thing I did, what a mess they were.

Here is a picture of the bolt with the cuts. Took less than 1 minute with the Dremel:


Next I installed the studs, head gasket and dowels.


It took a few seconds, but I finally got the head to sit on the dowels. Ready for some torquing:


Then spent a good hour checking my notes, posts on lots of sites (FourEyedPride.com and TurboFords.net mostly) to make sure I understood how to setup the timing on the cam, aux shaft/distributor and crank. Then put it all together.

I even got my wife involved, she tightened the bolt on the tensioner while I pried it all the way open. (took two tries since I wasn't open enough the first time.)


Finally put the new valve cover gasket and painted cover on:


Still have a ton of stuff to do in the next couple of weeks but I'll be ready to put it in when the car comes back from paint!

Grinding the Alternator bracket


First project for the weekend: grind the alternator and power steering bracket so the 160 AMP 3G alternator from RJM Injection Tech would fit. (Alternator)

Here is the final picture. Ended up cutting through in one place, but it shouldn't matter structurally.


The bracket is from a Thunderbird Turbo Coupe, so I used these pictures as a starting point: http://turbotbird.com/techinfo/3G%20Alternator/G3%20Alternator%20Install.htm

Sunday, March 17, 2013

Finished the valvecover

Today I hand painted the blue around the Ford logo then put three coats of clear on it. Done!


Friday, March 15, 2013

March 15 - Body shop update

Stopped by Jason's today! Should be shooting the jams by next weekend!


Wednesday, March 13, 2013

Bo-port Stage 3 Head and 2.1 Cam

Today I received my Bo-port Stage 3 head with 2.1 cam! 


This week I also received my alternator from RJM and a set of ignition wires. 


Now all I need are the head studs and I can put the engine together!

Last update from the body shop is good too! Looking to have her painted and back in my garage in early April.

Saturday, January 26, 2013

Installing the oil pan cover

It has been said that you can't build a 2.3T that doesn't leak, but I'm going to try. The first step for me in tackling this was to make sure I've got a good seal on the oil pan gasket. So I bought a new gasket and used a fair amount of RTV to seal up the corners where the block meets the front and rear mains as well as to seal up the junction between the front plate and the block.
These pictures show the area where the front plate meets the block:


So following the manual (Yes dear I read and followed the directions) I put a 'dab' of RTV in the 'corners' where the block and mains meet and a bead where the block and front cover meet.
 
Front 'corner' and joints:


Rear 'corner':


What I used:

I again followed directions on the RTV, installed the gasket, pan and finger tightened the bolts. Waited an hour then torqued the bolts to spec.
After curing and torquing:


Oil pan on: