Big project over the Christmas break was to install new foam and upholstery. Since the car was a shell when I got her, the only seats/foam I had was the two back seat uppers. After looking for months for matching back seat bottom online and in the forums, I gave up and reached out to a couple of vendors to get quotes to build new upholstery out of the original materials. $1200 estimates just for the covers and upholstery derailed that idea.
Instead I went with the 2003/2004 Cobra Upholstery and foam upgrade for Fox Sport Seats from TMI. I bought mine from Late Model Restoration.
First, if you are thinking about this, watch this video a couple of dozen times to understand what you are getting yourself into!
https://www.youtube.com/watch?v=yj7F-wLQFSA
Following these instructions I had no problems taking the old upholstery off the 85/86 front seats and 84 back seats I had acquired from a lot of sources.
I did encounter a few challenges while doing the upholstery.
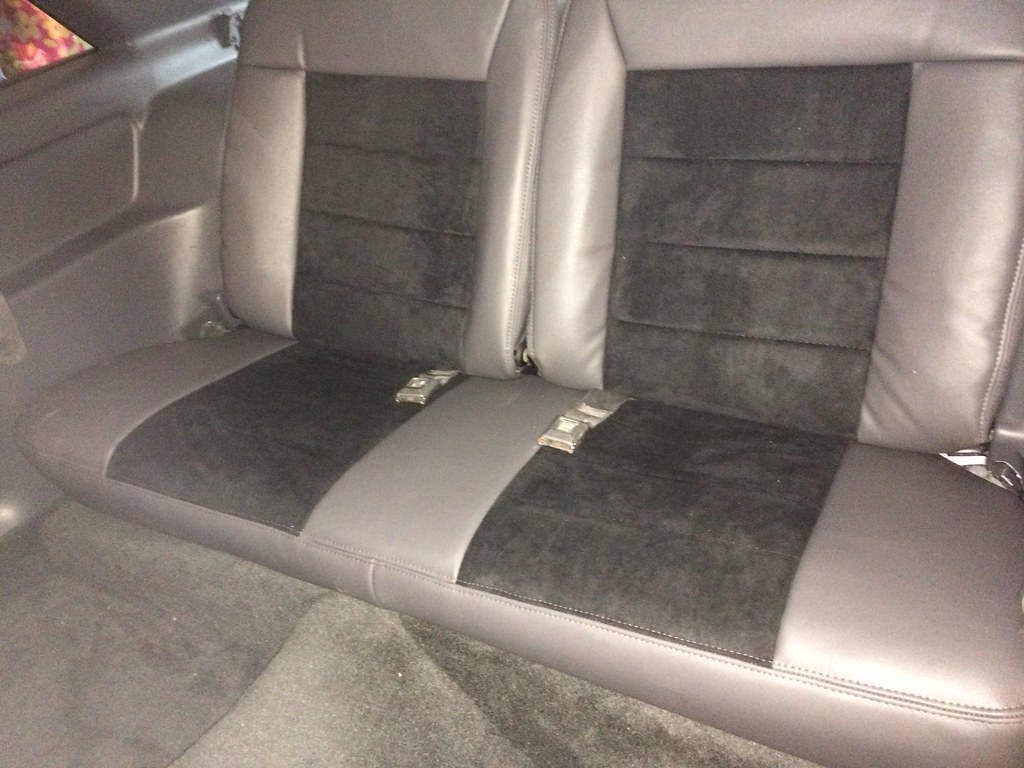
First, starting with the back carpet on the back seats, the carpet bought from LMR is cut a good 1/2 to 3/4" inch wider than the original and there was no way to get the pushpins to seat without stapling and trimming it. (The video above says you don't need to.) I ended up positioning the carpet, installing the latch bracket, then stapling the carpet to the plastic frame. I then notched the carpet around the push pin holes so it went in easier.
The rest of the backseat was easy to do.
Next challenge was the foam and rods on the front seat backs. No matter what I tried I could not get the J clips on the upholstery to install. The reason was the foam, and the rods, would keep trying to come off the frame as I squeezed it together. I ended up zip-tying the rods and foam to the frame to get the J clip to catch. I then cut the zip ties (easily reached from the bottom.)
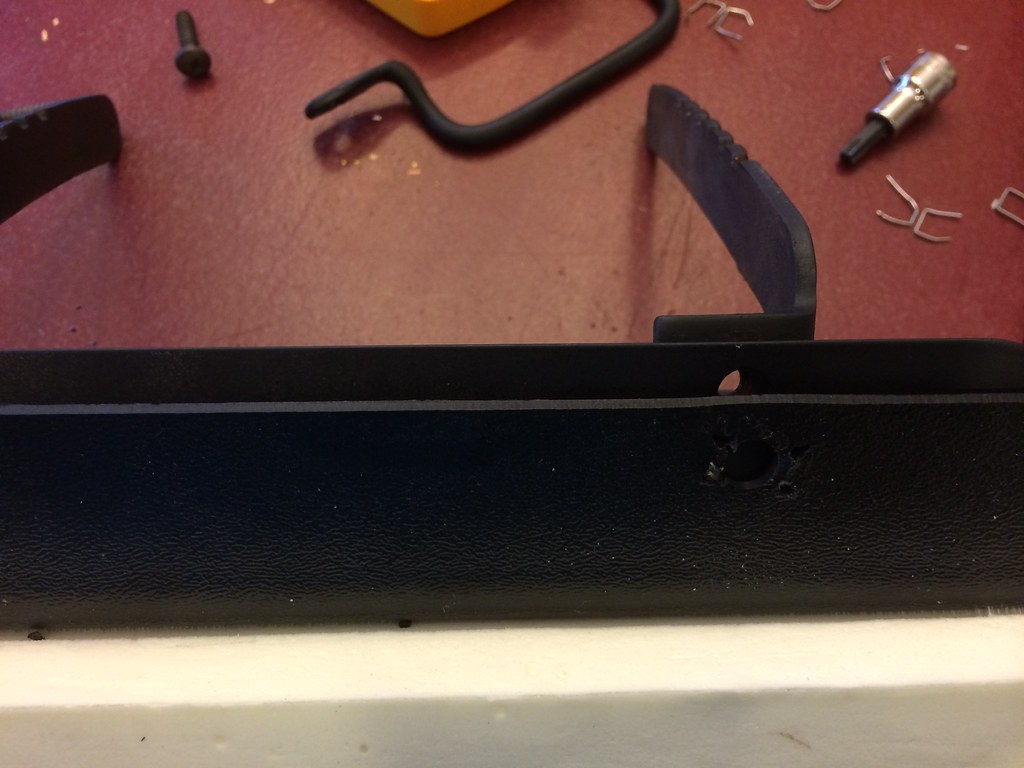
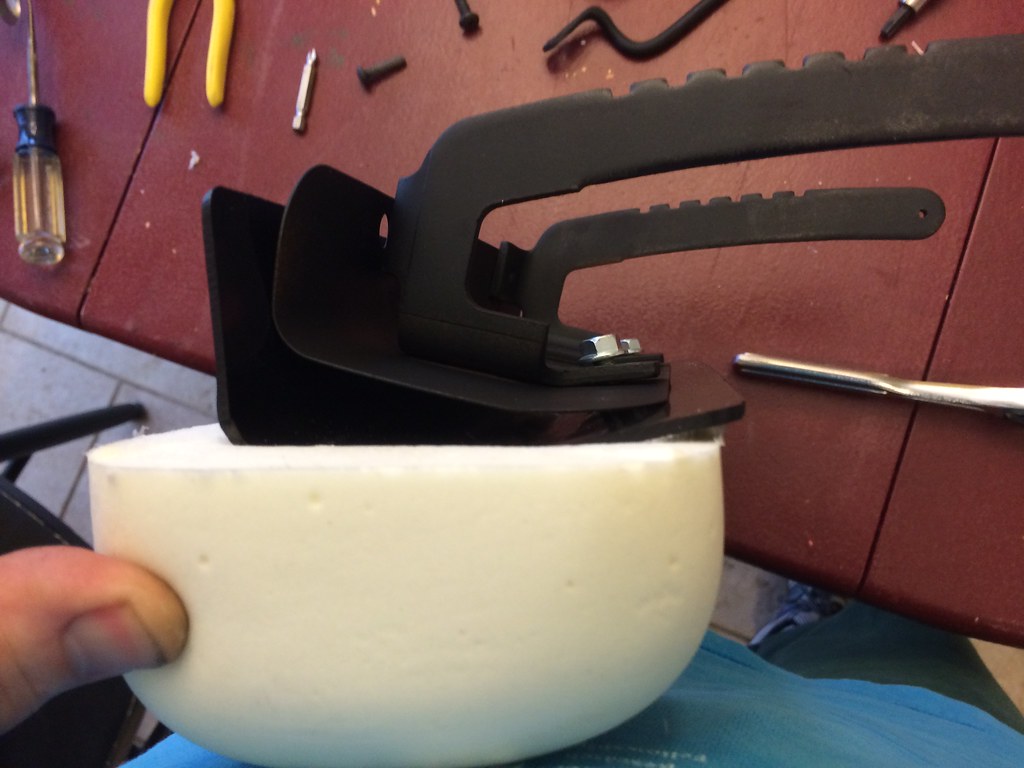
Final challenge was that the knee bolsters included in the kit assume that you are using the 87+ style, where the foam is attached to the bracket with 4 bolts. Instead the 85/86 have two bolts and two screws through the handle.
The fix was easy once I figured out what was wrong. I removed the two speed nuts from the TMI plastic mount, widening the holes, then screwed the handles in.
These pictures show the problem.
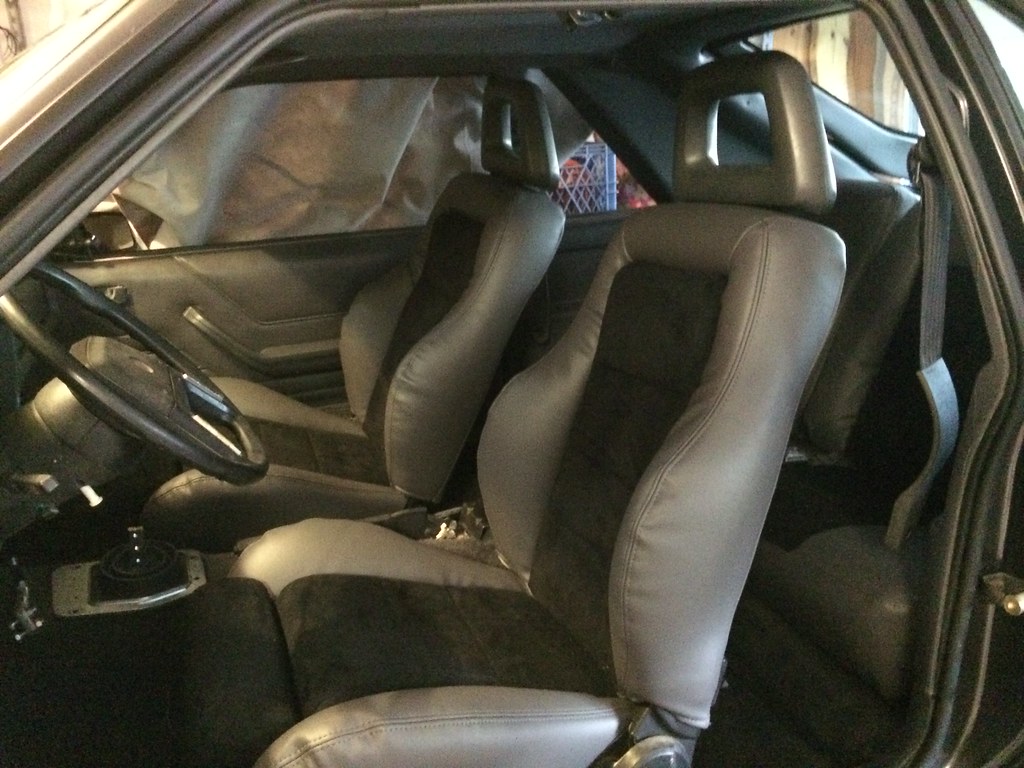
Installation was then pretty easy (once I figured out how to mount the hinges, I really should have taken a lot more pictures of some of the things I took apart!.)
The seats aren't completely installed, since I want to make sure the wiring is okay on all the interior pieces. I also want to install some gauges in the console before installing it. But I was able to get in and make 'vrooming' noises :)