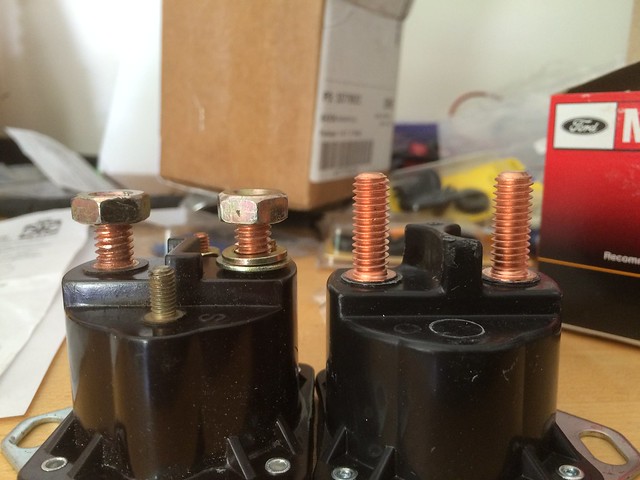
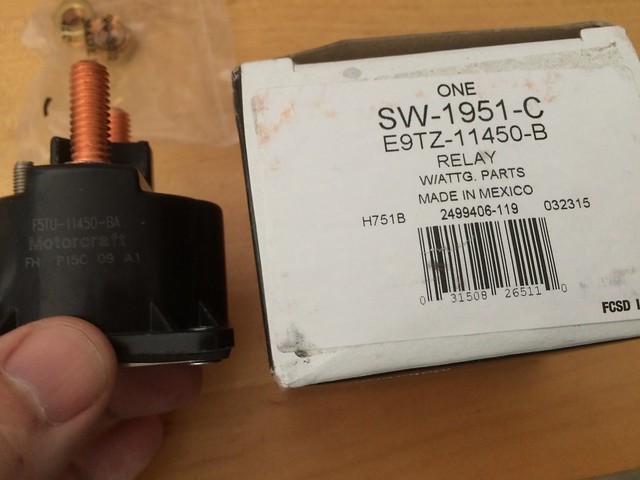
With all the upgrades I've made to the Capri, I quickly found that the stock starter solenoid wasn't long enough to handle all the wires on the battery side.
Hunting around I found a Motorcraft one that is much longer than the stock one.
Side by side.
Details on the build of my 1984 Capri RS Turbo. Started as a rusted shell with no motor or transmission. Now she is a sort of running 2.3T. Got her running in 2017 and took her apart in 2018 for some upgrades.
Sunday, July 19, 2015
Saturday, April 11, 2015
Spring Break Projects
Once again I was overly optimistic in how much time I'd have over Spring Break to work on the Capri and how much I'd get done.
Looking at the remaining boxes I think I got pretty far.
Projects I wanted to do
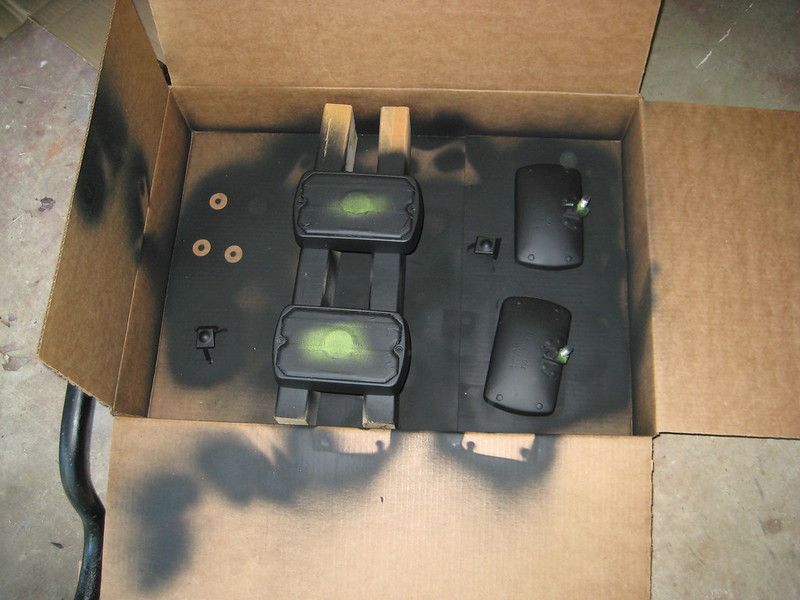
- Installed radiator, first had to sand and paint all the brackets for it and and condenser
- installed the special silicon hoses for the turbo water feed/return.
- installed the VSS, speedometer cable and reverse light harness
- install radiator hoses
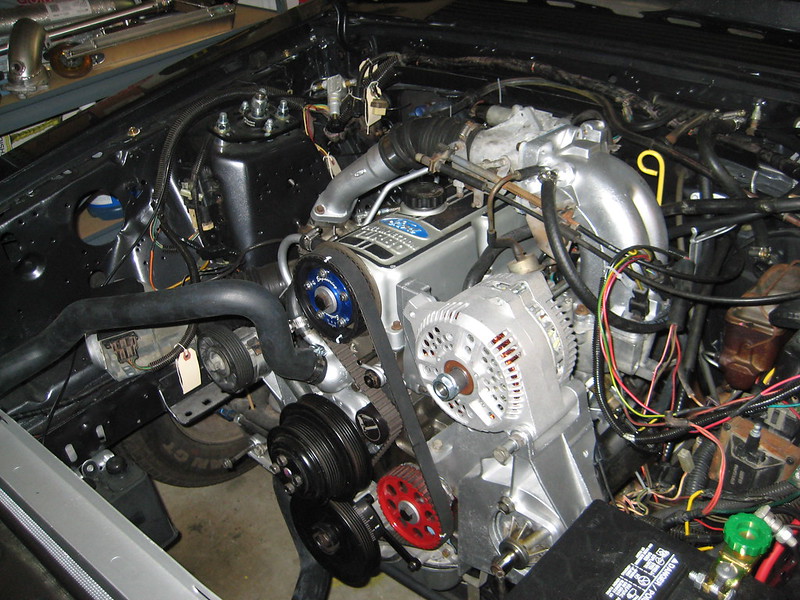
- install 3G alternator, trigger wire and charge wires
- install Stinger 3" flange and downpipe
- Figure out the turn signal on the Passenger side
- fill the engine and prime
- install the power steering pump, cooler and all new lines
- refurbish the Marchal fog lights and get the installed
- change out the boots and springs on the COP for the 06 Mustang GT.
Results:
Radiator and hoses was easy once I got the brackets cleaned up and painted.
Silicon hoses was easy
VSS - not so much. Poor documentation led me to fighting for over an hour to get the wire that holds the speedometer cable into the VSS. (Hint for someone reading this, install the wire THEN PUSH the cable through it.)
Power Steering went fine. Needed to get more hose since the one I got was only to the cooler.
Alternator was a pain. Had to remove the bracket and grind it down again (I thought I did this years ago when I built the engine but I had to remove another 1/16" or so)
Then I found that the Green/Red trigger wire was hacked off the harness in its previous life and I couldn't reach the new harness. Had to take the battery out to get to the harness enough to get my hands in there to add a longer piece of wire. Ran out of time to get the power wires run.
Trial fit the downpipe. Looks great. Have a temporary band clamp to hold it to the flange for when I fire it up for the first time.
The passenger turn signal turned out to be a bad socket in the turn signal light in the dash. At least I learned about how to check grounds :)
Marchal cleanup went okay. Having some more wiring issues with it now. Will need a new switch since my is flaky and pretty rusty. More to come on this.
No oil or priming. No PS priming.
No work on the 06. (Did get my wife and teenage daughter to help clean out the attic!)
Not a lot to show, but getting much closer to running!
Thursday, January 1, 2015
We have power! (Electric, but still power!)
Final task for 2014 was to finish the wiring under the hood and install the battery.
I was really happy when I tightened down the quick connect on the negative side of the battery and the door chime started screaming at me!
Quickly confirmed I had side lights, brake lights and head lights. Though trying the headlights in various combinations, showed the headlight switch and turn signal switches are probably bad. I could get hazards, but no turn signals and only every 3 or 4 tries would the headlights come on.
Still, for a car that I KNOW hasn't had a battery in it for at least 11 years, this is pretty cool.
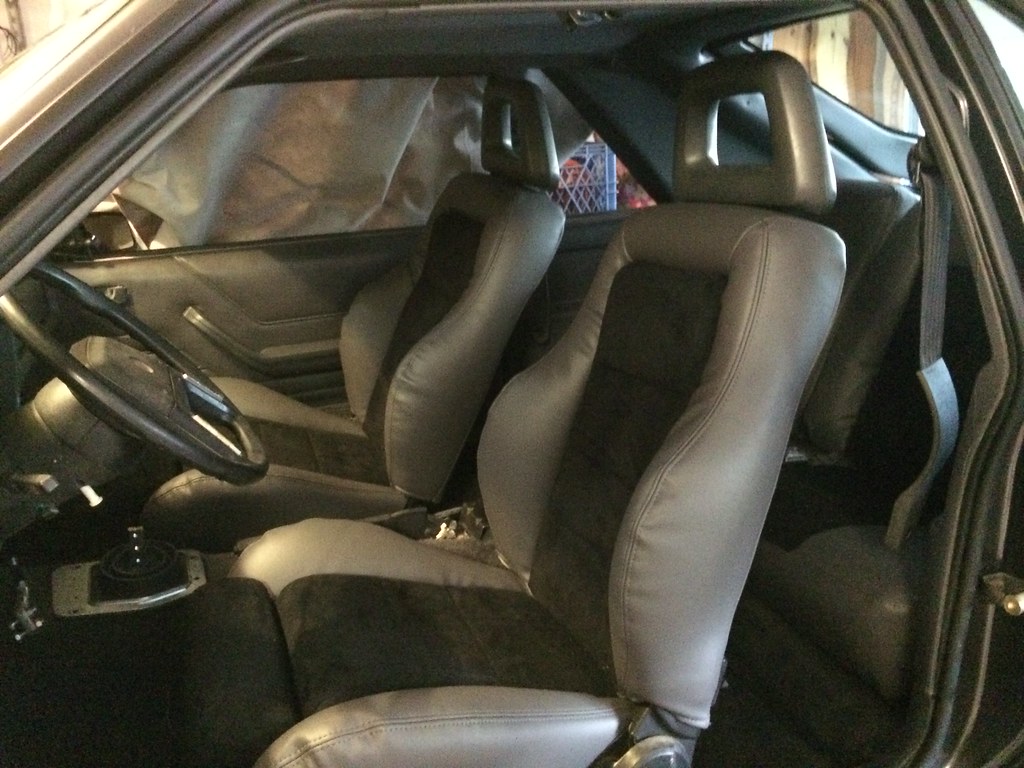
Seats!
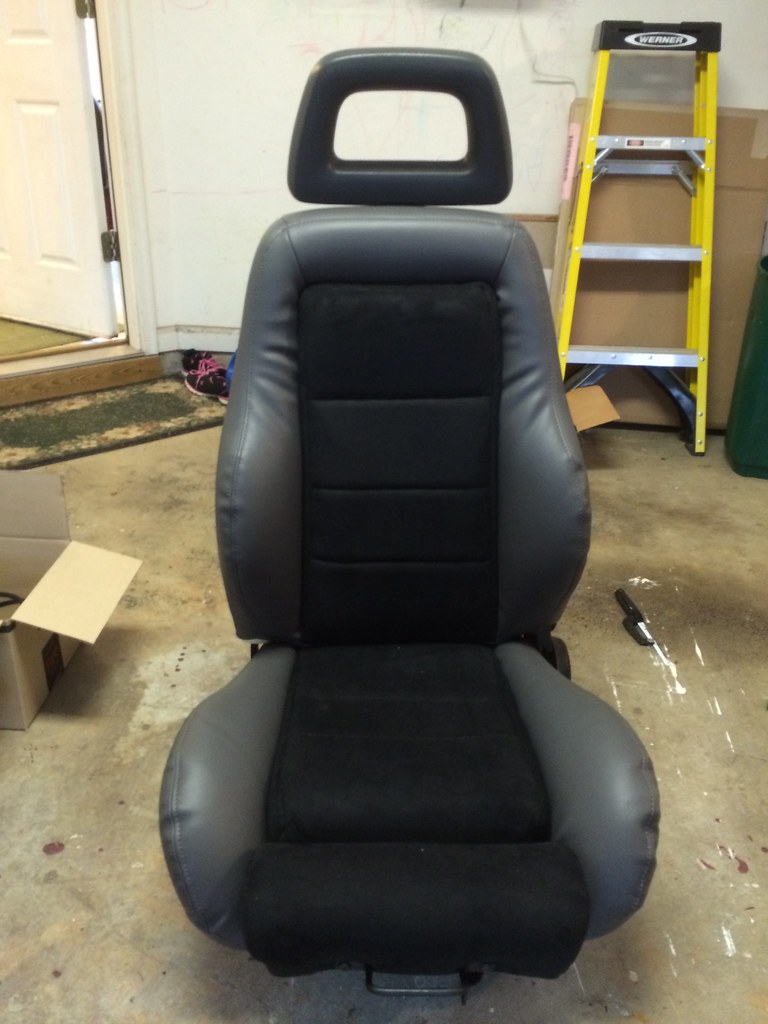
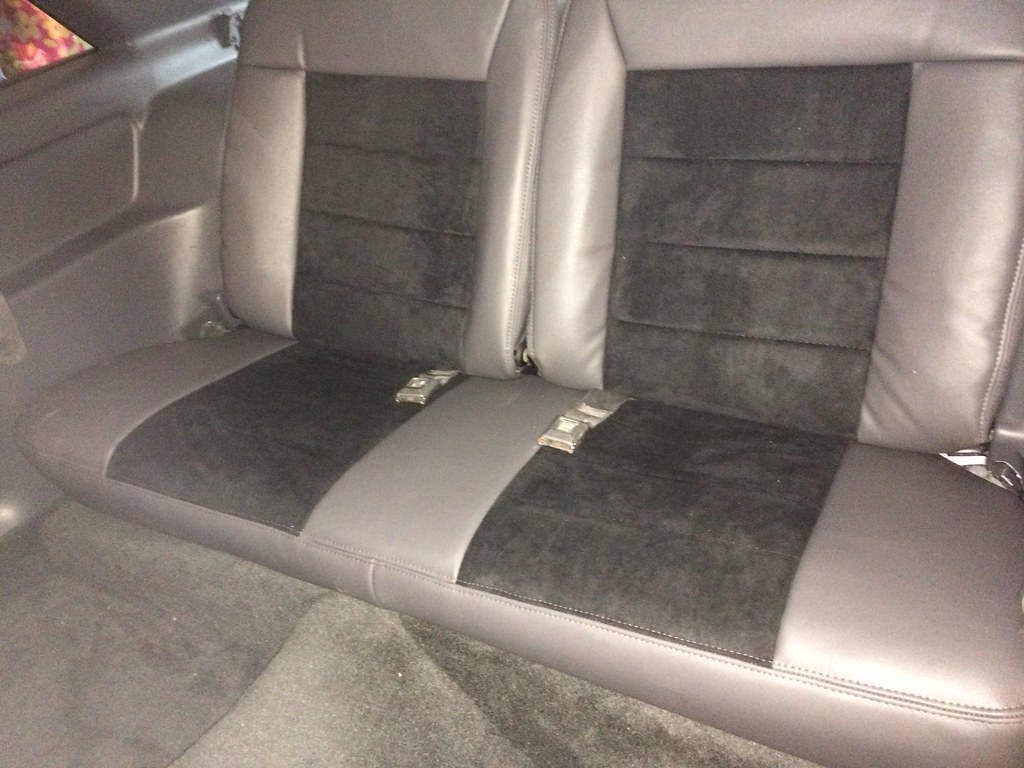
Big project over the Christmas break was to install new foam and upholstery. Since the car was a shell when I got her, the only seats/foam I had was the two back seat uppers. After looking for months for matching back seat bottom online and in the forums, I gave up and reached out to a couple of vendors to get quotes to build new upholstery out of the original materials. $1200 estimates just for the covers and upholstery derailed that idea.
Instead I went with the 2003/2004 Cobra Upholstery and foam upgrade for Fox Sport Seats from TMI. I bought mine from Late Model Restoration.
First, if you are thinking about this, watch this video a couple of dozen times to understand what you are getting yourself into!
https://www.youtube.com/watch?v=yj7F-wLQFSA
Following these instructions I had no problems taking the old upholstery off the 85/86 front seats and 84 back seats I had acquired from a lot of sources.
I did encounter a few challenges while doing the upholstery.
First, starting with the back carpet on the back seats, the carpet bought from LMR is cut a good 1/2 to 3/4" inch wider than the original and there was no way to get the pushpins to seat without stapling and trimming it. (The video above says you don't need to.) I ended up positioning the carpet, installing the latch bracket, then stapling the carpet to the plastic frame. I then notched the carpet around the push pin holes so it went in easier.
The rest of the backseat was easy to do.
Next challenge was the foam and rods on the front seat backs. No matter what I tried I could not get the J clips on the upholstery to install. The reason was the foam, and the rods, would keep trying to come off the frame as I squeezed it together. I ended up zip-tying the rods and foam to the frame to get the J clip to catch. I then cut the zip ties (easily reached from the bottom.)
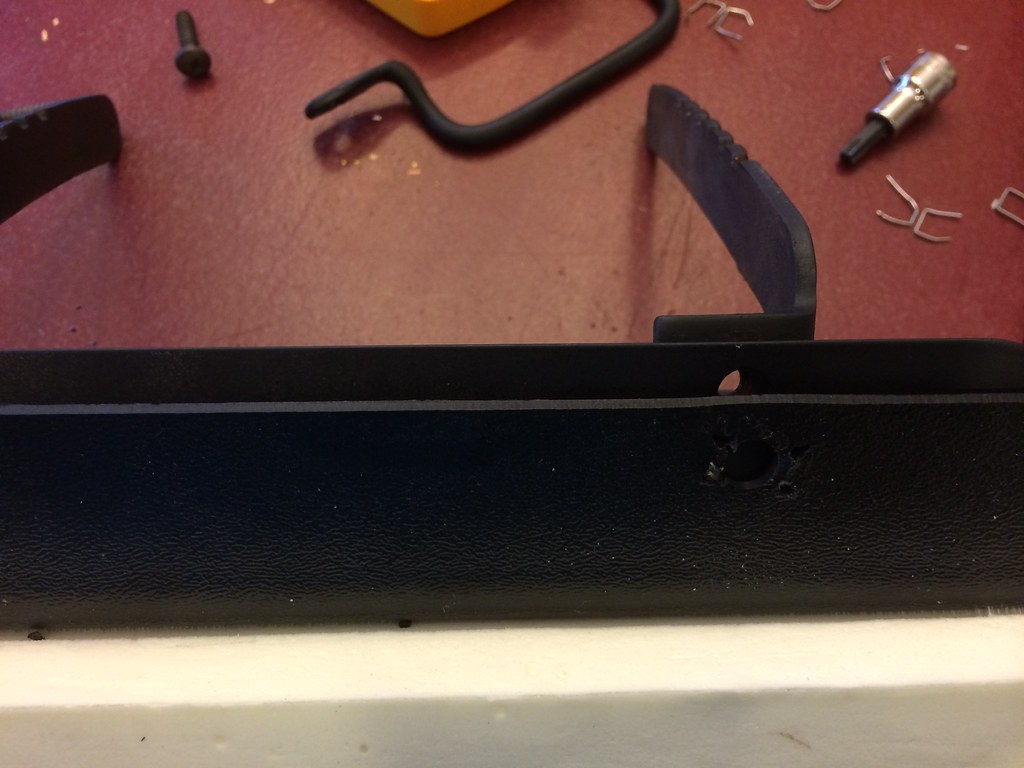
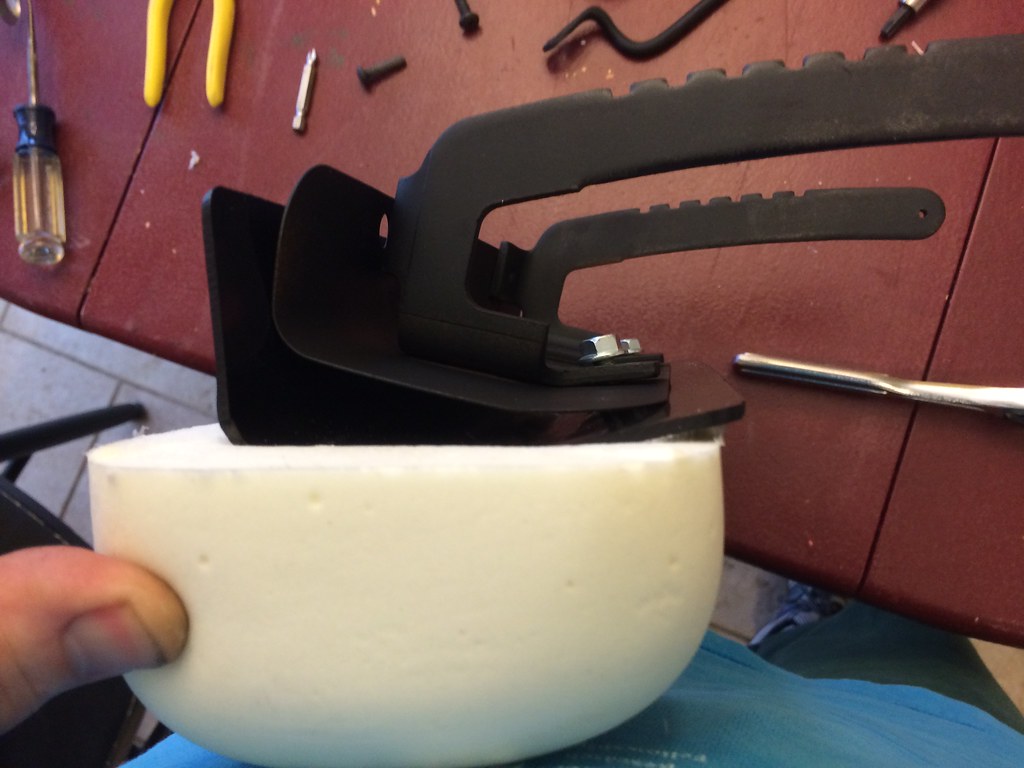
Final challenge was that the knee bolsters included in the kit assume that you are using the 87+ style, where the foam is attached to the bracket with 4 bolts. Instead the 85/86 have two bolts and two screws through the handle.
The fix was easy once I figured out what was wrong. I removed the two speed nuts from the TMI plastic mount, widening the holes, then screwed the handles in.
These pictures show the problem.
Installation was then pretty easy (once I figured out how to mount the hinges, I really should have taken a lot more pictures of some of the things I took apart!.)
The seats aren't completely installed, since I want to make sure the wiring is okay on all the interior pieces. I also want to install some gauges in the console before installing it. But I was able to get in and make 'vrooming' noises :)
--
Thanks,
Chris
Chris
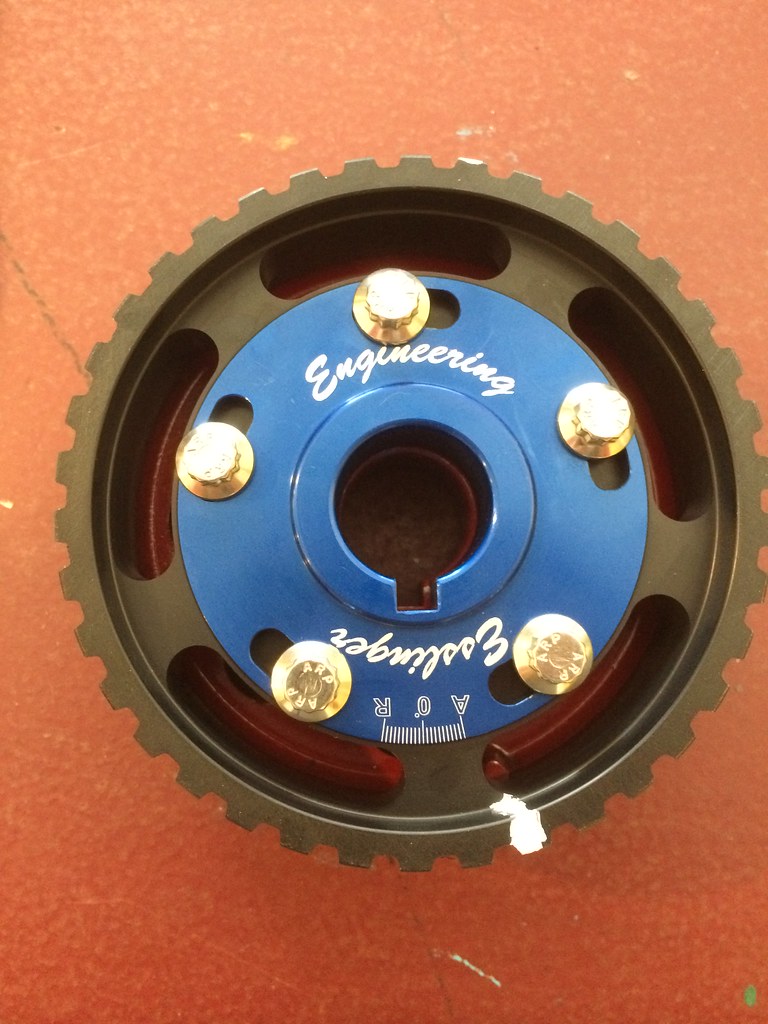
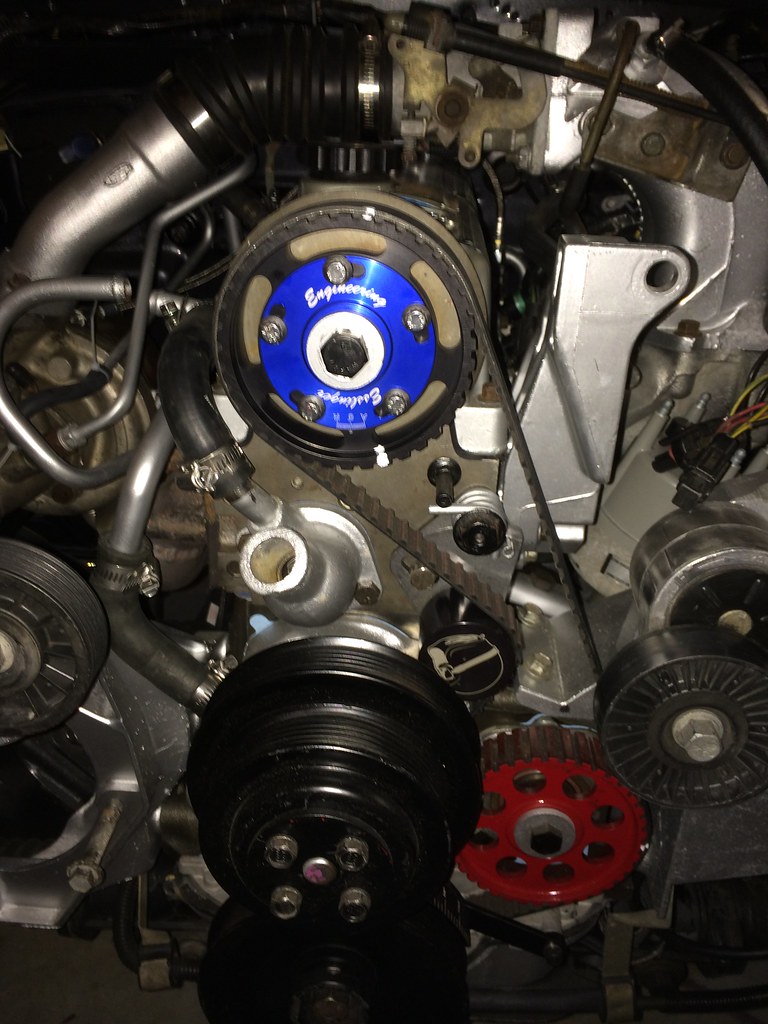
Esslinger cam gear and upgraded tensioner
After a thread on Facebook in the TurboFord group about stock tensioners falling apart, I took advantage of the year of year Esslinger sale and bought a new tensioner and adjustable cam gear.
Used the old 'white out' trick to mark the belt location on all 3 pulleys and installed the new parts.
Here is a picture of the cam gear, and the pair installed.
Saturday, November 8, 2014
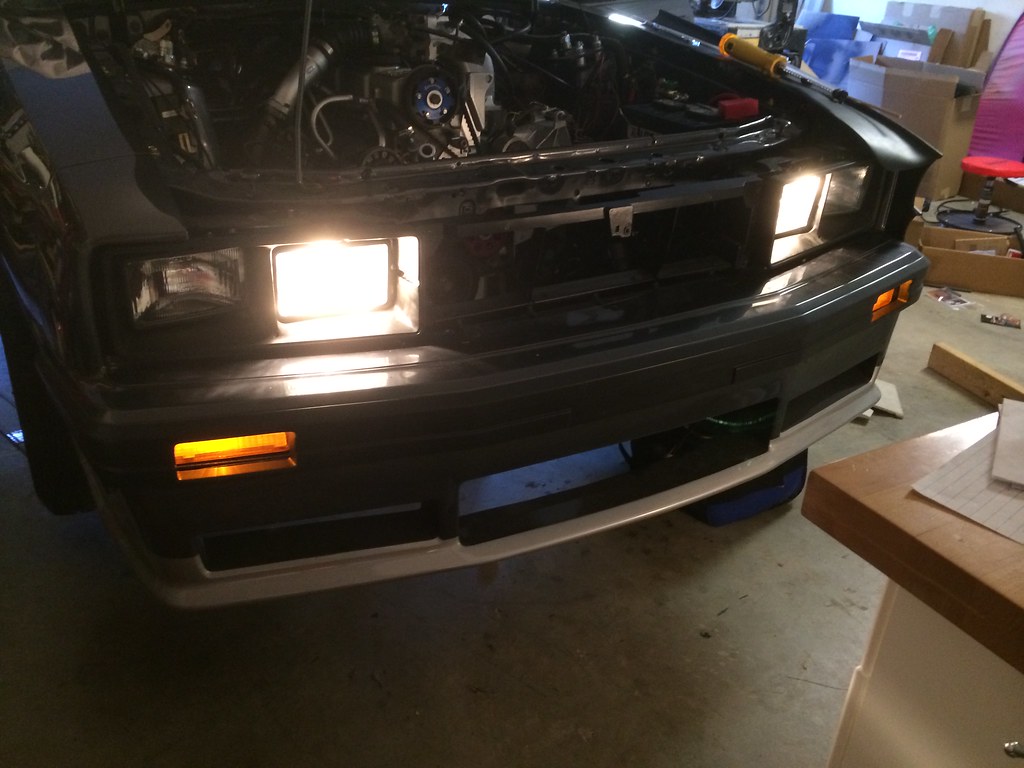
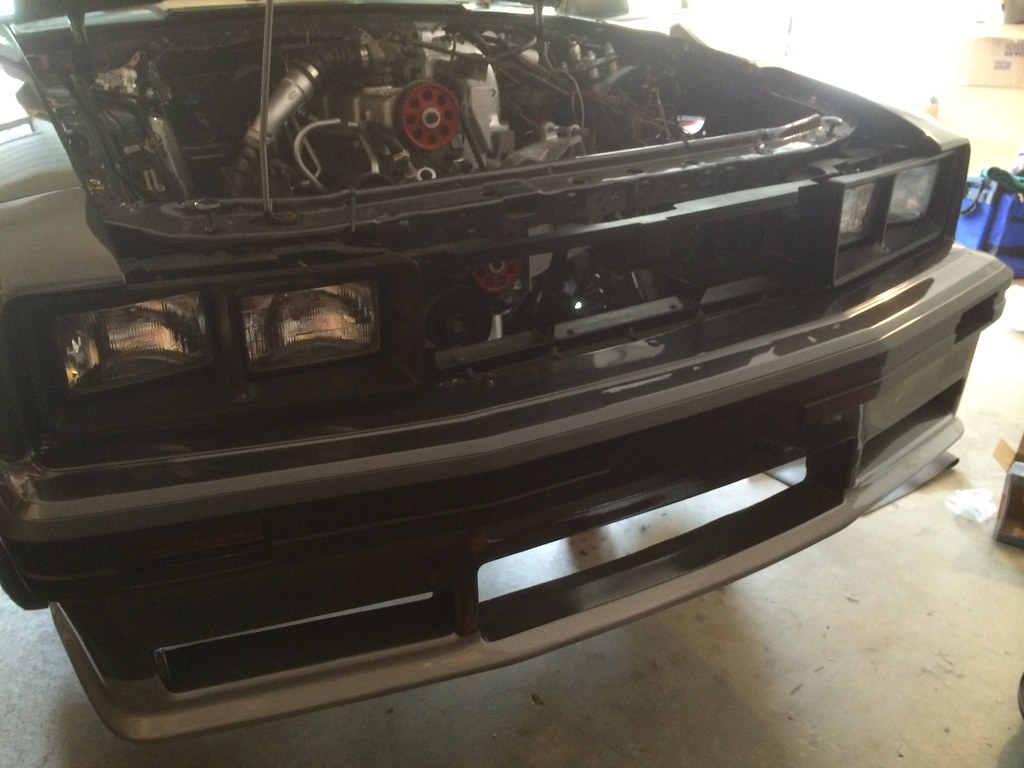
Four Eyed Again!
Wednesday, October 1, 2014
Not a lot of updates - but a few new parts installed!
I was able to install the aluminum driveshaft, Steeda Tri-ax shifter and some light bulbs since the last update. I know, not much.
However, I do have some parts on order that will allow me to install the battery and actually turn on the lights! No starting yet, still need some big pieces like a radiator, starter, fan etc.
Subscribe to:
Posts (Atom)