Friday, December 3, 2010

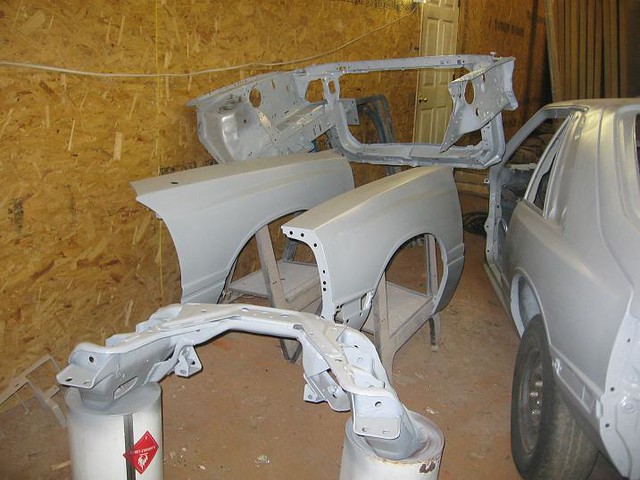
New Frame is being fitted!

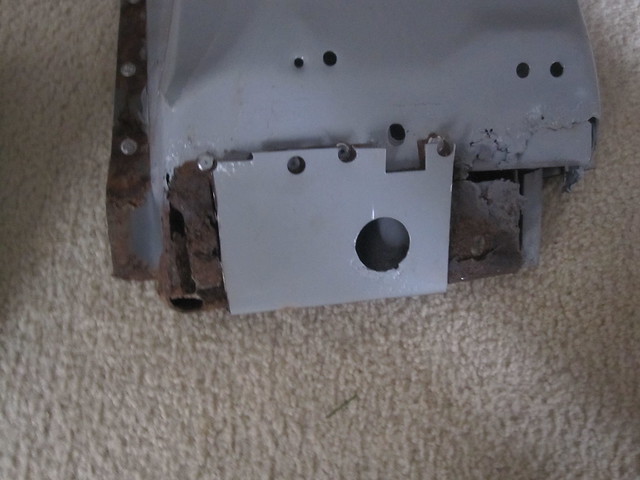
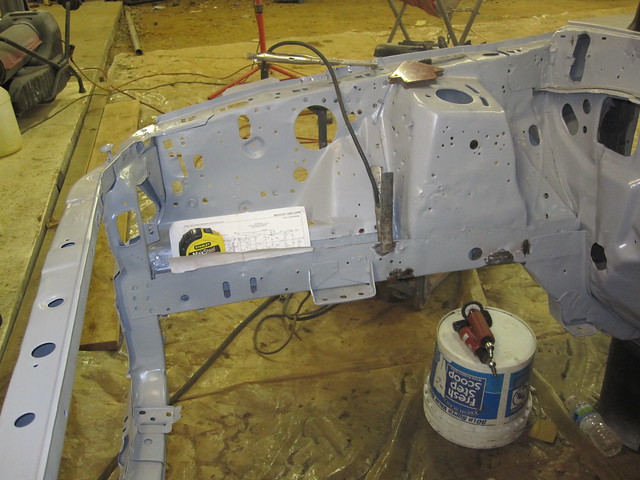
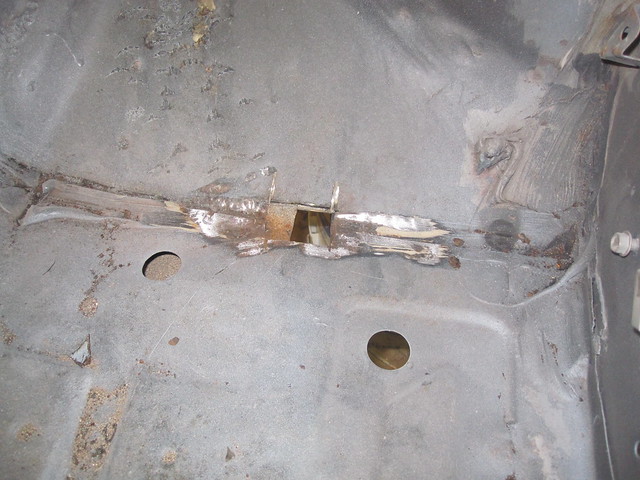
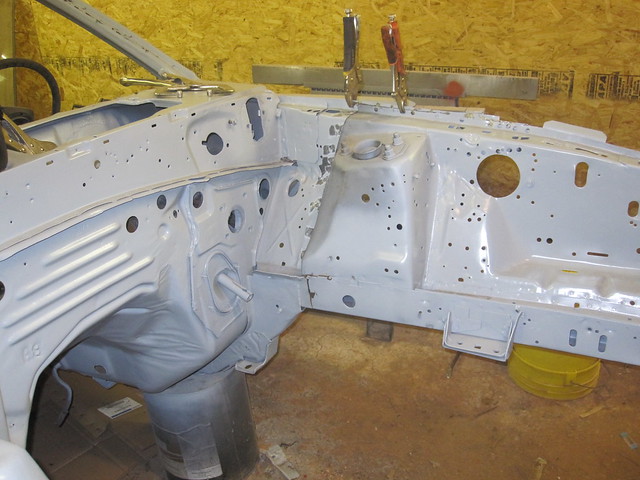
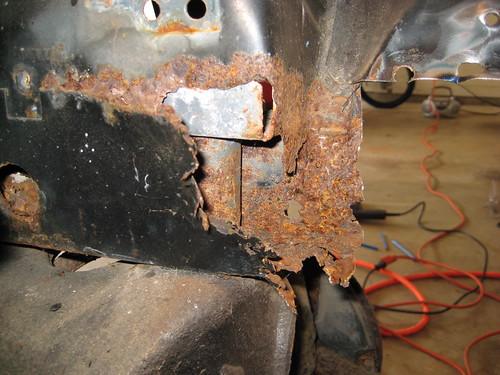
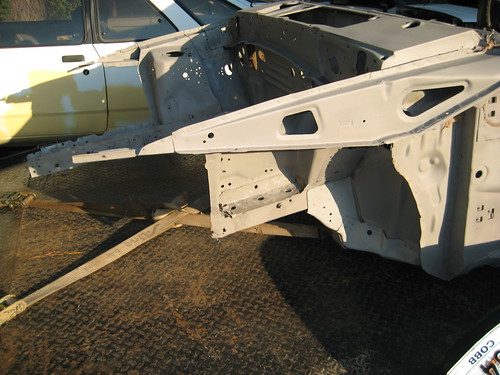
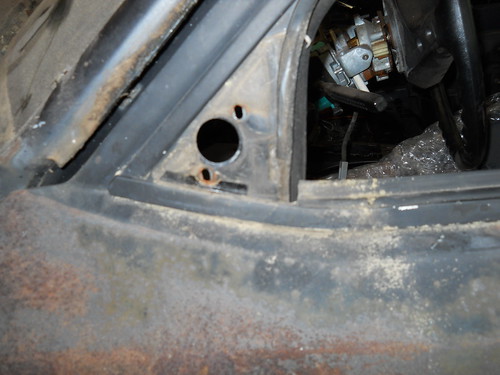
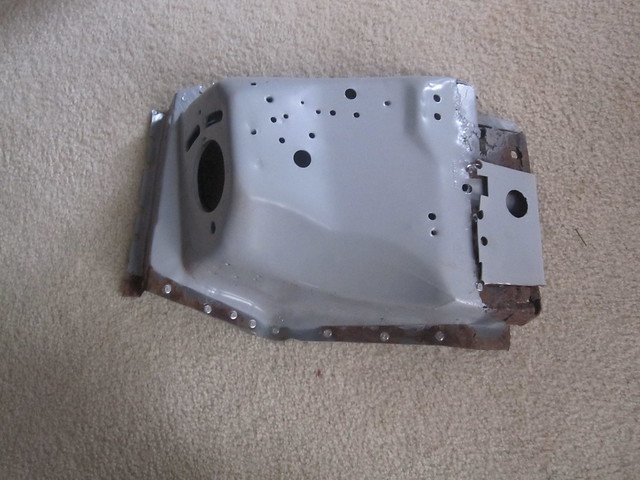
I got over to see the Capri today. Jason has the front end mocked up and found some more rust, necessitating a replacement of the strut tower. See how bad the rust inside the tower was!


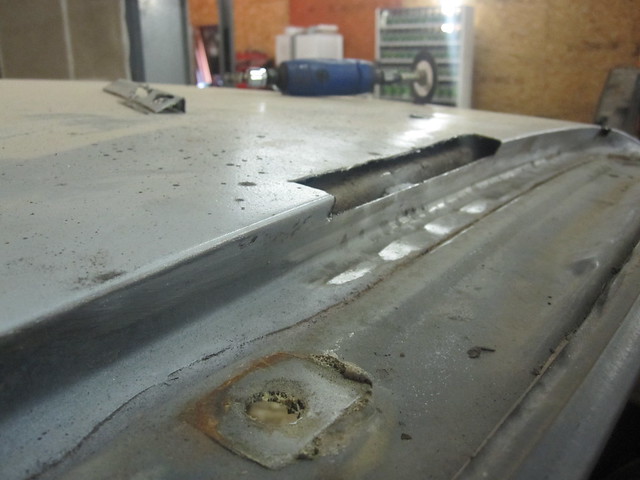
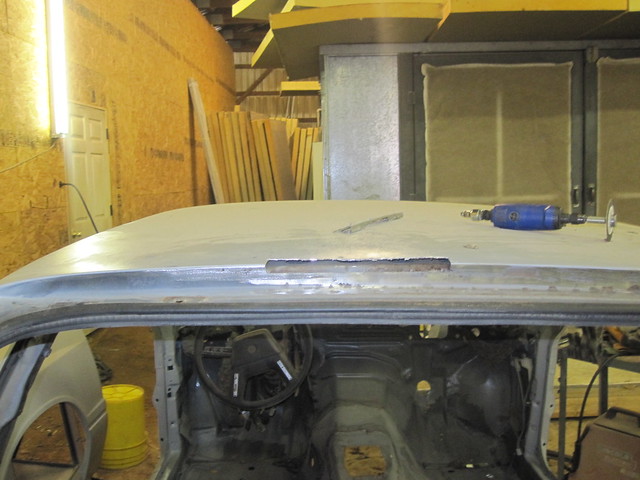
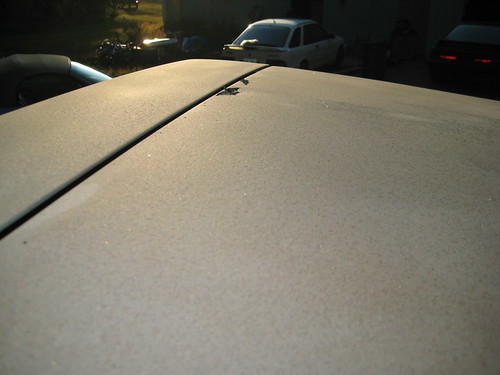
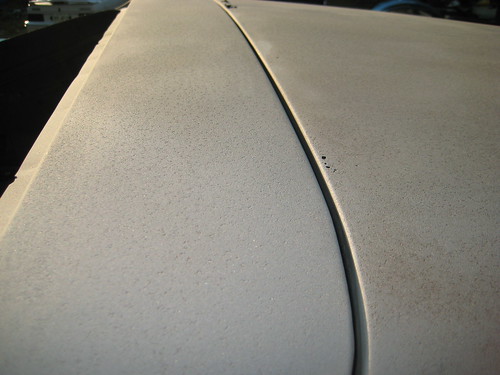
They also cut out the rust on the roof and floor.


Hopefully paint next weekend for the engine bay and repairs for roof!


Thursday, November 11, 2010

Quick update - primered body

A couple of pictures from Jason.

Wednesday, October 20, 2010

No longer a rusty shell!

Well, she's not a rusted shell any more. She's a sandblasted shell!

All the rust is gone and only a few minor issues were found. The first thing Jason did was to remove the front suspension and all the rusted and damaged parts of the nose. Then he hauled to be media blasted to remove all the rust.

Fortunately only a few minor things were found that we didn't know about.

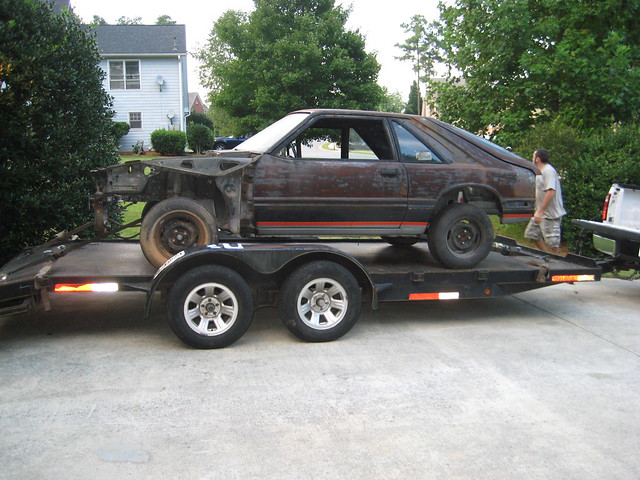
First, here is what it looked like when it left my house.


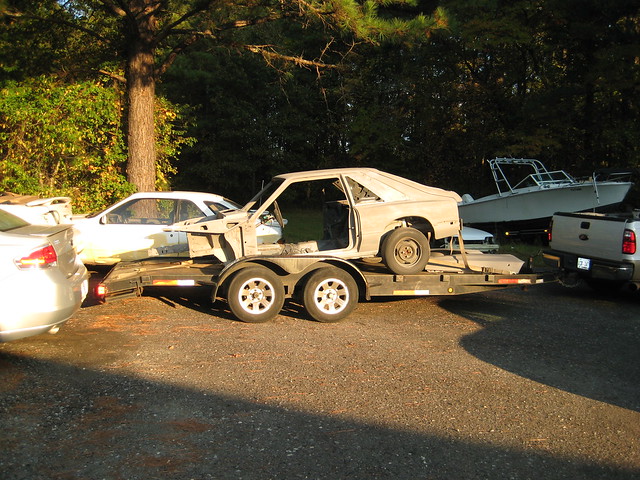
Now here is how it looks on Jason's trailer.


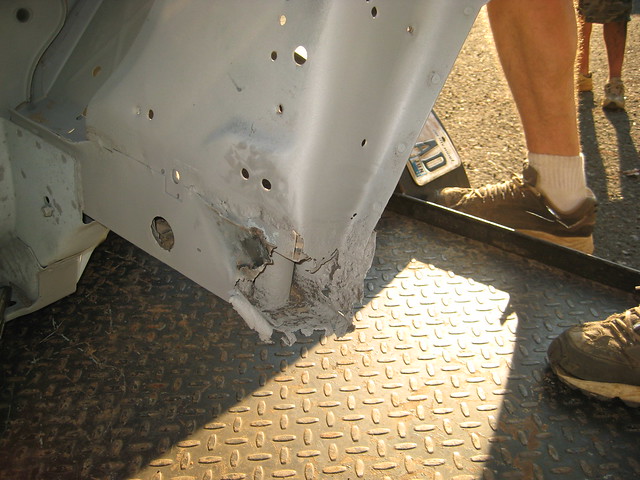
The rusted rail before.


The rail after.


The roof after


There are a few small rust holes uncovered, but nothing to prevent me from moving forward.


There are a ton more pictures in my Flickr site: http://www.flickr.com/photos/chriscurtin/sets/72157625207546638/

Friday, August 27, 2010

Start of Phase 2

Today was the start of phase 2.

Jason, who is going to replace the frame rail and some other body work picked up the car tonight. She rolls a lot better now than 15 months ago with the seized front brakes and rear drums!


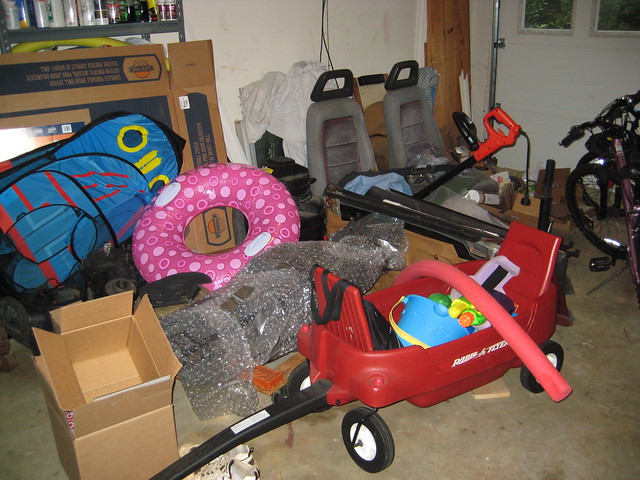
Deb commented that I'd be able to pull the Mustang into the garage now, then she saw the pile of parts that I had in the Capri.

I do need to reorganize the parts so things like the door panels and glass are in a safer spot. All I need is a basketball or softball to hit one!


It will be several weeks before anything happens on the car. Jason is going to take a look at the rust in the roof, then have all the rust removed. Except the doors, since I'm replacing them with the white set you can see elsewhere in this blog.

Saturday, July 24, 2010

End of Phase 1

Well, today is a milestone. I've done all I can do until I get the frame rail replaced and the roof and fender rust removed.

From 4/29/2009 to 7/24/2010 I have put 112 hours and 30 minutes into the car. Looking at it today you can't see much of that effort, but there is plenty completed.

Today I put the chrome differential cover on filled it with gear oil. Then I removed all the jack stands and put it back on the ground for the first time since last fall. Wow it looks smaller than I'm used to.

Budget-wise across the 15 months on average I spent less than I allotted each month. Of course some months I didn't do anything, others I blew it way out.

So today I've decided that 'Phase 1' is over.

What's next? In the next two to four weeks the fabricator will take the car, have the engine bay, k-member, roof and fenders media blasted to remove all the rust and remaining paint. Then he'll install the replacement frame rail, repair the radiator support, replace the passenger's side apron and check everything for proper frame specifications.

If everything is in spec, he'll paint the engine bay, k-member, cowl and outer aprons the factory body color. If not, I need to find some money to get it to a frame shop to be straightened, then do all of the above.

The roof and fenders will be primed, a set of subframe connectors will be installed and all the little rust holes will be filled.

The final unknown in phase 2 is how bad the rust in the roof is. He is going to cut out the area around the hole and see what is involved in repairing it. Worst case I need a new roof skin, which is pretty expensive to install. I'm hoping it is just that area and that he'll be able to patch it.

The k-member will also be painted the body color and I will order a set of Ford Racing lower control arms to replace the 26+ year old pieces. The Eibach lowering springs will be installed. Depending on how the other unknowns go, I may also install the new 87+ spindles, rotors and brakes plus the KYB struts. That will be one of the last things to decide.

Once all this is done in the early fall, she'll sit in the garage until next spring when I have money again ;-)

Sunday, July 18, 2010

Removing the windows

A few weeks ago I started taking apart the doors I bought last fall as replacements for the original ones. The original ones have bad rust on the bottom and the passenger's door has a couple of rust-through spots on the skin. Instead of spending money to have these repaired, then prepared and painted, I am going with the "new" ones.

First thing I did was to remove the interior door covering and mirrors from the "new" doors. Since the doors were electric window/door lock I also had to remove the electric hardware. It wasn't that hard, except drilling out one or two of the rivets holding the equipment in. I choose to do this because the stock doors are manual windows and the wiring harness isn't in the dash. Rather than having a large project to find a harness, wire it in, check it etc. I want to convert the new doors to manual. Plus the stock door skins are in great shape, so I didn't want to find replacements.

Since the stock windows are factory tinted, I need to remove the windows in the new door, which aren't. I asked around on several websites for Fox Chassis cars and didn't find much information about how to do this without drilling out the rivets in the window.

So, here is what I did.

First step. Get a pair of good thick work gloves. While none of this is really hard or requires a lot of strength there are tons of sharp edges to cut you hands on.

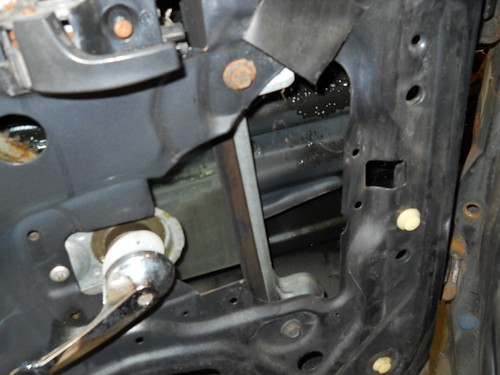
Next, remove the channel that holds the front of the window in the door. In this picture these are the two nuts top and bottom you see.Once unbolted, it easily comes out of the door.


Next remove the pole that is what the window glides up and down on. There are two nuts here, one at the top and the other at the bottom of the door, which you can't see.

Remove the exterior due wipes. (First remove the mirrors). Gently pry up on the metal piece at the bottom of where the mirror used to be. There are no screws or nuts for this. This is one place where I had one glove on and gently pulled up with the other hand. Once it starts to pull up, it comes out pretty quickly.


Next remove the upper exterior channel. Behind the dew wipe where the mirror was, is a small screw. Remove it and again gently pull the metal, this time towards where the dew wipe used to be. If you are lucky the weatherstripping will come with it. For one of my doors the weatherstripping shattered into a million pieces. Finally reach inside the door and remove any remaining weatherstripping.


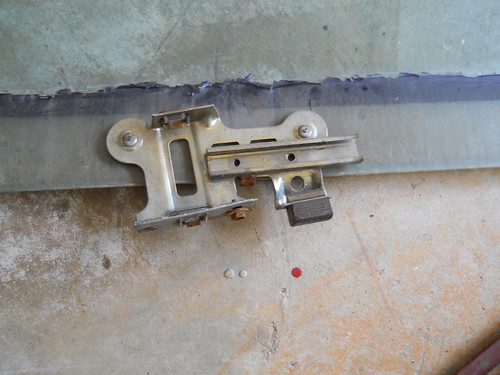
Now for part that I can't help with. Since I removed the electric mechanisms, the regulator, which is what raises and lowers the window was already removed. I can't tell you how to remove it from the bottom of the window. Maybe someone else here can?

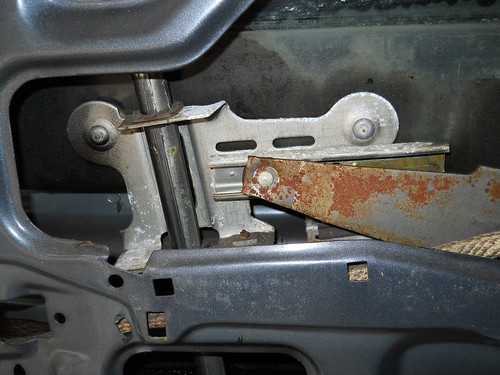
Here is what the regulator and window assembly looks like in the door:


Now push the window against the front of the door and out of the way. Pull the top of the window glide up until it won't go any more (pushing the bolt out of the backside of the door. Now gently twist it, so the bolt is parallel to the window. Gently pull the two sheet metal parts of the door apart, less than 1/4" and pull the glide out.


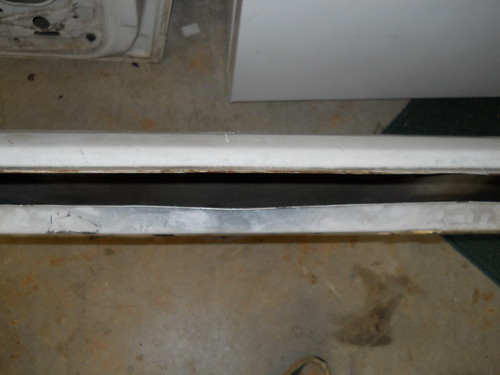
Here is what the gap looks like:


Now the window can be raised. It isn't easy to get it out of the window, since going straight up, like rolling it up, hits the door frame and it won't fit. I rotated the window about 90 degrees and took it out "back" or "left" side first, the assembly at the bottom easily cleared the slight increase in the gap between the two sheet metal parts.


With the door apart I can have it worked on (small dents) and repainted. Once that's done I can reassemble it.

I have a while before I need to rebuild the window, but everything you need is available from Fox Restoration at www.foxresto.com
Friday, July 2, 2010

Door panels and help from the little guy

Today I removed the door panels, mirrors and drip moldings. I was going to remove the undercoating from the wheel wells, but tomorrow is Deb's birthday and her friends are taking her out tonight, so I was only able to get an hour of work today.

I did get some help from my son when I was trying to remove the brakes lines from the proportioning valve.


More pictures on the family blog.