This weekend was very busy, and I even got some work done on the Capri!
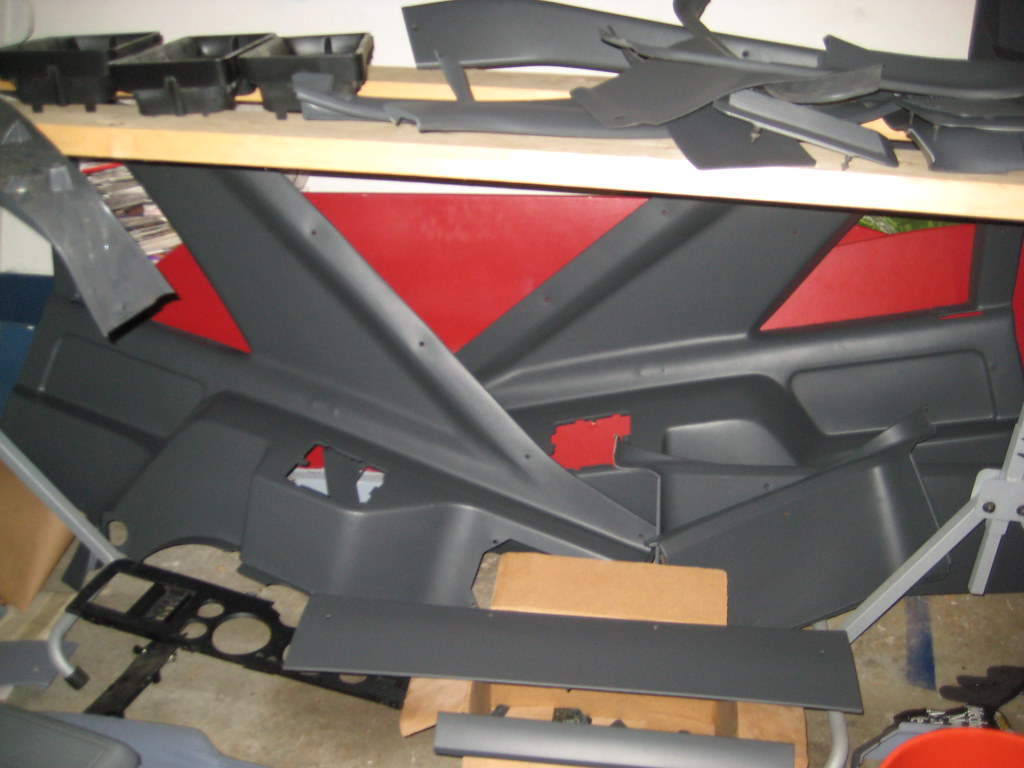
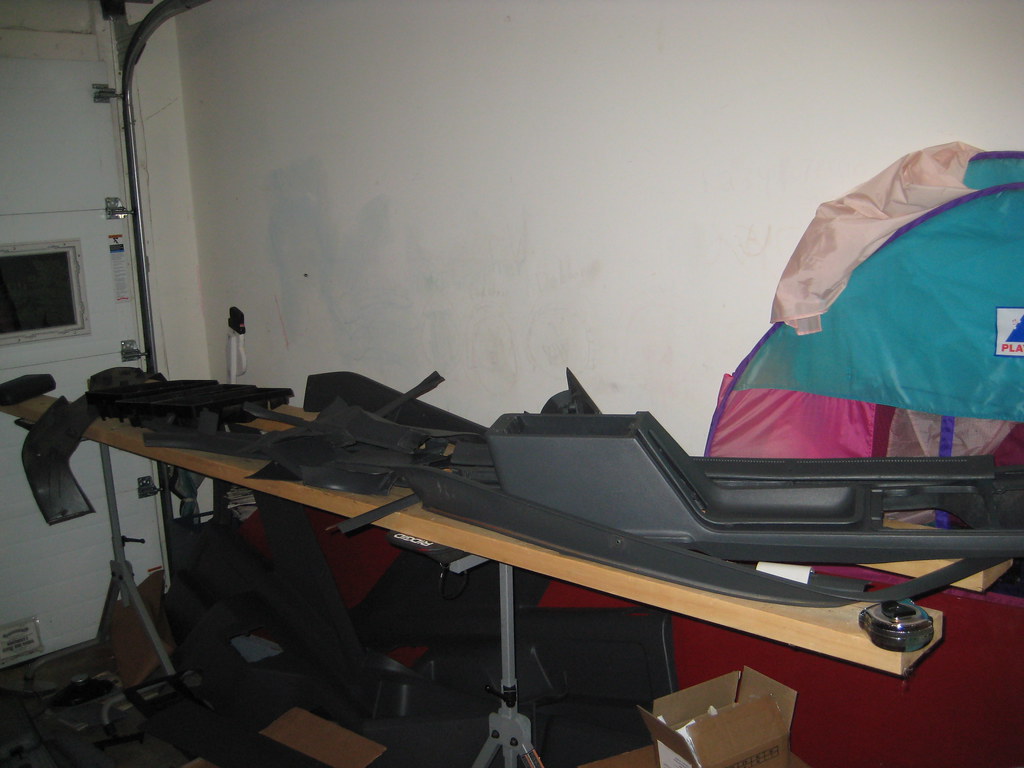
First, a few weeks ago I had all the interior parts cleaned up and painted. They came out pretty good, but 30+ years of scratches don't all come out without a lot of bondo, so I decided to remove the rough edges only.
I started Friday by taking the day off from work and going to a junkyard. I was specifically looking for a lot of 'small' things that I need. For example a VSS clamp and bolt, seat belts that have been updated in the recall etc.
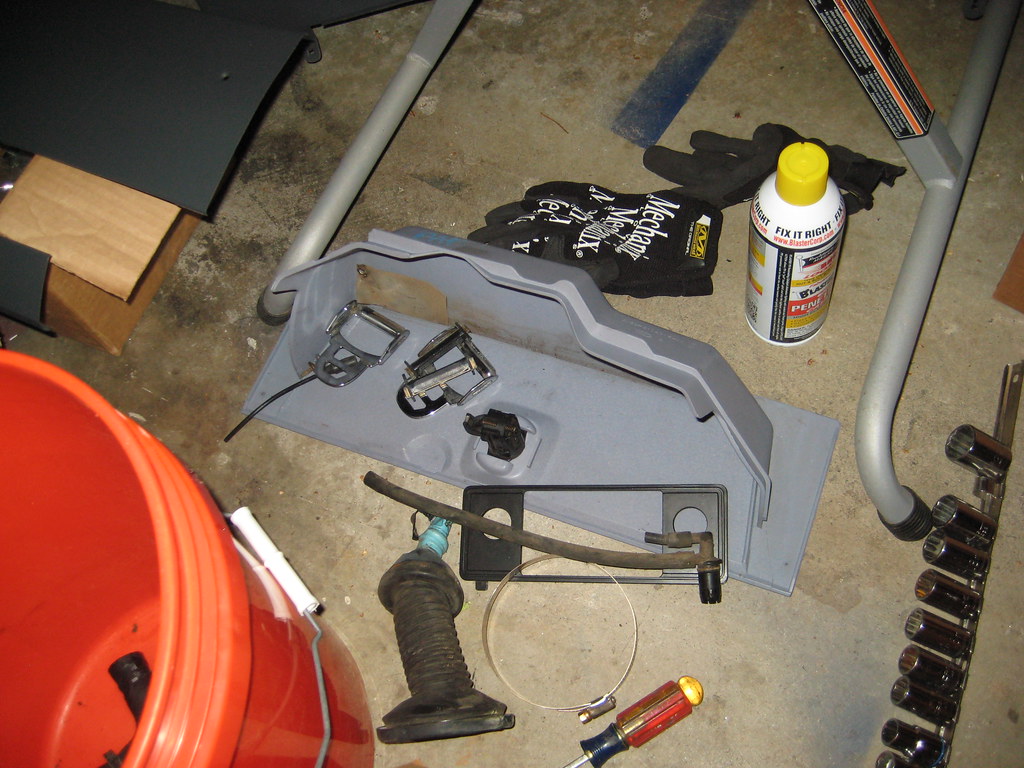
What I found was an almost mint condition 1984 Mustang V6 hatchback. Someone had already removed the dash cover, so I'll assume it was perfect. It even had a stock radio! I stripped the console, radio, glove box, seat belt buckles, speaker covers and a few other small pieces. I debated for most of an hour as I removed all this stuff if I should take the seats. They were lowback sport seats, but in excellent condition. In the end I left them. I swear it was a little-old-lady's car, it even had the cargo cover! If I'd had the 7mm wrench I would have taken the dash shell too, but I didn't expect to find a usable dash shell!
I did find the VSS in the remains of a Ranger and a few other parts in other places.
Saturday was my 22nd Wedding anniversary so my wife and I went to see Foreigner and Styx and get away for the night! Sunday was spent at the pool with the kids.
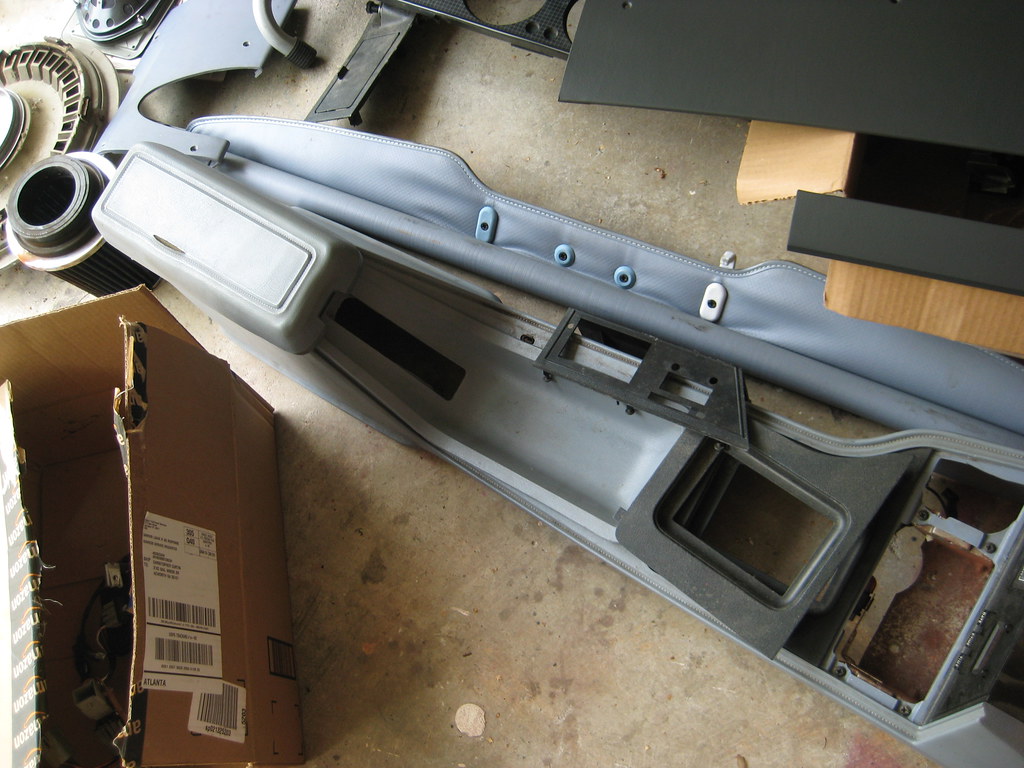
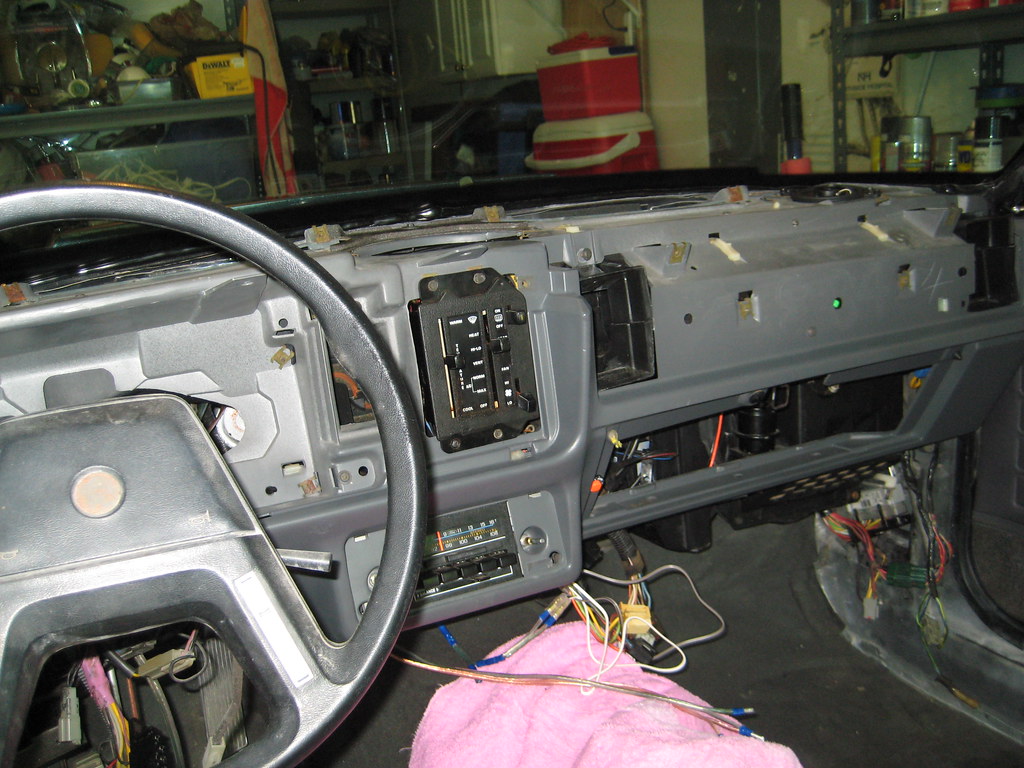
By Monday morning I was itching to do some work on the car, so I ran new speaker wires, reassembled the dash (it was taken apart when painting the entire interior) and installed it. Sounds like a quick job, but it took 5+ hours total.
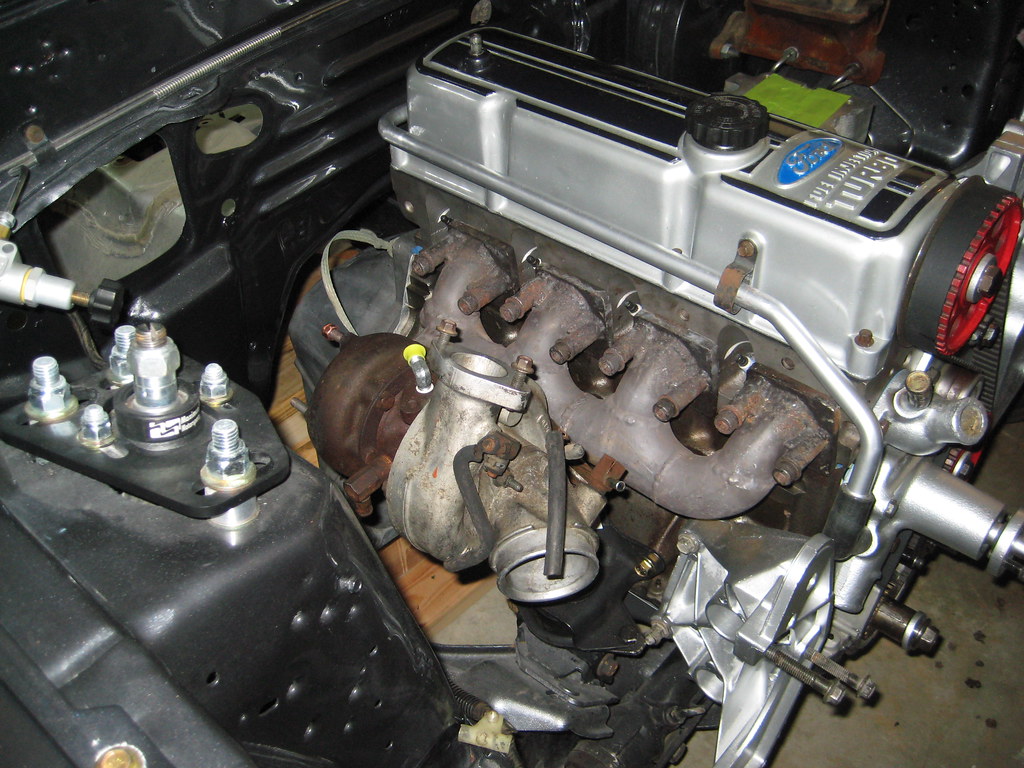
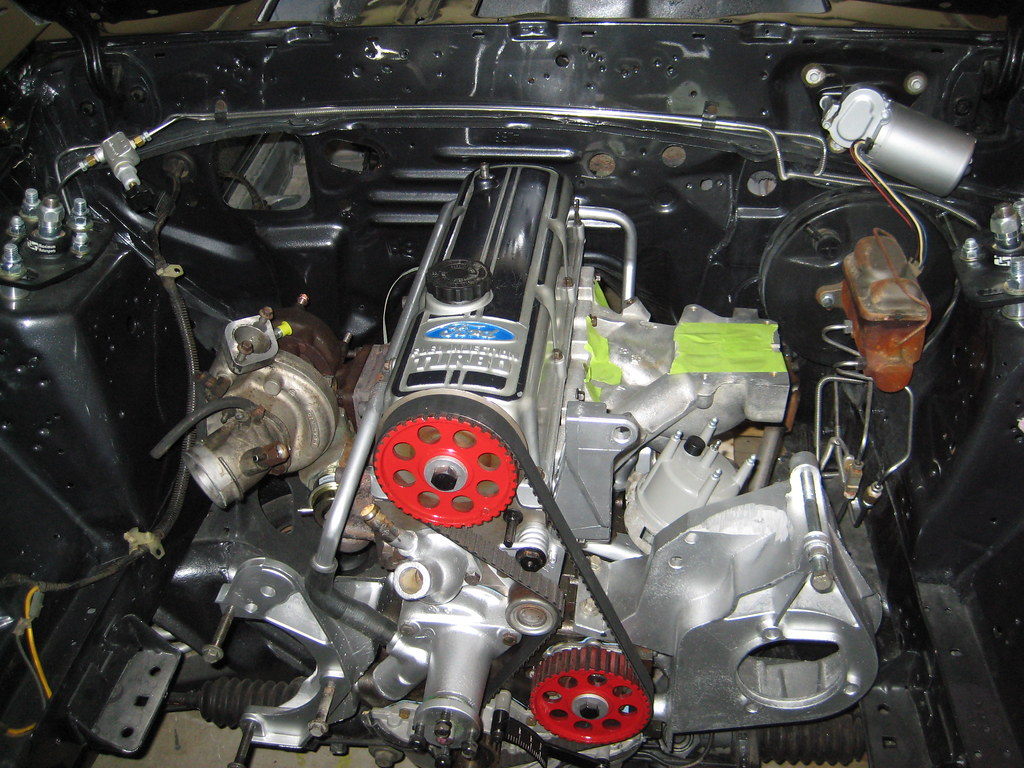
Here is the dash:
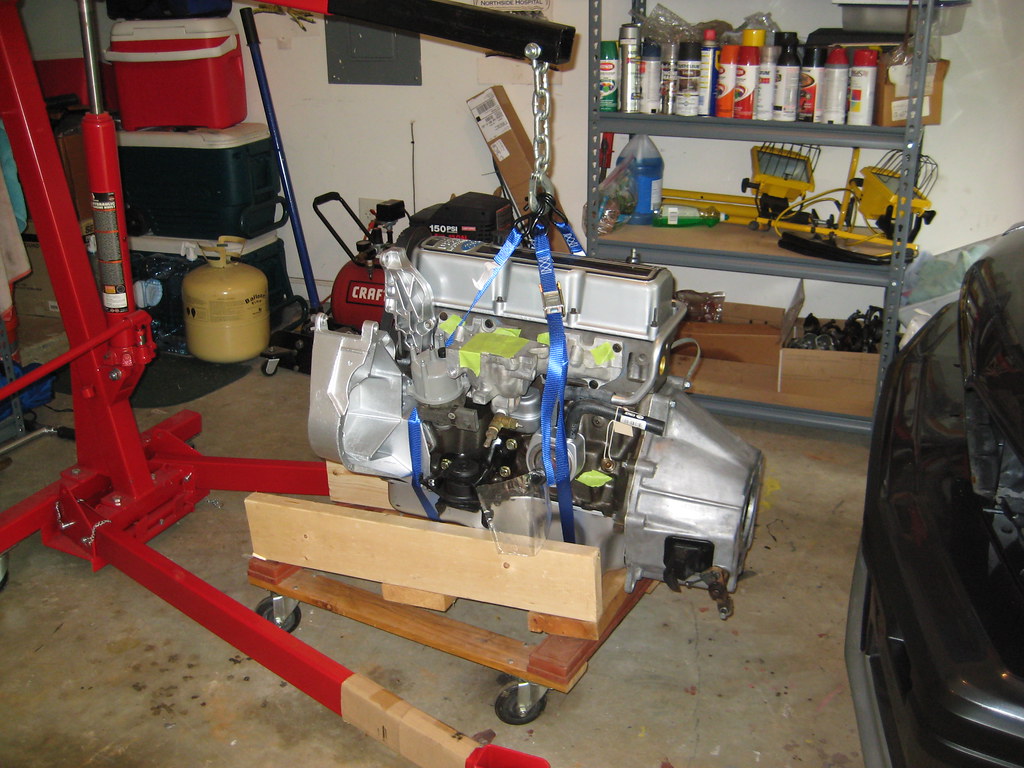
Here is all the painted parts in the garage:
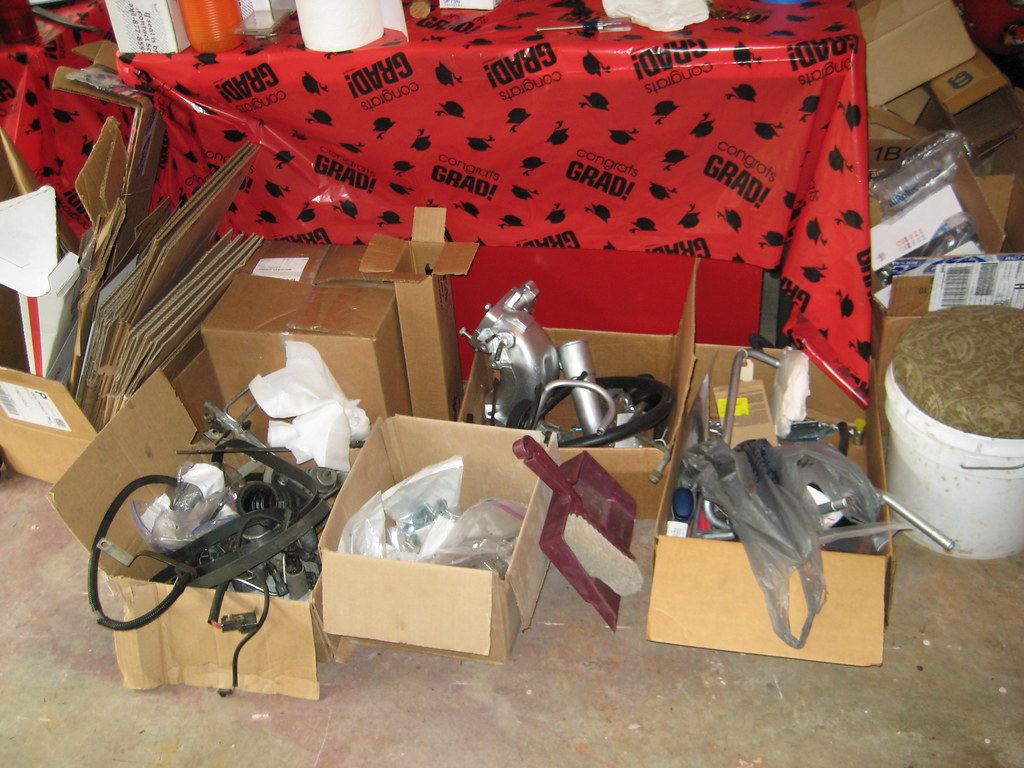
Here are some of the parts I removed from the junk yard:
Oh and there are boxes in my home office with new carpet and a headliner. I'll finish the interior next weekend and install those next!
Details on the build of my 1984 Capri RS Turbo. Started as a rusted shell with no motor or transmission. Now she is a sort of running 2.3T. Got her running in 2017 and took her apart in 2018 for some upgrades.
Monday, May 26, 2014
Sunday, April 13, 2014
Fuel tank, fuel lines and HVAC in!
First update in a long time. Kids, holidays, winter (yes it was very cold in Atlanta this year, even got snow a couple of times!) and typical work stuff got in the way.
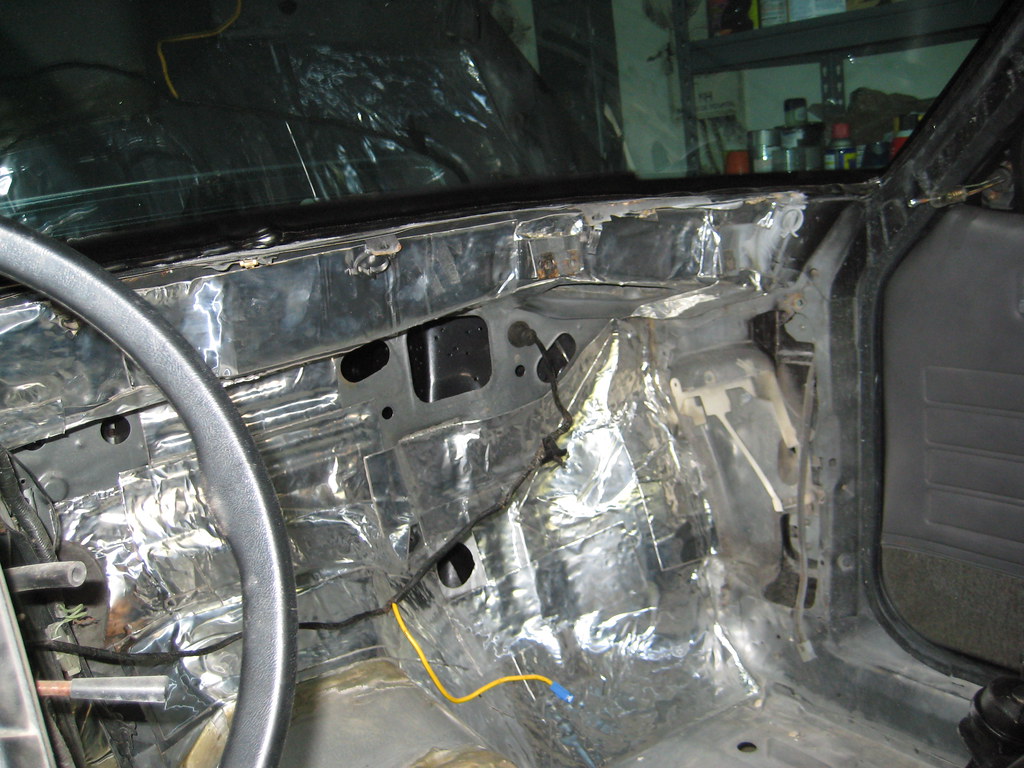
Last September I installed the transmissions and started working on the interior. I started with an install of some RAAMmat BXTII and Ensolite. I was able to get the first part done.
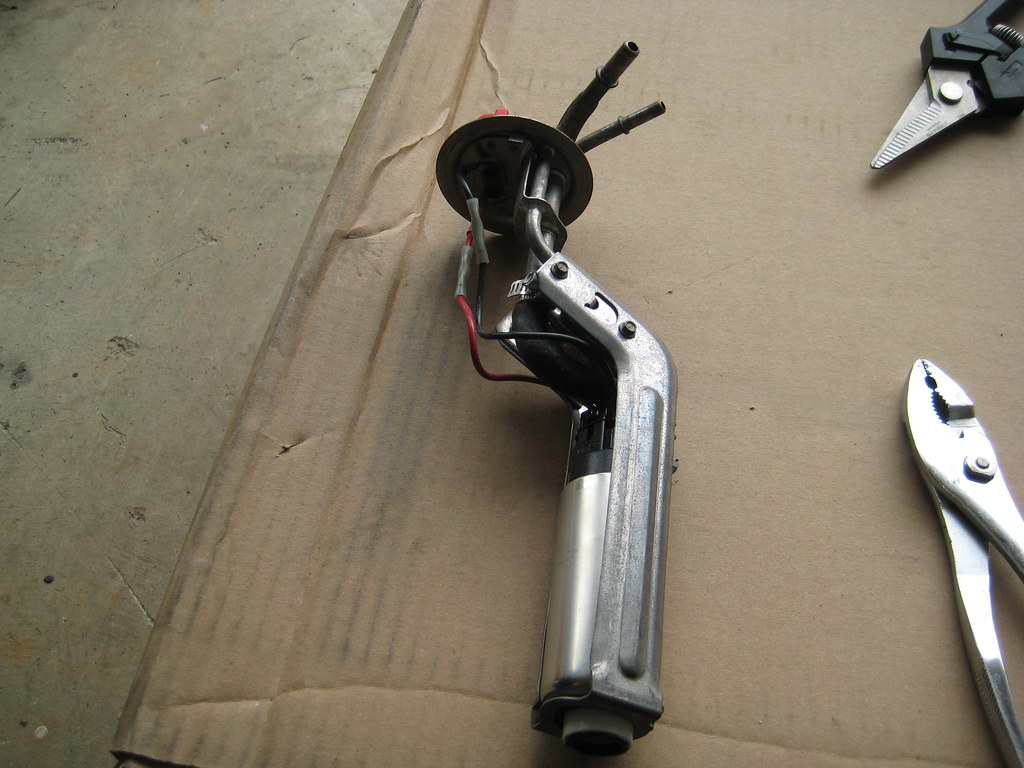
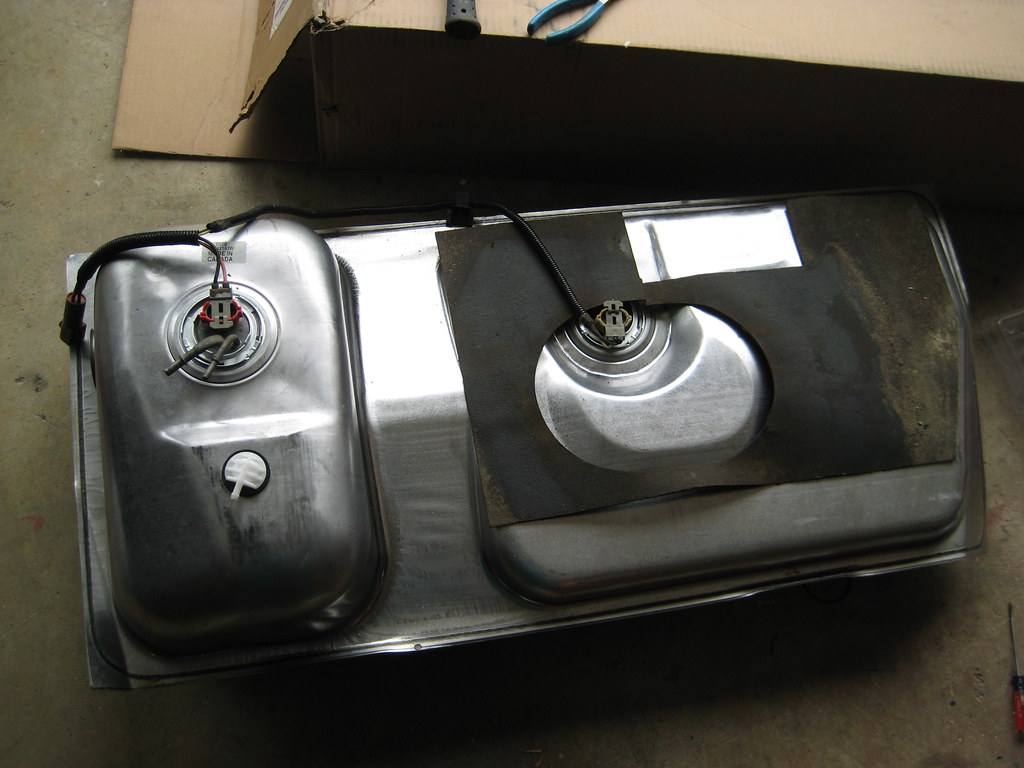
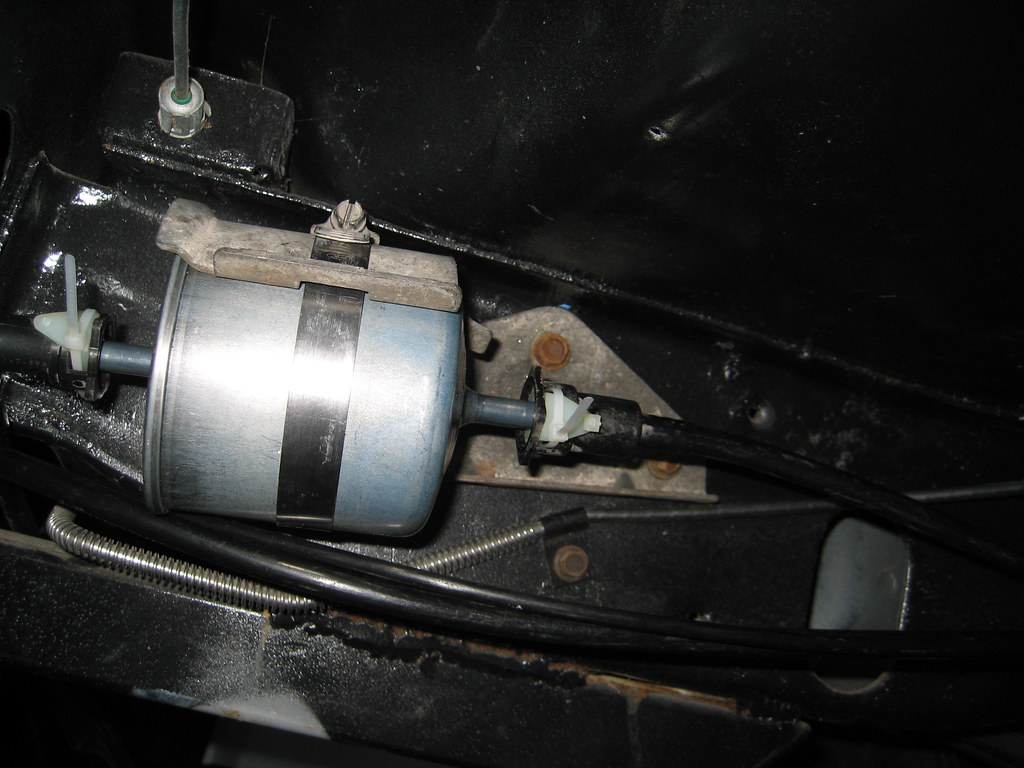
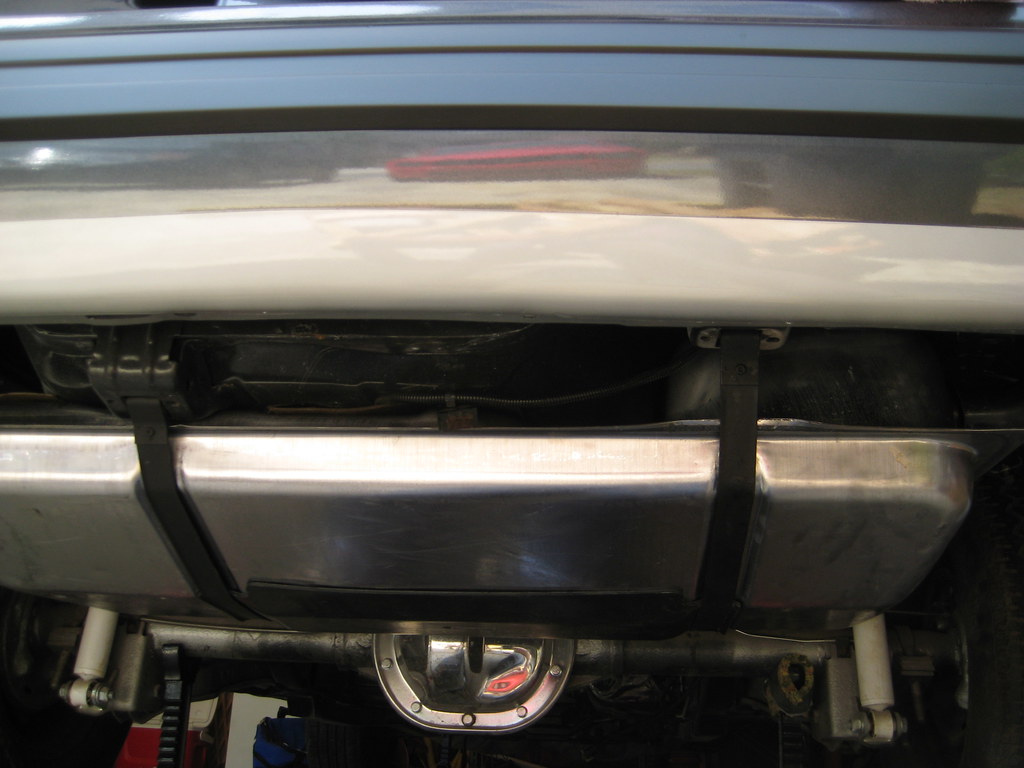
Last weekend I was able to pick things back up again and installed a new 255 LPH HP pump and rebuilt level sender. Then installed the new tank, ran the lines, including an 87+ fuel filter bracket.
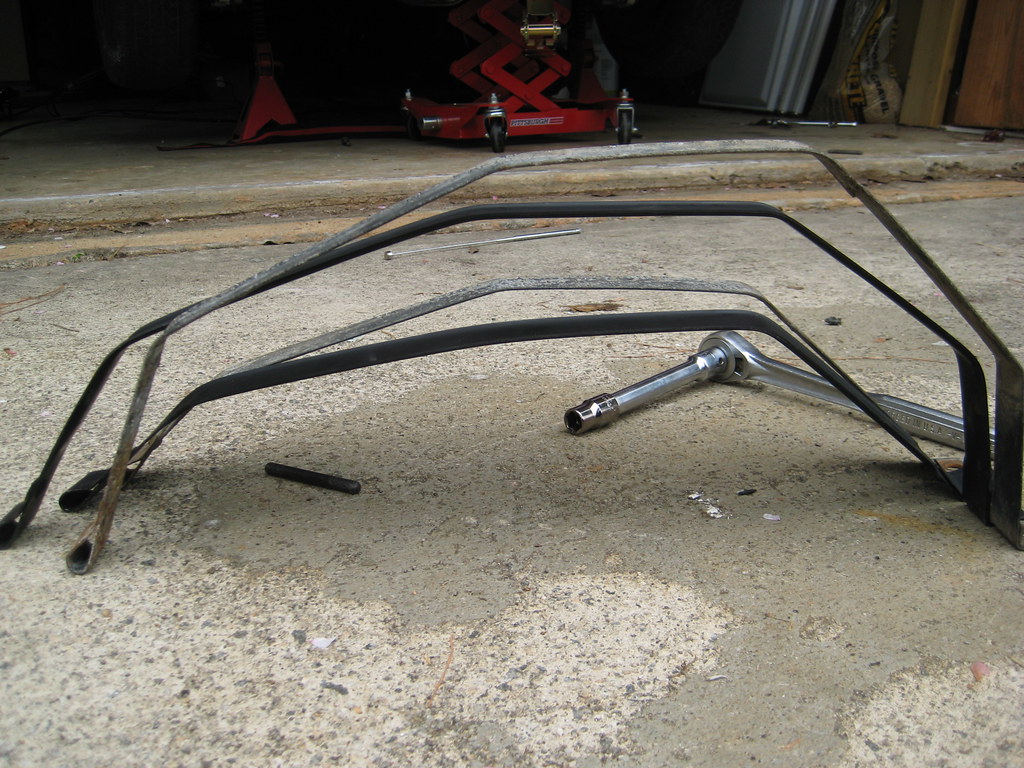
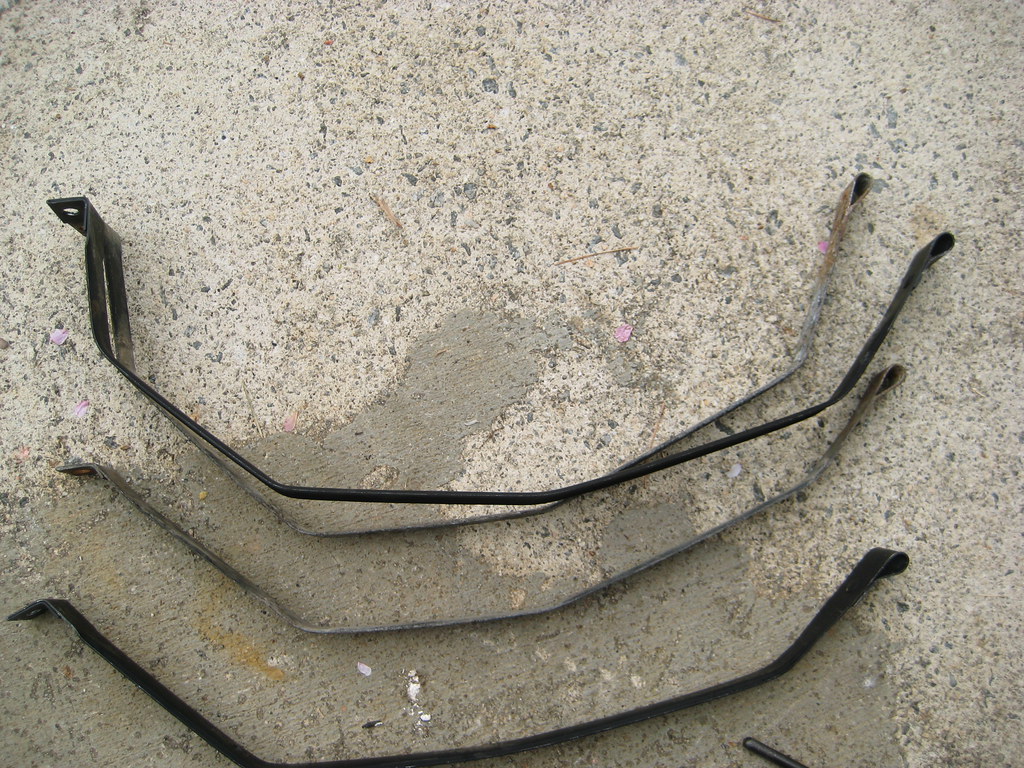
After several hours of fighting with the tank, I finally figured out that the aftermarket brackets weren't bent the same way as the originals. I sanded the originals, a couple of layers of primer and finally paint and I was able to get the tank to install.
This shows the difference. I probably could have bent the new ones to match, but I was so annoyed at this point I went with the originals.
All done:
After I started cleaning up I noticed that the old pump that came with the bracket was missing the little flow control valve on the front. Rather than risking that the old valve was in the 'S' tube, this weekend I took the whole thing back down looking for the valve. (With what I have in the engine, it wasn't worth the risk of not getting enough fuel!)
Never did find it. Replaced the 'S' hose on the new pump, then cut the old one apart. Still no sign of it. Either it wasn't installed or it fell out when I took the original apart. However I don't remember seeing it after sweeping up.
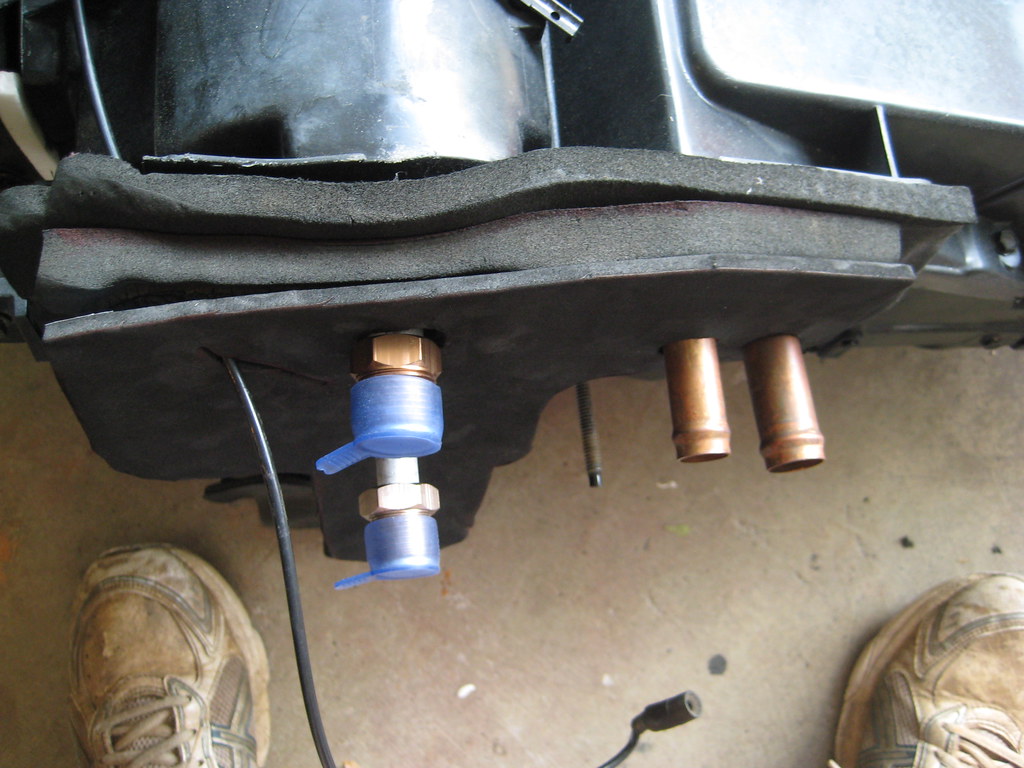
With the tank back in (took 10 minutes this time :) ) I finished the RAAMmat install at the firewall and installed the cleaned up/rebuilt HVAC box.
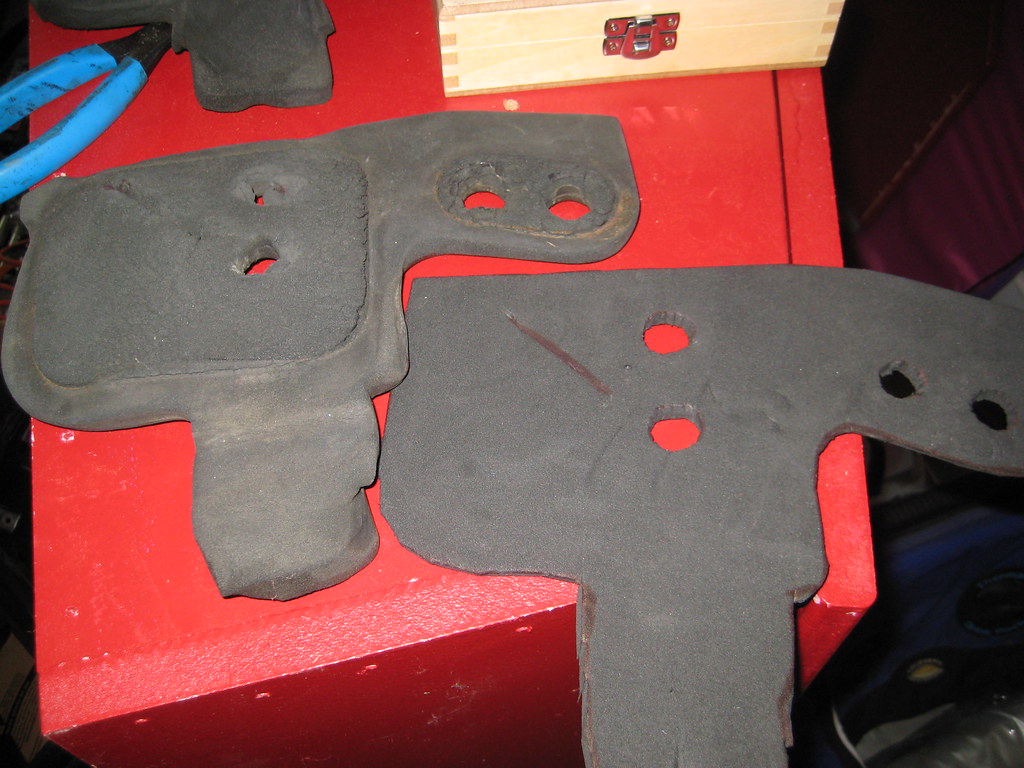
When rebuilding the HVAC box last fall I noticed that the 'gasket' around the heater and A/C was rotted pretty badly, so I went to the local crafts store and got a piece of black foam, cut it to the same size and installed it. It is a little thicker, but not too bad.
Not bad for a couple of hours this weekend (and almost 3 days last weekend getting the fuel lines and tank installed!
Saturday, August 10, 2013
EEC Wiring Harness
This weekend was the first real work on the car in almost a month! We dropped my oldest daughter off at college on Wednesday, Band Camp is done, the other two are now in school and surprisingly, we had nothing on the calendar for today (other than a much needed haircut for me).
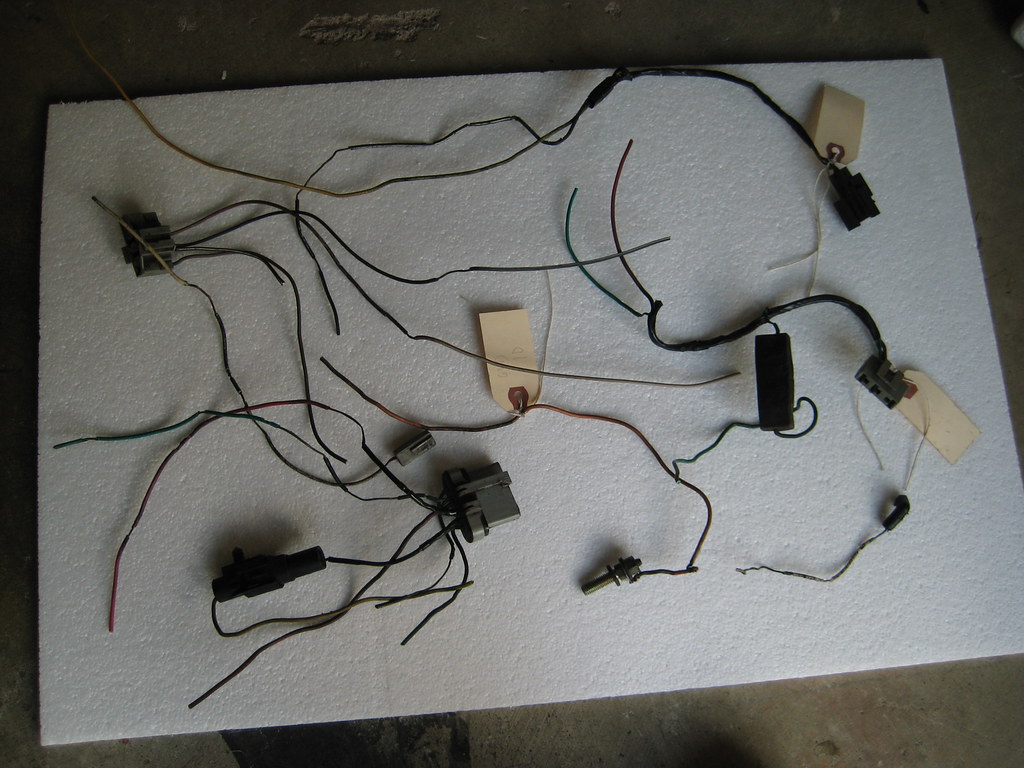
So I installed a few things on the engine (tensioners, upper intake, oil dipstick etc.) then started on the EEC wiring harness. I was originally going to use the 89 xr4ti harness I got with the third motor, but there turned out to be enough differences that I decided to use it as parts for the 84 or 85 harness I got off eBay years ago.
I think I replaced every connector. Wow 30 year old wiring sucks!
Here is all that I replaced:
Three things left to do before installing all the harnesses:
1. figure out how to position the EEC wires so I can wrap them (anyone with a picture of an 84 RS Turbo/GT Turbo/SVO harness out of the car?)
2. Figure out how to fix this:
3. And this:
Saturday, July 13, 2013
Engine Installed!
After two weekends of setbacks I made some major steps today. The engine is installed!
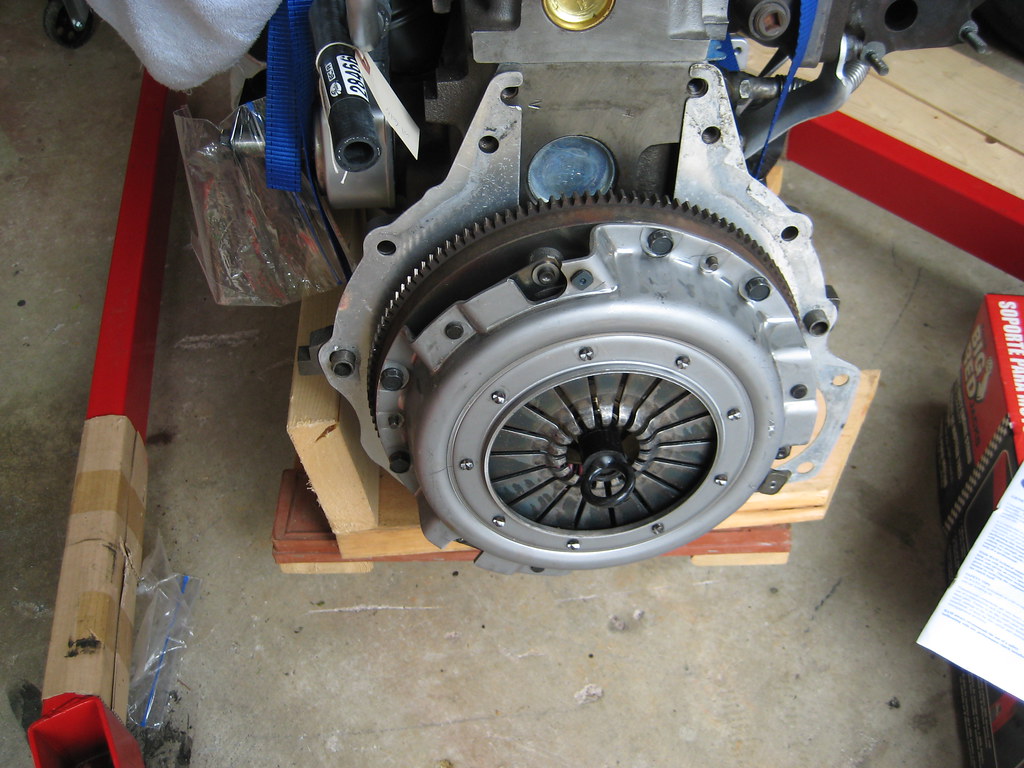
Backing up a couple of weeks, the flywheel turned out to be the wrong one for the clutch, so I had to find and get another one resurfaced. Then the metal plate the fits between the block and bell didn't fit, it was hitting the crank since it was so warped. And it rained like crazy for several weeks!
Here is a picture of the clutch.
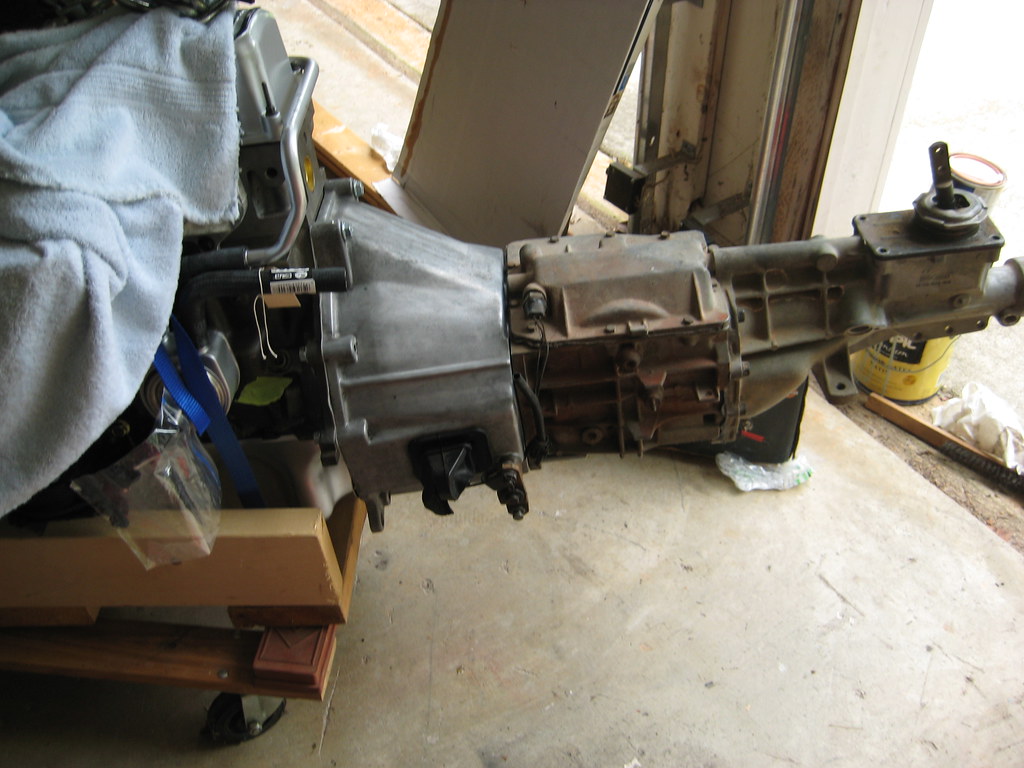
A picture of the transmission attached to make sure everything fit!
The engine ready to go in.
Installed! (no pictures of it going in, both of the other adults in the house were helping install)
Huge thanks to my wife and oldest daughter Meghan for helping get the engine positioned, holding the hood open etc.
I then cleaned up the garage, broke down the engine stand and crane and put them in the shed! Strange not having an engine sitting between the two garage doors. There has been one there for a couple of years.
Next up: put all this on/in the car! And then get the transmission installed, but I need some parts for that first.
I also want to thank Bob Martin for the idea of an engine 'box' for when I removed the engine from the engine stand but still needed to install the flywheel, bellhousing etc.
Some pictures of the temporary box I used:
Saturday, July 6, 2013
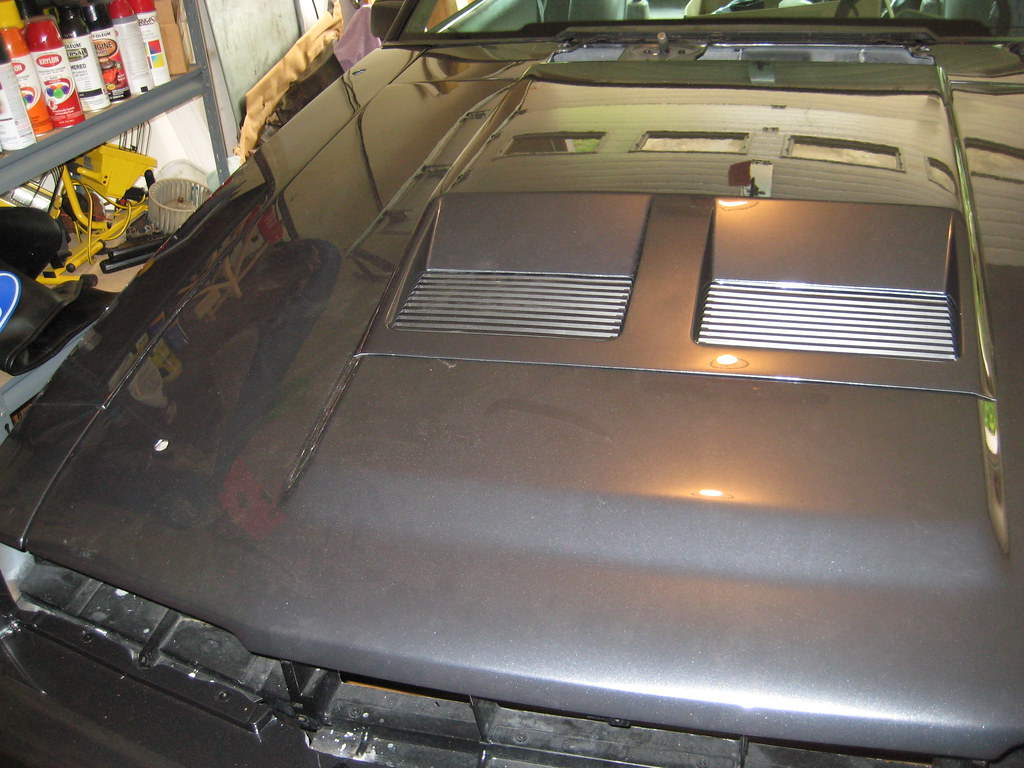
Looking like a Capri - hood scoop on!
Looking like a Capri! (I know this hood isn't correct for the 84, but since 1985 when I saw my first Capri I've always wanted one!)
Sunday, June 9, 2013
We have a passenger window!
It has been a busy spring! Oldest graduated from HS, had company party, kid this-and-than but got a good 5 hours in today:
- installed the trim around the outside of the passenger door
- installed the new weatherstrip around the passenger door window
- installed the regulator and window
- installed the outer dew-wipes. Remove the rubber from the ones I got from FMR and installed on the re-painted originals. Originals felt stronger.
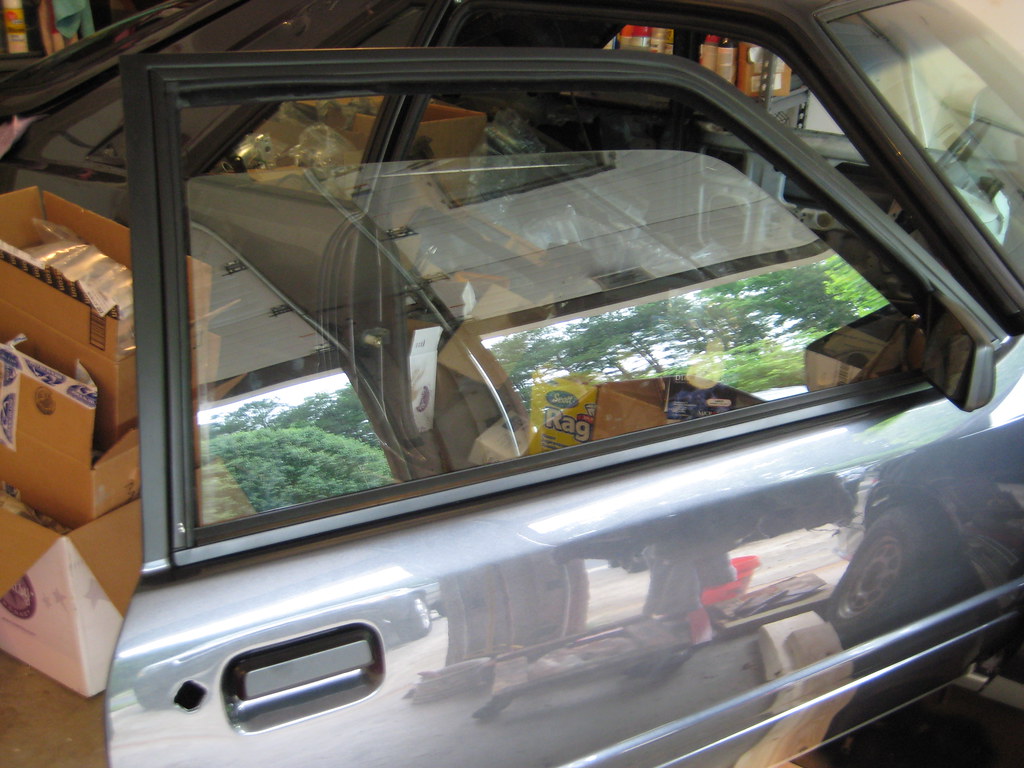
Finished exterior of the passenger door:
(Yes I messed up the new paint on the door trim! Damn glass wouldn't go in easily!)
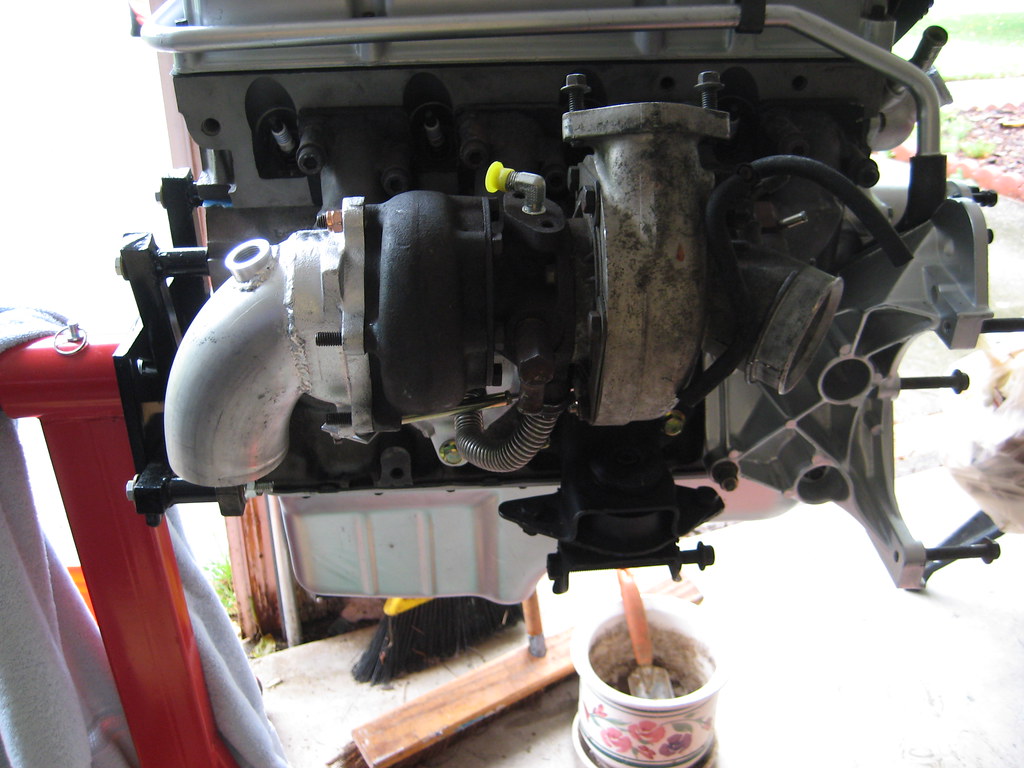
Then I installed the new wastegate, new studs on the output side of the turbo and mounted the turbo. It took three tries to get everything the in the right order so I could tighten down everything:
Thursday, May 23, 2013
tail lights
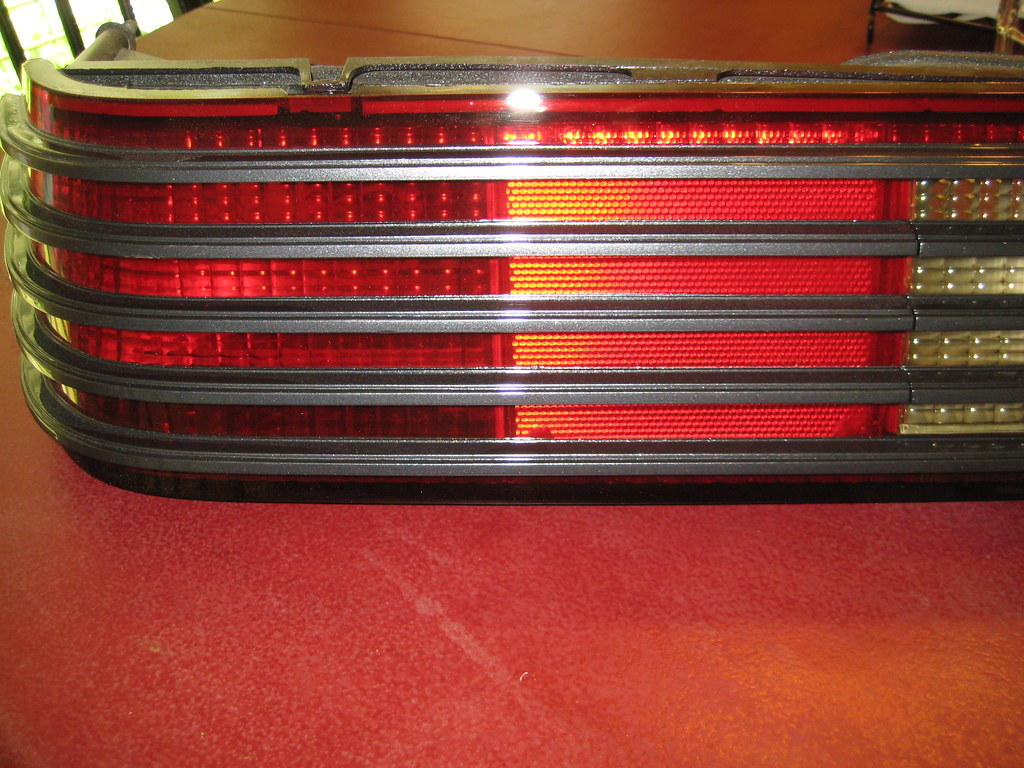
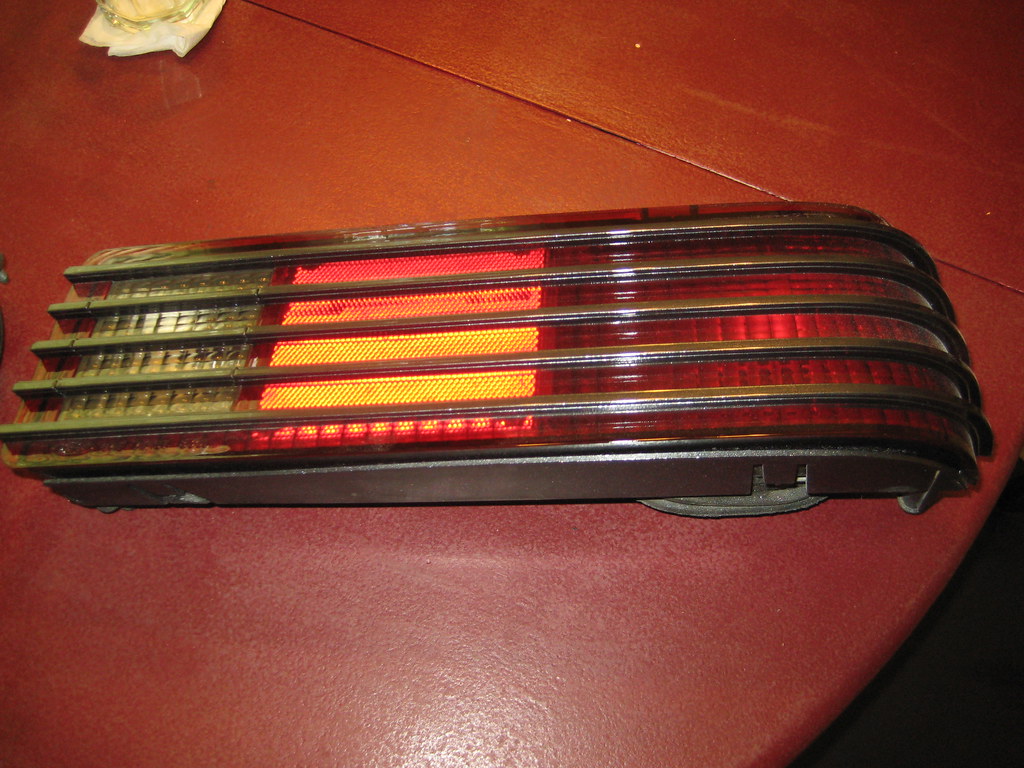
Teaser. Jason at Performance Automotive in Acworth sprayed the slats the body color then cleared all the lights. They look great!
With my daughter's HS graduation this weekend I don't think I'll get any time on the car until Monday. Then it is put together time!
Subscribe to:
Posts (Atom)