One thing I kept coming across when researching the upgrade to the brakes for the Capri was to get a pair of Maximum Motorsports caliper sleeves instead of relying on the rubber stock ones when I went for the 87+ brakes.
http://www.maximummotorsports.com/store/index.php?main_page=product_info&cPath=49_136_138&products_id=666
So over a couple of weekends I installed them. Why a couple of weekends? Well, this 27 year old car is proving to be a little fickle at times ...
FIRST THING TO CHECK. Make sure that the caliper bolts you have fit into the sleeves! Aftermarket bolts from Dorman you get at O'Reilly's or Autozone DON'T FIT the sleeves! Better to know this before you destroy the rubber isolators!
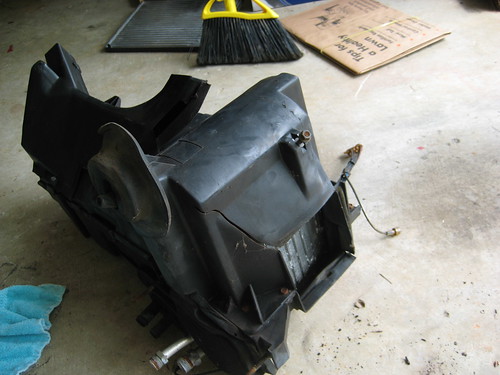
First step of installation is pretty easy, remove the calipers. Granted mine are brand new and I don't have brake lines yet. That being said, you don't need to remove the brake lines to do this, just make sure you don't leave them hanging by the hose if you take a break.
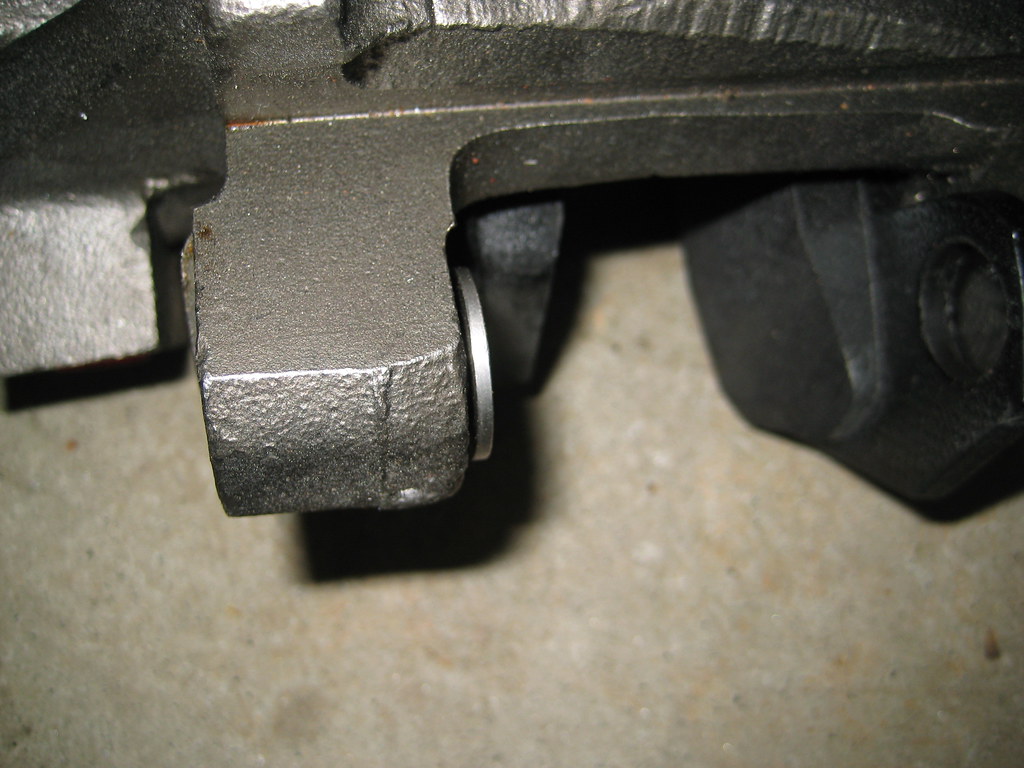
Next pull out the old rubber isolators with a pair of needle nose pliers.
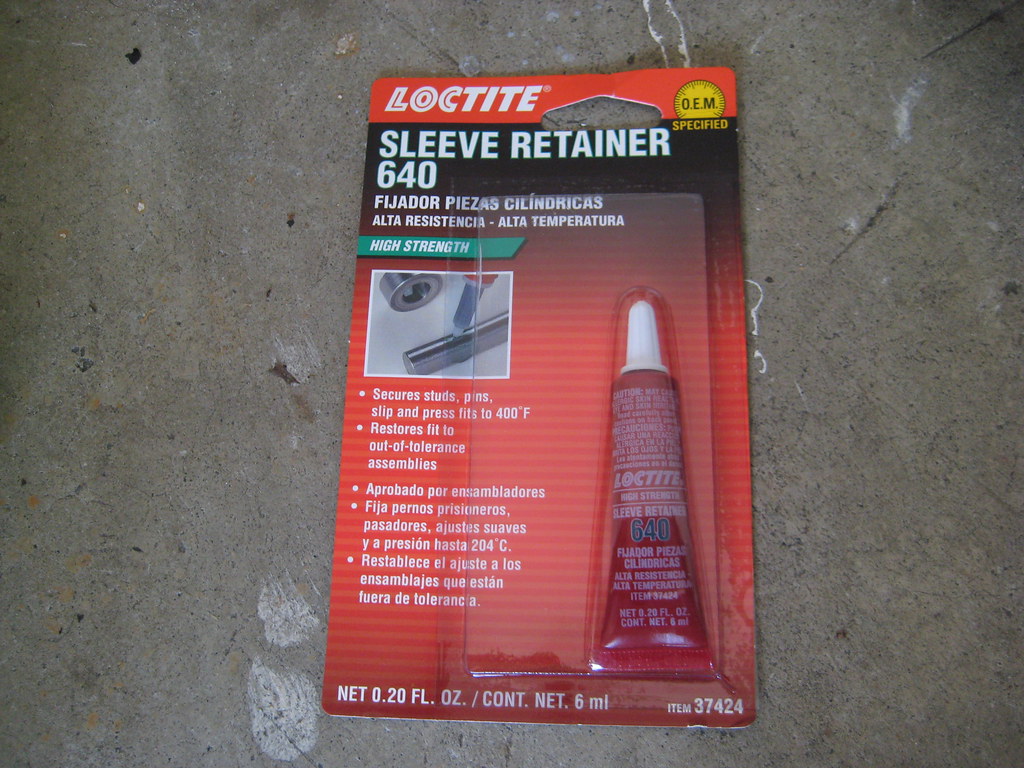
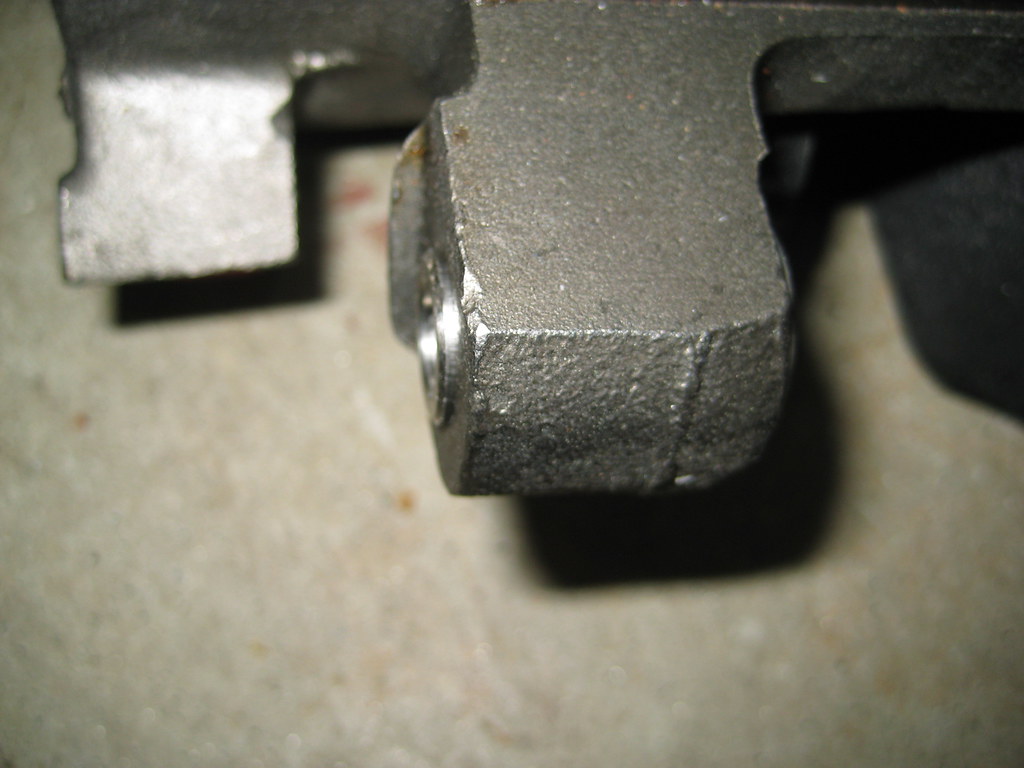
Then test fit each hole in each caliper to see if the sleeves slide in easily. Don't try to force them, you are looking for holes that are slightly larger than the sleeves, which means some extra work. I found one of mine was too large, so I asked MM's tech support line what to do and they told me use Loctite Sleeve Sealer #640 to attach the sleeve to the caliper. Note that I was unable to find this at any local hardware or auto parts store and had to order it online via Amazon.com.
If you have to do this, do the other sleeve on the caliper first using the instructions below before using the Loctite, since it take a day to setup before you can install.
For the sleeves that don't slide right in (which is good), use a simple c-clamp to push them into the caliper. Don't try hammering or using a punch, there isn't enough room. Plus using the c-clamp you don't have to remove the brake line.
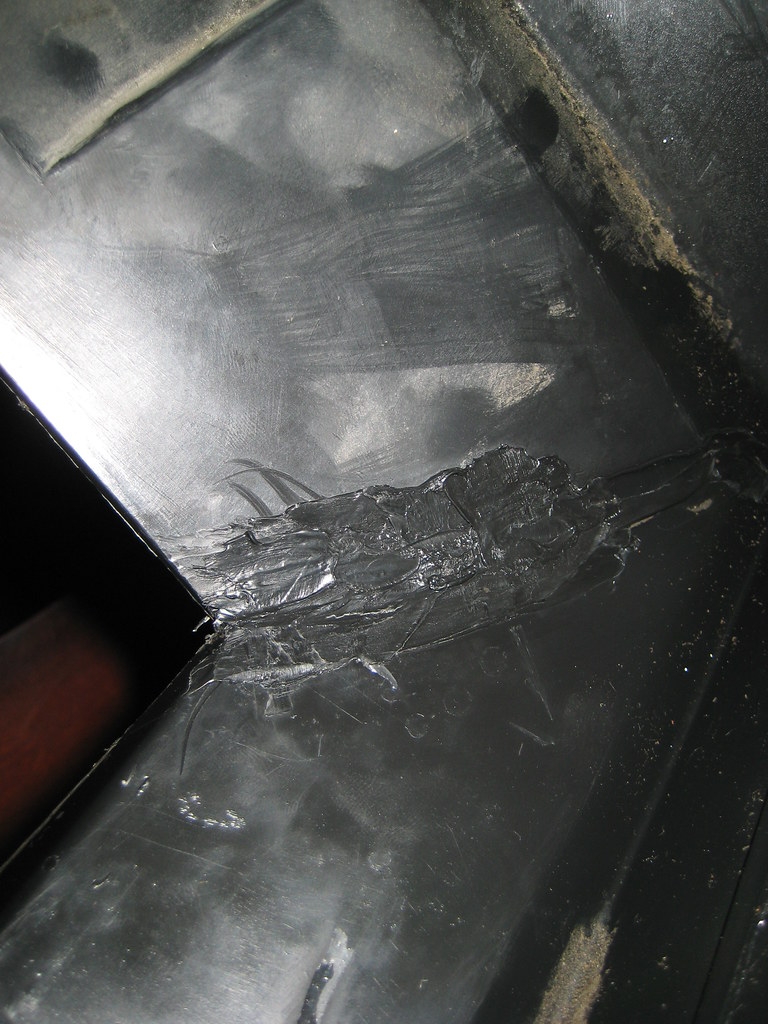
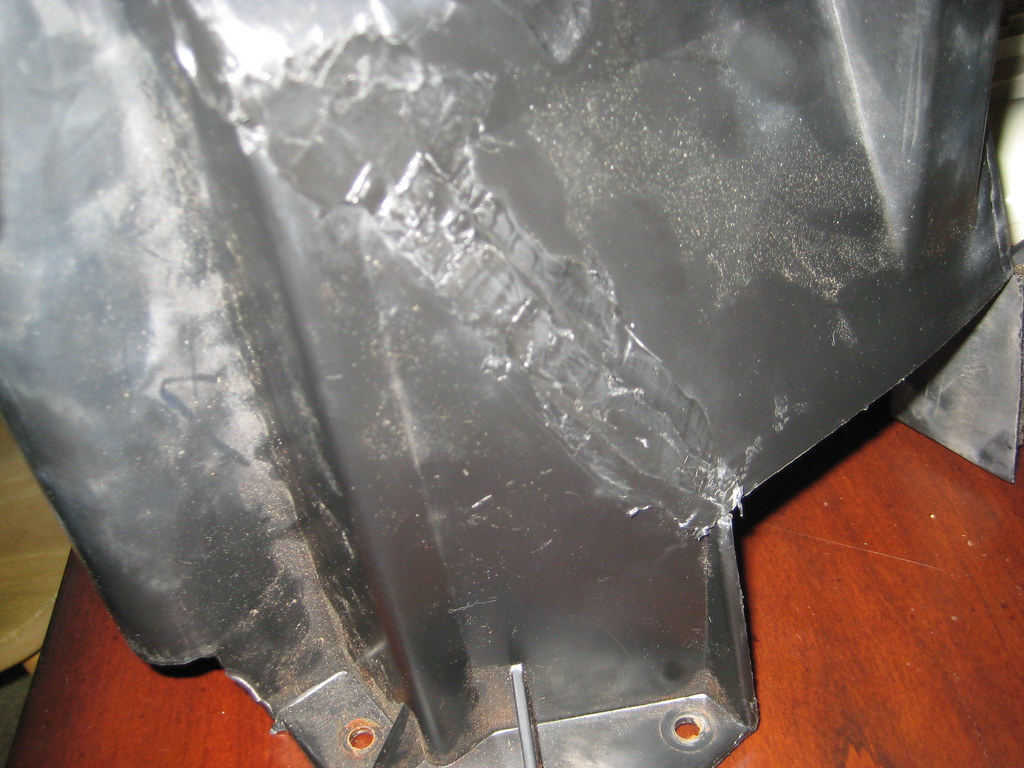
Next issue was that the c-clamp bottoms out on itself since the sleeves slide about 1/16 of an inch past the back of the caliper. See pictures below.
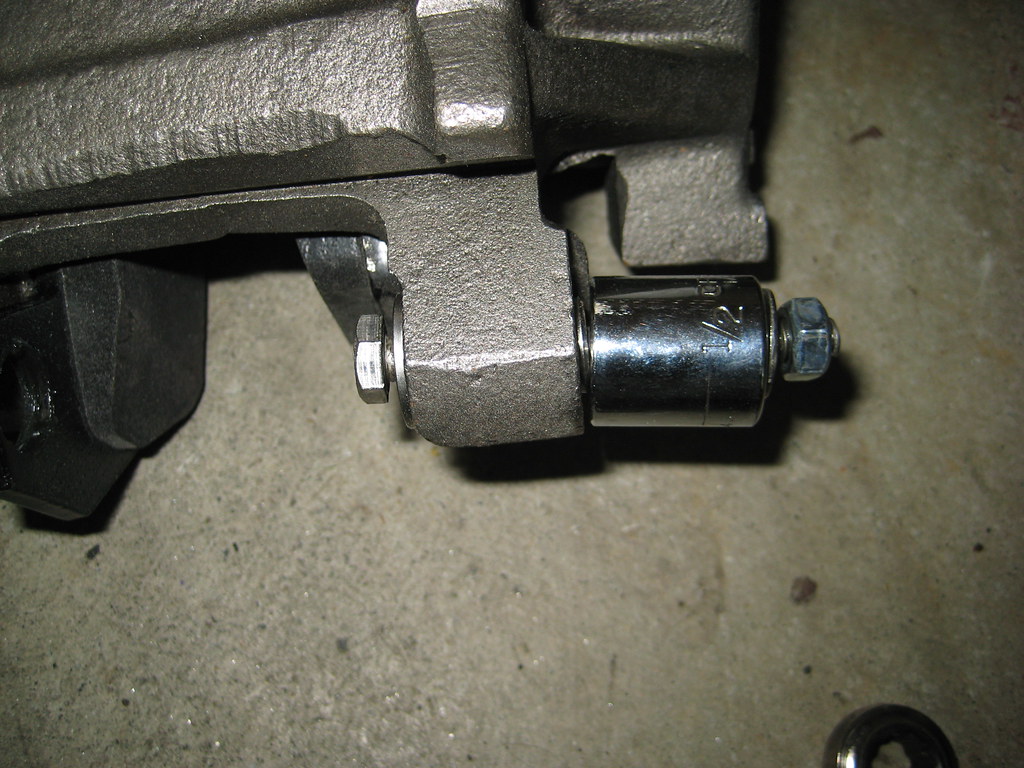
The trick here to use a 1/4" bolt with washers and a 3/8" socket flipped over to form a cavity for the sleeve to be pulled in. Two or three turns on the nuts and the sleeve was fully seated.
Install the caliper, add some anti-seize to the sleeve, Loctite blue to the threads on the caliper bolt and install.