Sunday, July 19, 2009

Seat pictures, strange fenders?

Not a lot of progress on the Capri shell lately, but I finally found some seats for the Capri. The 84 seats are impossible to find for some reason, but I've seen (and bid) on a number of 85-86 seats. Most were expensive plus shipping, so I was looking locally first before committing to an auction. Found these on Craig's List. Local in pretty good shape.


Drivers seat isn't that bad.


The big difference between these and the 84s are the piping in 84 was blue and 85+ was red. Yes I can get seat foam and replacement upholstery, but at least now I'll have something to sit in!

The second Craig's List find was a pair of excellent condition fenders for a Capri. I paid $100 for them and I figure I'd spend way more than that repairing the surface rusted ones I have now.

However, these are strange. The guys said they came off a Mustang that someone had put them on, but if you look closely there is no cutout in the left front part for the turn signal. If they are original's put on another car that area would be cut out. Weird.

New:


Original:


Both in same picture:


From Behind. Silver:


Original:

Saturday, July 4, 2009

Cleaned up the floor!

I finished a major task on the Capri today.I have removed all the rust from the floorboards and most of the undercarriage (except the driver's rear seat which I need professional help with).

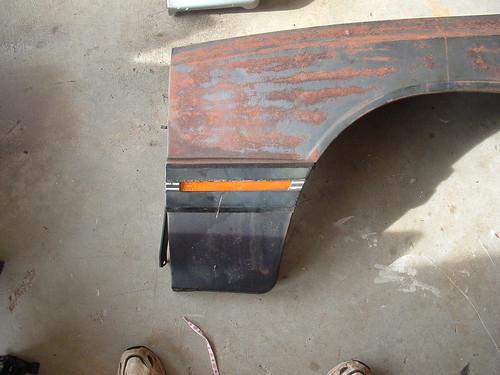
First are the before pictures:

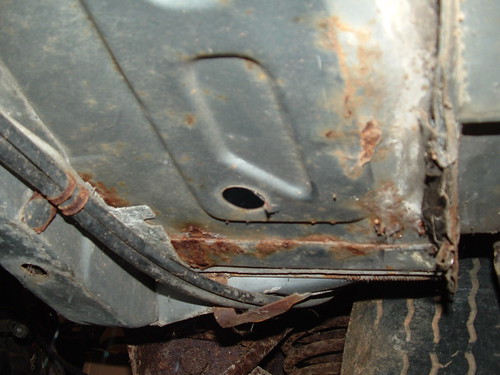
Passenger side front

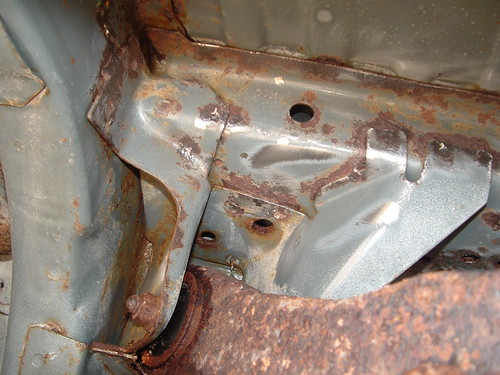
Passenger side rear.

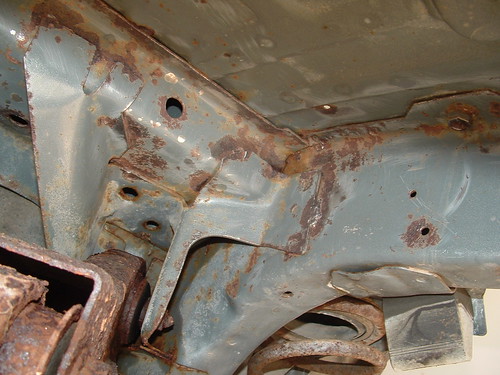
Driver's side front from below:

Driver's side upper torque box

Passenger's side upper torque box


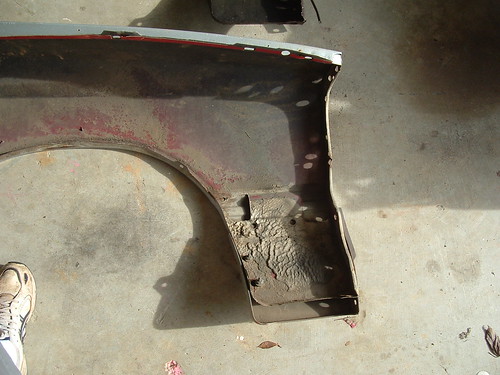
I did a lot of sanding, grinding and generally making a mess over the last couple of weekends. Today I sealed everything up that I worked on with Eastwood's Rust Encapsulator. Pretty good stuff by the look and coverage. Not as messy as I expected, but I did have to wear a mask to keep the fumes out. I went and bought one specifically for solvents from Home Depot.
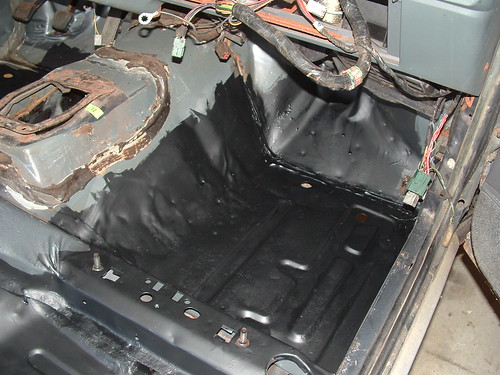
After:

Driver's floorboard:


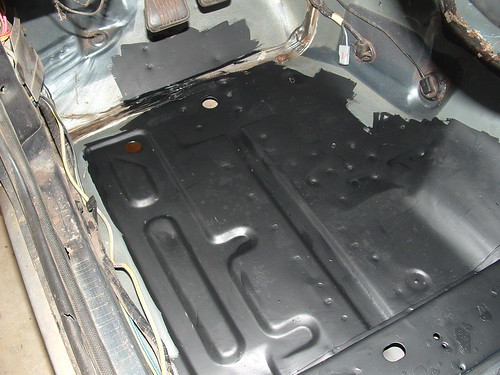
Passenger's Front. Yes really that is the same panel after hitting every inch with a grinder or sandpaper!


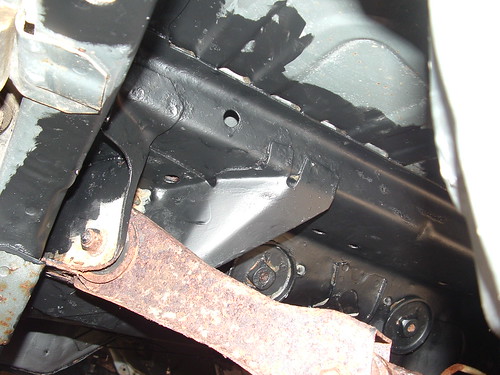
Driver's side torque box. Note, the goal here wasn't to cover everything, just the areas I had sanded or where there was visible rust. Since the control arms are still on the car, I couldn't get all of it. I'll finish that up when I drop the rear to replace all the bushings.

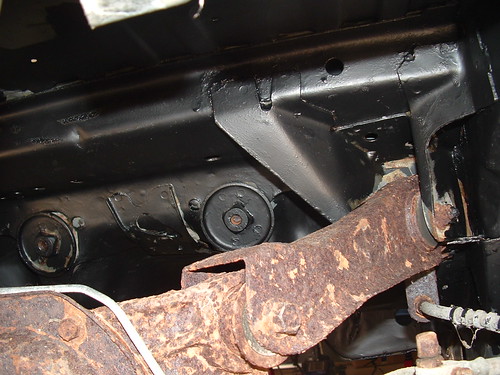
Passenger's side torque box.


There are a few more pictures on the Flickr site if you're interested.

Next steps are a little hard to know right now. I am going to have a professional look at the front frame and decide what is next. I keep hearing it is repairable, I just don't know how much or what I can be doing in parallel while waiting to get it done. Hopefully I'll have someone look at it next weekend.

Thursday, July 2, 2009

Rust, July 2nd

Note to self (or anyone doing this themselves): clean the underside of the car before you start grinding on the rust. I swear the mess was because of all the dust, dirt and oil, not just the rust.

Since this is a long holiday weekend, my company let everyone go at 3 pm to start the weekend early. I immediately went to Home Depot and bought more wire wheels and sandpaper to work on the Capri.

First step was to jack the front of the car up and get it on the jack stands. I then took all the wheels except the passengers front (still won't budge!) to give me more room.

I then spent the next 3 hours sanding, grinding, using scotch brite pads on the undercarriage. I removed the fuel lines since they were in the way. I only found one more hole, in the passenger's foot area, about the size of a dime. That's the fourth 'dime size' hole I've found so far. I need to figure out what to do with these. I know cutting out the rust and welding in new steel is best, but for an area that small I wonder if there aren't other ways.

There are still a few areas that I can't get to because of the rear suspension, so I'll work around them tomorrow and deal with them when I drop the suspension and remove the rear end.

Task for tomorrow: degrease and clean the whole undercarriage then put the rust converter on the bad spots, finally putting the rust encapsulator.

Wednesday, July 1, 2009

More rust cleanup

I didn't get anything done last weekend. My brother Pat came into town Saturday morning so I was pretty much out the whole time.

Monday night I took the gas tank into the woods behind the house and flushed the interior with water (all the gas was removed before this!) to get rid of any remaining fumes. I also took off the second fuel pump and fuel filter, including a really badly rusted bracket.

Tonight I started grinding the surface rust off the undercarriage of the car. I was able to get to a lot of the rust, except a few places where the rear end prevented me from getting the drill up there. Mostly around the upper torque boxes.

I decided not to drop the rear end yet, since I'd really rather have some help for that than risk something going wrong. So, for the rest of the week I'll be removing rust from all the floor pans and the rest of the torque boxes, probably with sandpaper.

After that I'll paint some rust converter on the 'bad' areas and cover everything else with the Rust Encapsulator from Eastwood.