This weekend was all about the interior. After a few setbacks the last few weekends I was finally ready to install the interior.
First up, was to remove the dash pad that I installed last weekend, since the A-pillar covers won’t go on with the dash pad installed. So out it came, again.
Then I had to remove the cover over the steering shaft, since I forgot to hook up the intermittent wiper control. (The infamous ‘DO NOT DROP’ box.) I really hope the control works, but no way to know for a few more weeks when I get the battery attached.
Using one of the ‘all the screws for a Mustang hatchback’ kit I got for Christmas 4+ years ago, I got started. No idea which vendor it came from, but most of what I needed was in there. The few Capri-specific screws for the bubble hatch had to be cleaned up and painted since the kit didn’t come with them.
One day later, all the interior plastics are in, including the headliner. I did find that the overhead light is pretty banged up, so I’ll need to get a replacement at some point.
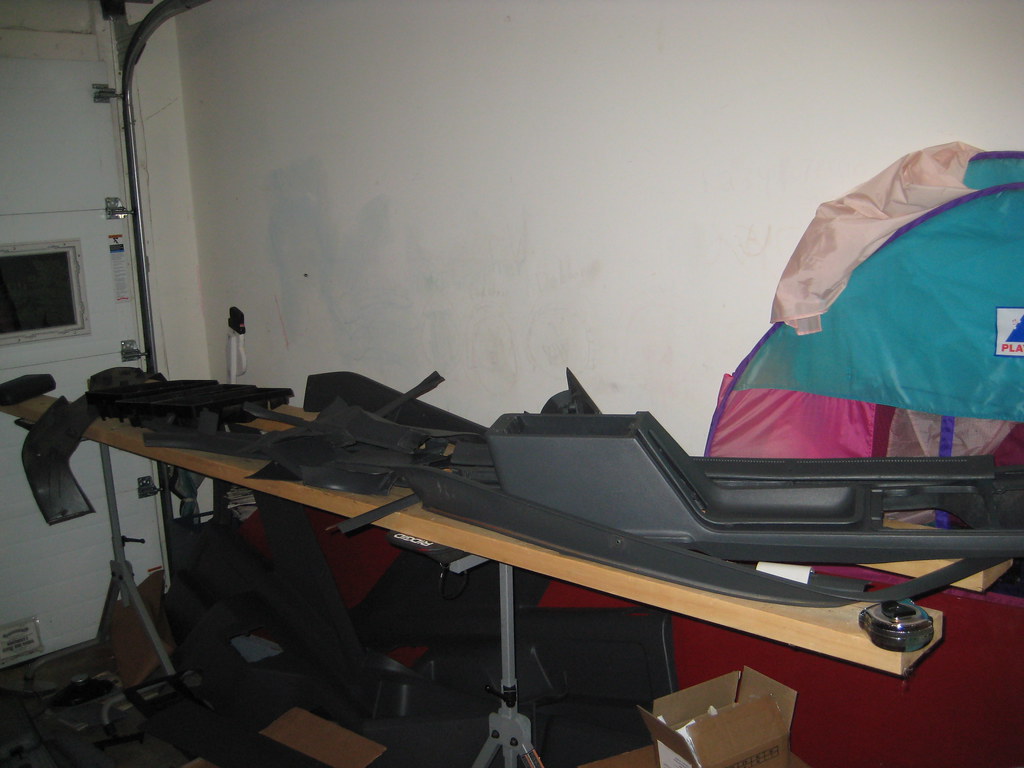
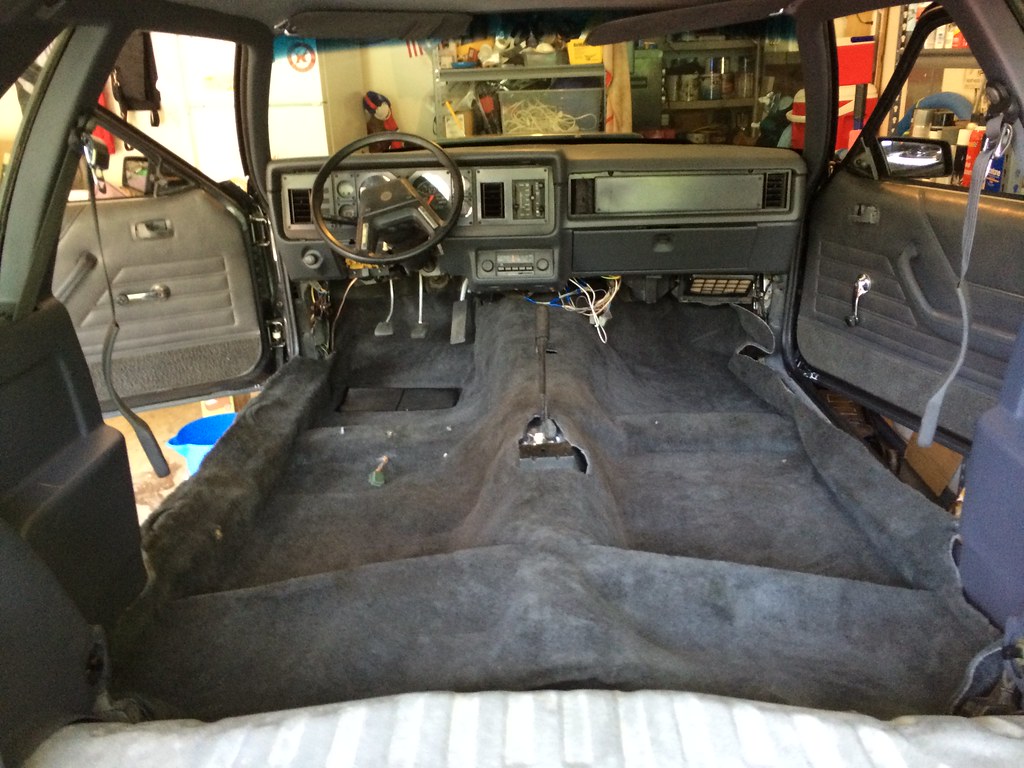
Here is what I started the weekend with:
One snag, which set me back a couple of hours, is the new headliner wasn’t setup for the 3 screw sun visors, but was correct for the dome light, Handy Dremel helped with that, but it took quite a while to figure out what was wrong, at first I thought it wasn’t centered!
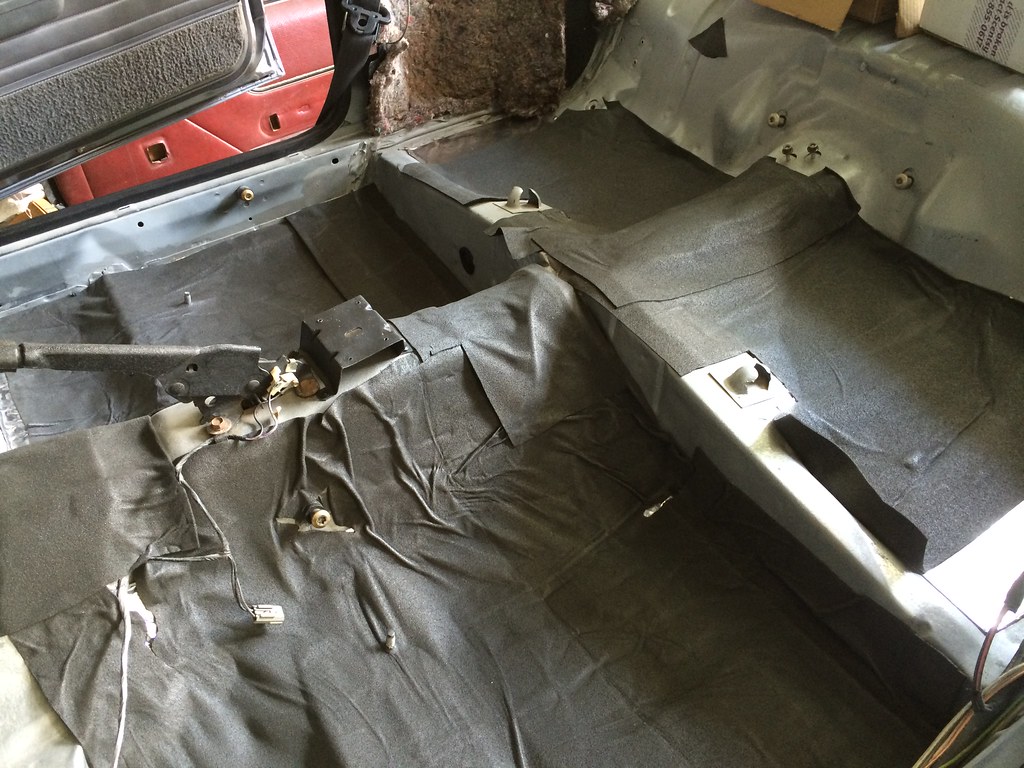
Next I cleaned the floor and installed the last of my RAAMat and Ensolite. I also had a minor scare when I couldn’t find the bolts to install the rear seat frames. A couple of hours of searching the same bags over and over I found them, mislabeled. Silly me.
Last picture before the carpet:
The carpet out in the sun for a few hours to loosen up and lose the wrinkles:
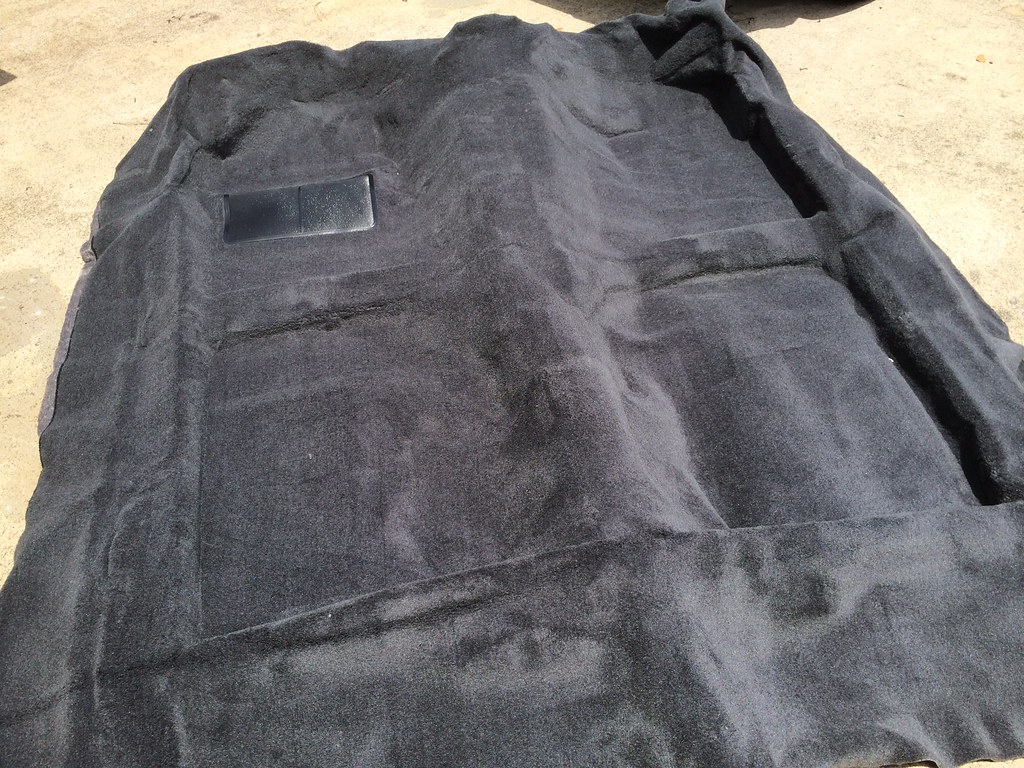
I got the ACC Mass-back carpet from Fox Restoration, I also got matching hatch carpet and floor mats. The mass-back on the carpet was really thick and the carpet itself way oversized. I must have taken it out to trim 5 or 6 times to get the front close. Once I was able to get the front to flatten down, I could fit the four ‘molded’ areas then trim most of the excess.
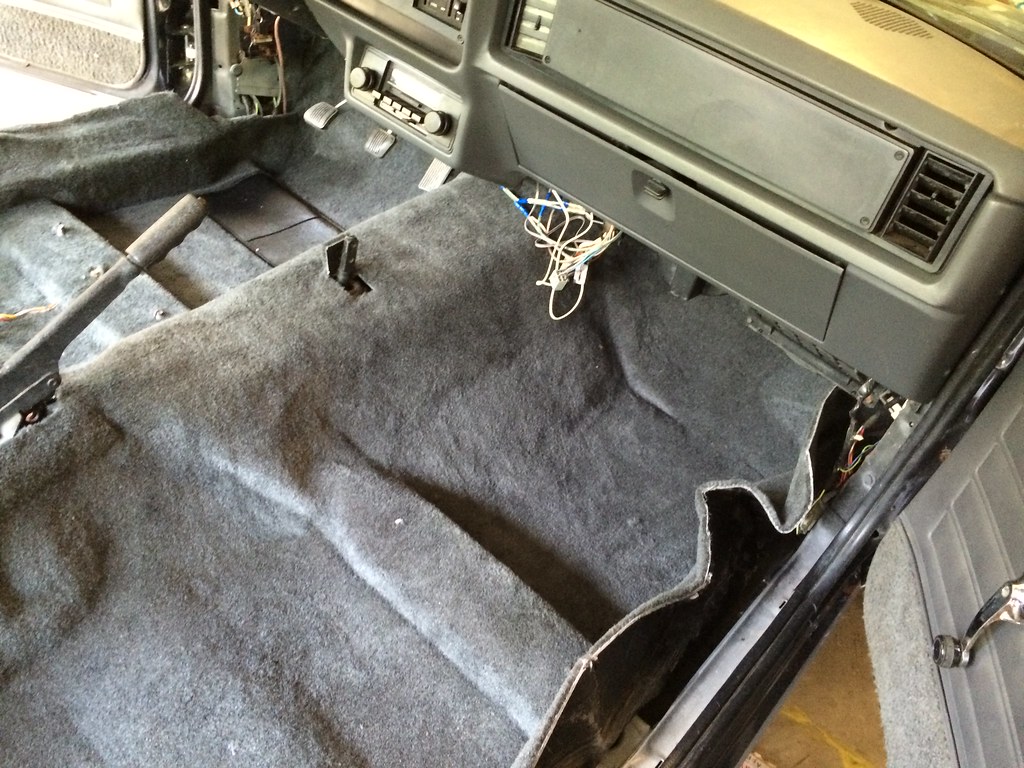
There were still a few wrinkles and I need to get the shifter seal, so I didn’t finalize any of the cuts. Probably a next weekend project.
Passenger side, fitted to the floor:
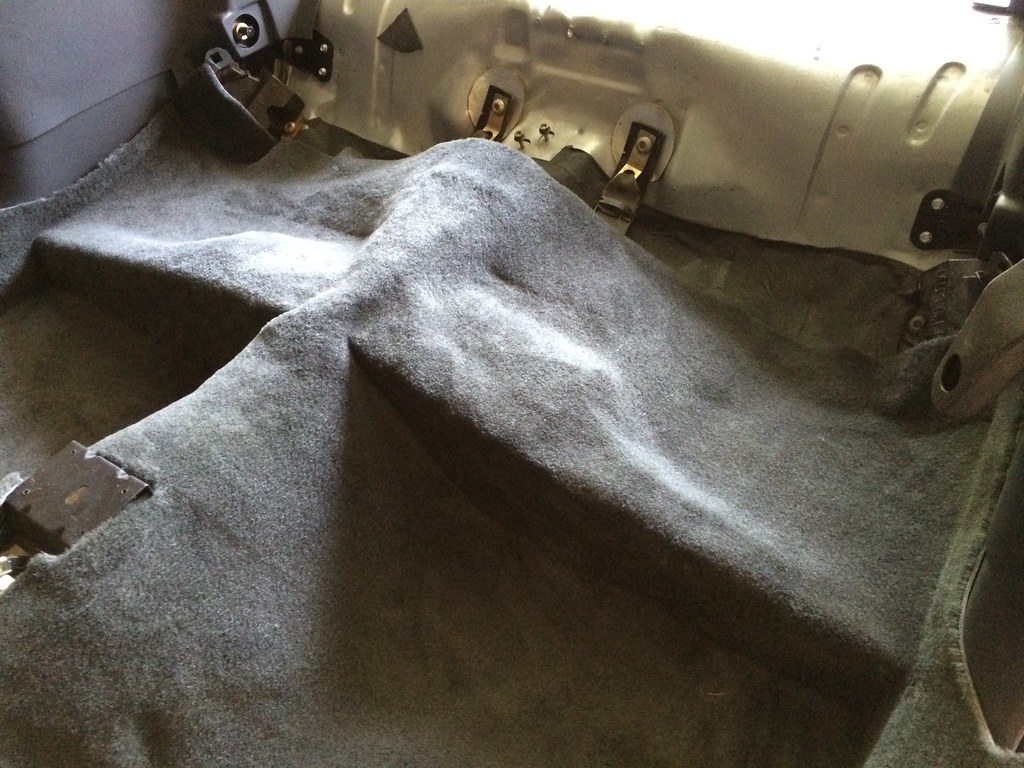
View from the hatch:
Rear Seat area:
The pieces I had to trim off:

I ended the weekend cleaning up the garage and installing a lot of little pieces like the PCV hose from the block, the vacuum tree in the engine bay and cleaning up the VAM so I can install it soon.
I now need to order all the light bulbs for the rear, so I can close up the interior. No rear carpet until I get the seat upholstery.
Now the interior looks like a car again!
No comments:
Post a Comment