Friday, July 1, 2011

Dash shell work


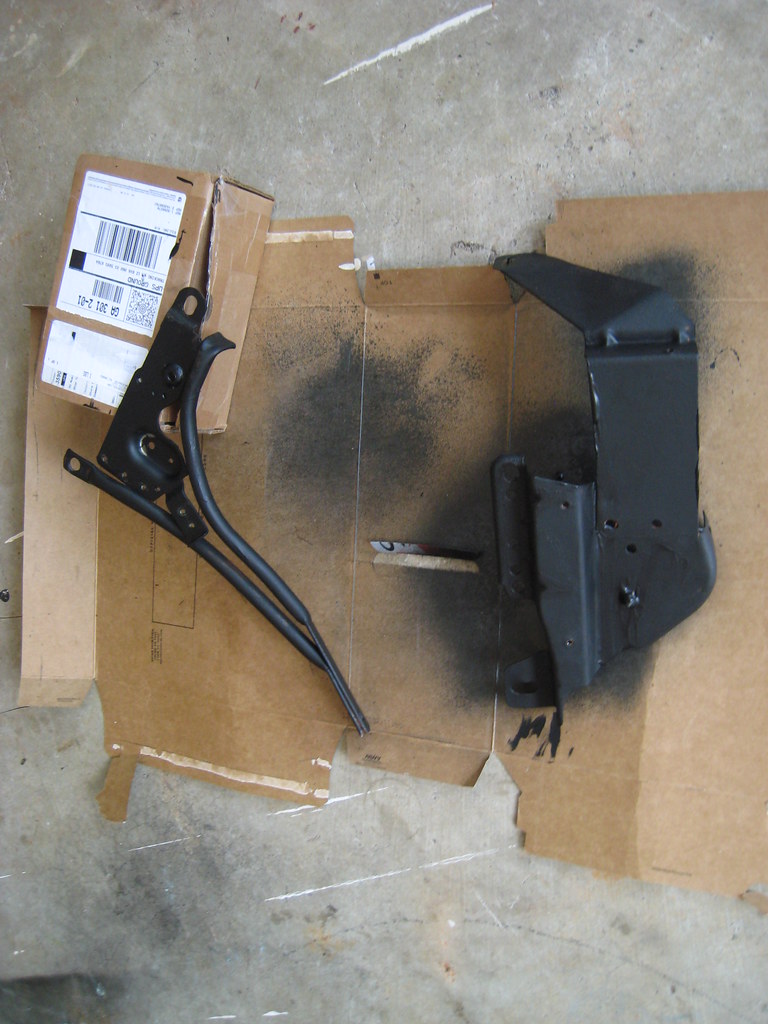
After all the work to cleanup and paint the metal frame that one will ever see again, it was time to put it all back together. Well, not everything. The HVAC piping needs to be cleaned and the foam insulation replaced, but the metal and the wires are back.

(Why work in the garage where it is 90+ degrees when the house is air conditioned and the computer with the 'before' pictures are in the house?

Not a lot to see here. (If you want to see what individual parts of the wiring look like behind the plastic, go here)

Sunday, June 12, 2011

Dash hull rust

Not a lot of progress this weekend, I spent Saturday running around with the kids so I only had a few hours today.

First, the correct brake line from Classic Tube still hasn’t arrived. I was told it was shipping last Friday, but no shipping information yet. I called them on Friday and of course no one picked up since it was a few minutes after 5. So no brakes.

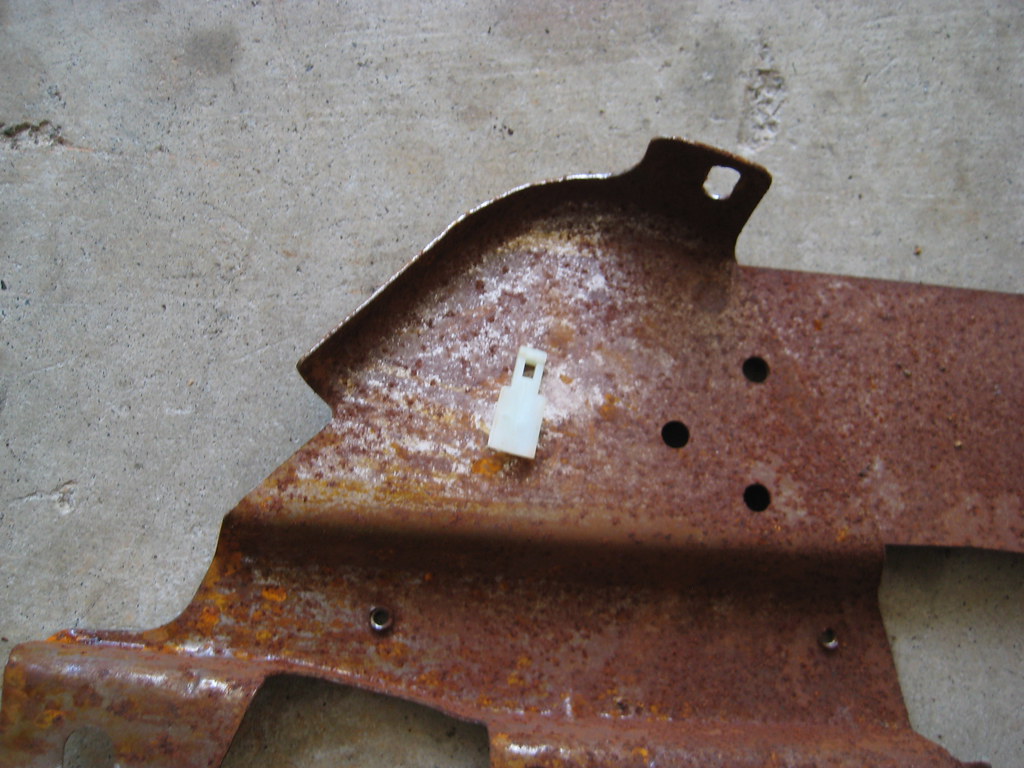
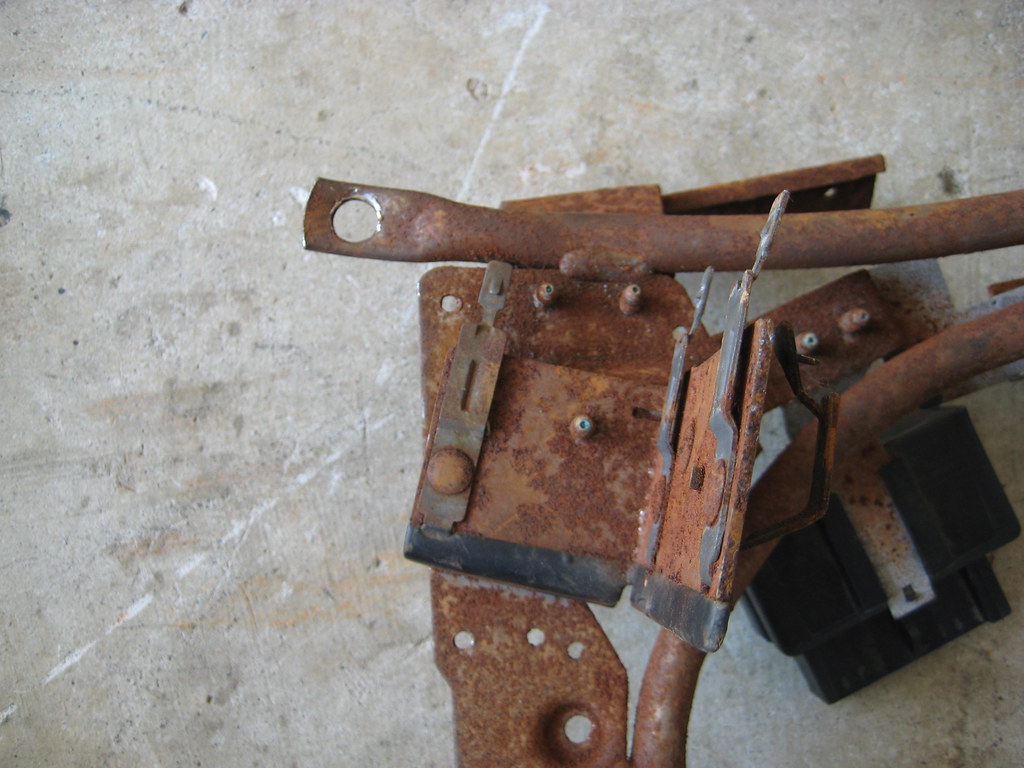
Instead, I took a crack at the dash hull, since the wiring is the next big thing to do on the car. The hull itself is in really good shape, but the metal frame inside is covered in rust (like the rest of the car was!) After several hours I was able to get it extracted from the wiring.

Here is how bad the rust was:


I then sanded the parts and painted them with Eastwood Rust Encapsulator. The humidity here made it hard to brush on, but I got just about everything covered.


I also bought a gallon of Evapo-Rust and started cleaning all the original fasteners. I took really close pictures of all my notes with each fastener, then put them into a half-gallon plastic bucket for a couple of hours. Came out great for the about half of the fasteners and brackets. The extra-rusted ones are going to sit over night. I’ll get some after pictures for next time. Unfortunately I don’t have a bucket big enough to put the dash frame.

Assuming the brake line arrives this week putting the brakes together is the next thing, then the heater box and dash.

Monday, May 30, 2011

Unproductive weekend

Sorry, no pictures this time. Unfortunately nothing to show.

I had a big plans for this weekend: install all the brakes. New lines, master cylinder, brake booster everything. I ended up installing the brake booster.

First off, the lines I ordered from Late Model Restoration, which are drop shipped from Classic Tube, had the wrong 'long' brake line. The line from the engine compartment to the rear end was not correct. I think they sent me an 87-93 one, since it is a lot longer and has a different connection on the end. Found this out as I was marking where the existing mounting brackets are on the new lines. It was 5 pm eastern by the time I tried to call them, but everyone was gone for the long weekend!

Next, I went to install the front brake lines and found that the driver's side chassis didn't have the hardline to softline bracket. This is the part that attaches the lines to the frame so they don't hit the tires.

Next I went to install the rear end again. Last time it took me about 30 minutes to do. This time, 3 hours. Including it falling off the jack and needing Deb and Meg to help me get it back on. Before anyone comments about safety, the car is on jack stands on all four corners and have a stack of old tires under the passenger side frame near the front of the car and a tire under the drivers side. So if the CAR had come off the jack stands it would have landed on them.

What happened is the rear end rotated off the jack so the rear end cover was on the floor. No where near where I was trying to position the jack. But loud enough that Deb came out to see if I was okay. (Actually pretty nice that she heard something and came to check on me.) I couldn't lift it myself on to the jack, so Deb and I rotated and lifted the rear end while Meg positioned the jack.

After fighting with the upper control arms, I finally got them installed. The driver's side spring went in pretty easily, but I needed Meg to push down on the passenger's side while I tried to get it it. That took about 10 minutes!

I also did a bunch of minor rust-related cleanup on some brackets. I swear every fastener and bracket on this car is rusted!

The brake booster took 5 seconds to install and 20 minutes to get the top most nut on. But I remember that from taking the old one out, so no frustration.

I did end the weekend on a good note. I bought four '10 hole' rims, a double hump transmission cross member, a starter and a couple of interior parts I need from Jason who did the frame/front end work.

He also gave me an idea for how to deal with the missing brake bracket. I'm going to research it a little more, but I may do what the guys with coil-overs do, since they have to remove the bracket. More on this next week.

(Did I mention that I also finished my spring-break project? Painted the trim on all the upstairs windows, removed the windows from the front of the house, repaired, primered, painted and reinstalled them. I had trouble getting my arms above my shoulders Sunday night from everything I was doing!)

Sunday, May 22, 2011

Busy Spring!

Long time between updates

This Spring was really busy with kid events, company events, Mother's Day and some less than nice weather. So didn't get a lot done on the car between April and now.

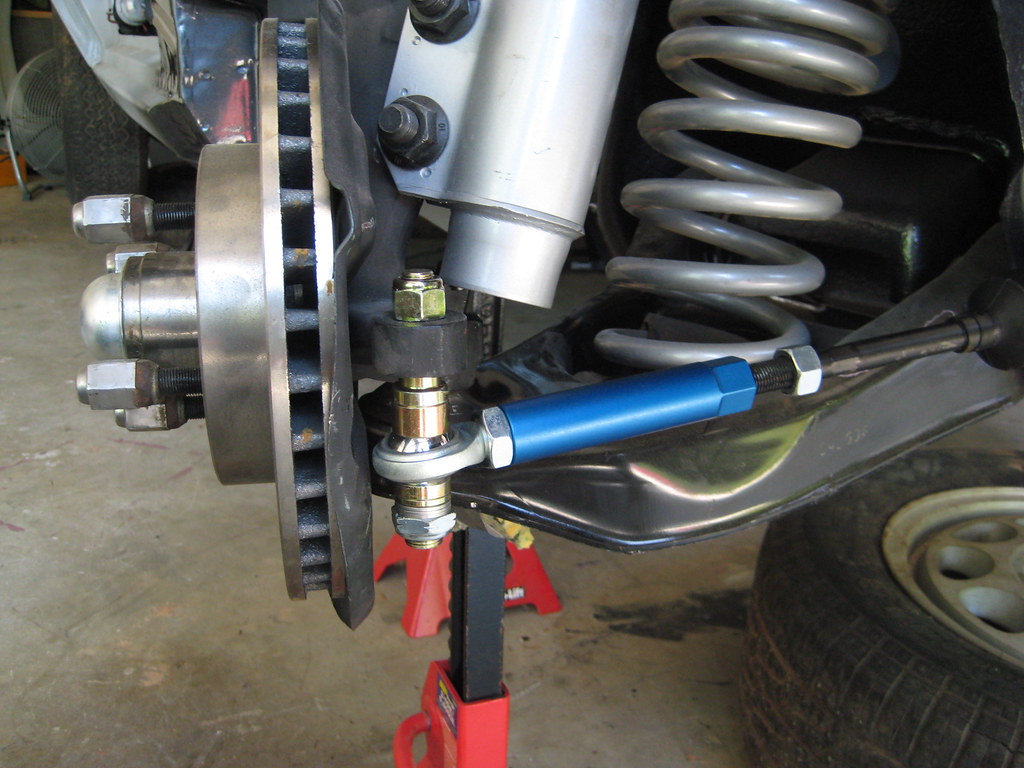
First, I installed the Maximum Motorsports Bumpsteer kit


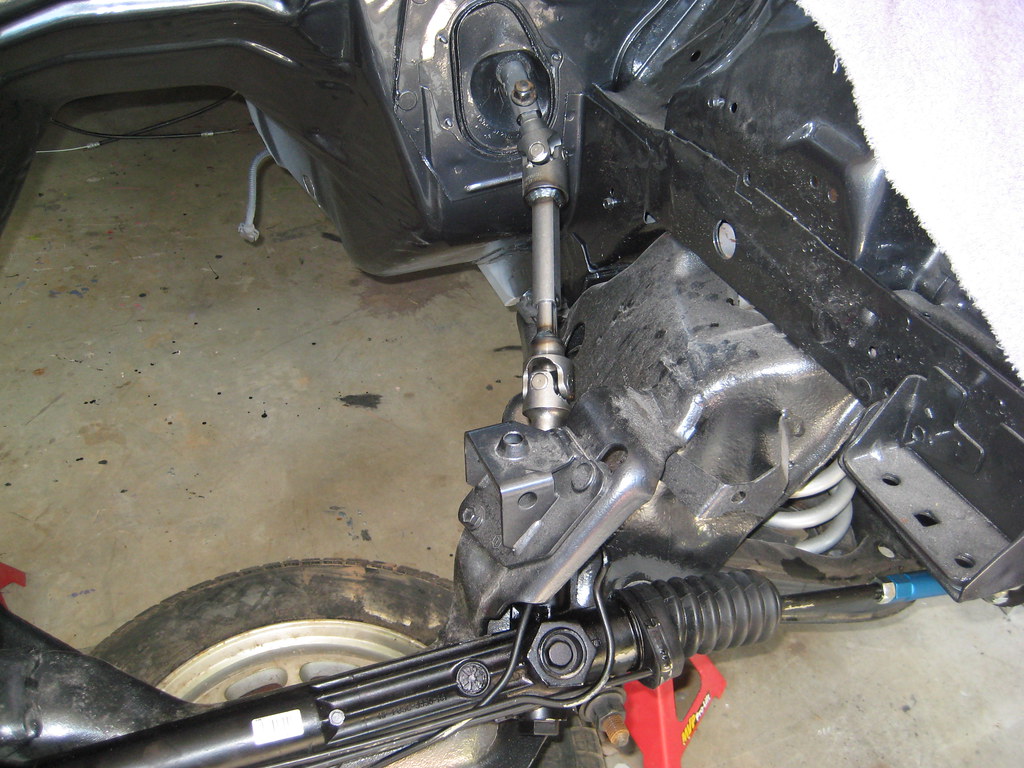
Installed a re-manufactured 2003 Cobra steering rack

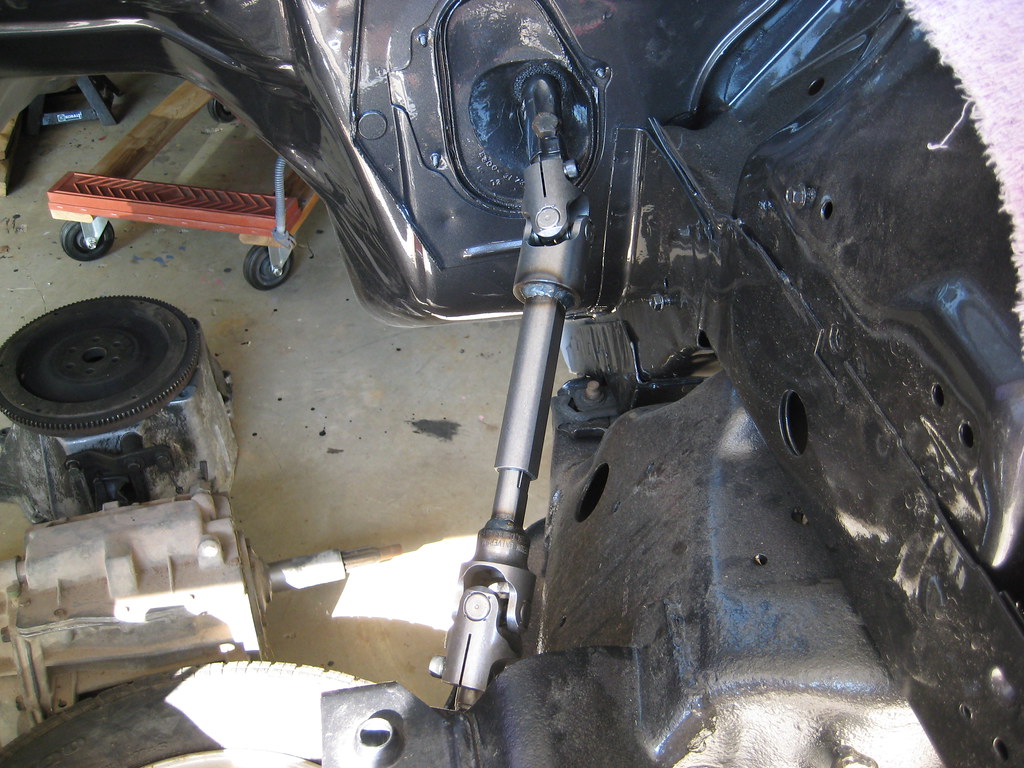
Finally the Maximum Motorsports solid steering shaft to allow me to use the 2003 Cobra rack with the stock steering wheel


The front suspension is now pretty much done.


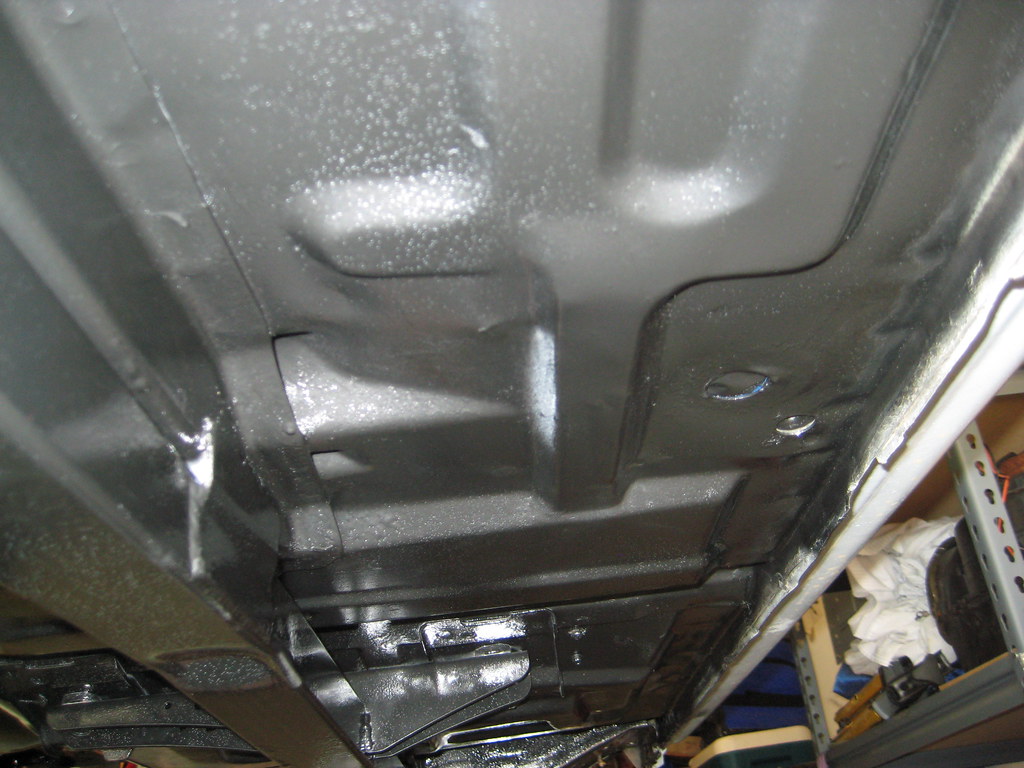
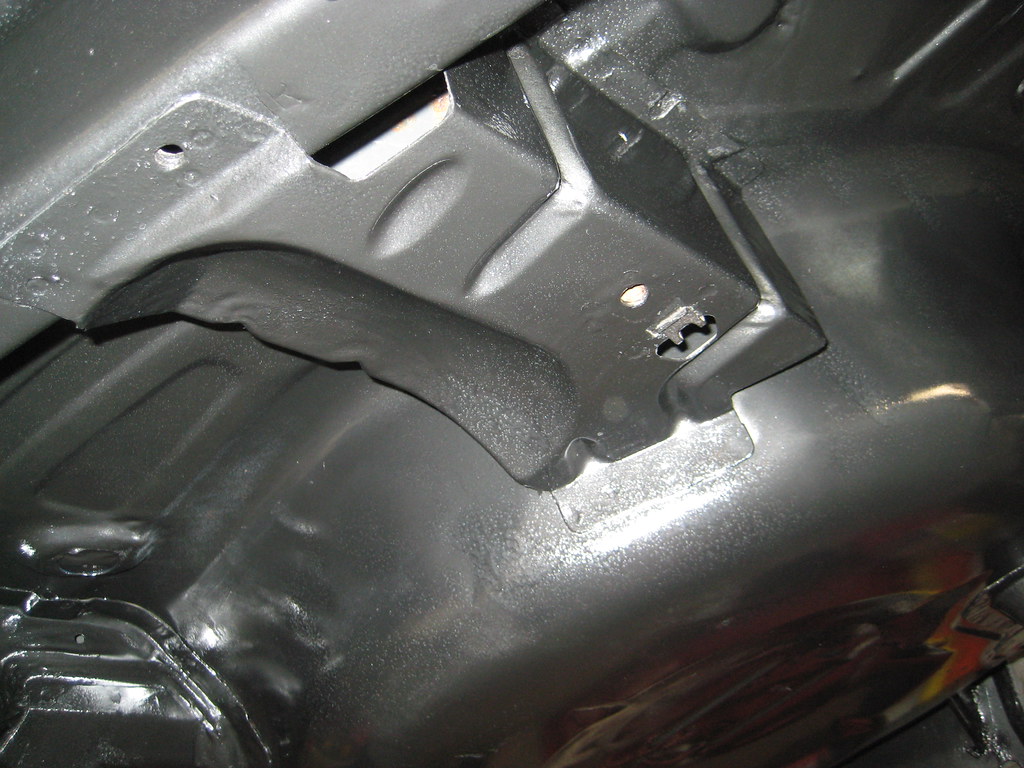
Next I cleaned up the undercarriage, seam sealed the panels between the floor and door jams and finally painted the entire undercarriage!


Next up: brake lines have been ordered (shipped last Friday!), I need to order the replacement master cylinder and booster (replacing with stock if I can find them) then plumb the entire brake system.

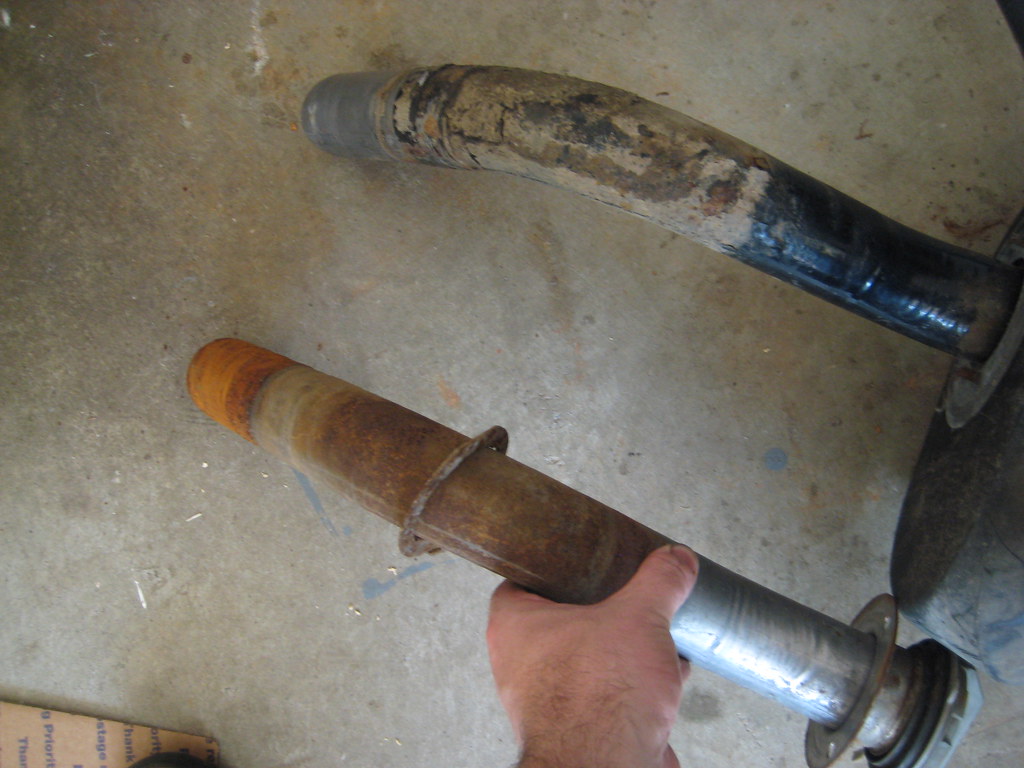
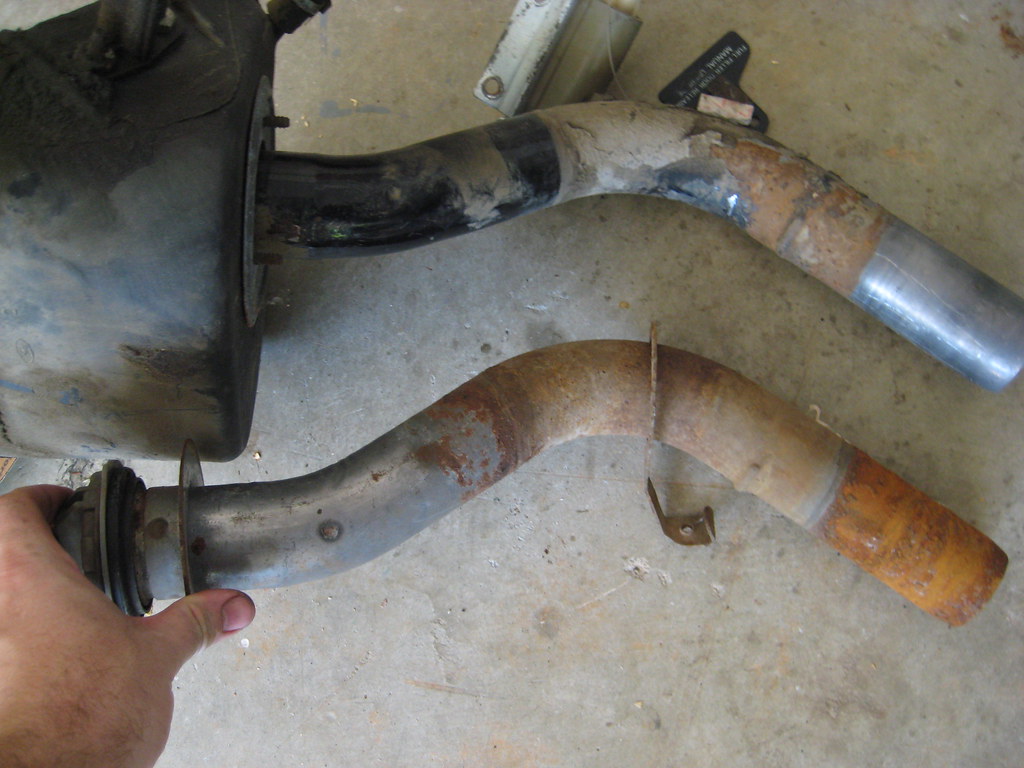
Capri and Mustang fuel necks are the same

A few people suggested that the fuel neck for the Capri was one of the few differences (besides the obvious body panels) between the Fox Chassis Mustangs and Capris. Since mine was totally rusted out on the inside I found one online (eBay I think) and compared it to the old one. No differences.


Sunday, April 10, 2011

Repairing the heater box

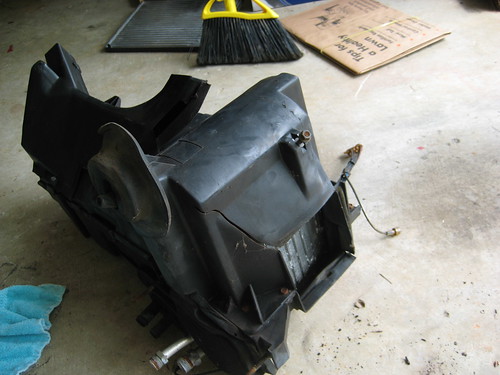
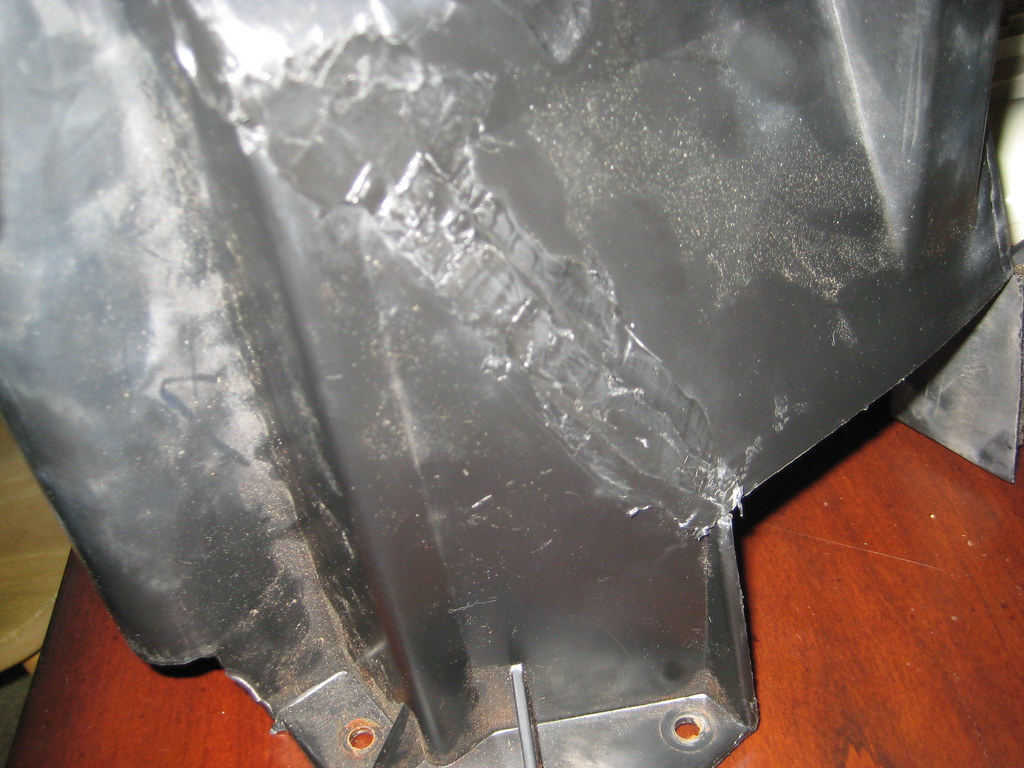
Another part that has proven fun to replace/repair has been the heater box that some critter lived in at some point in the past. (see this blog for what/when)

You'd think this would be an easy part to find, given how many of these cars were made. Except that every junk yard I called said they had them, but I'd need to come down and take the dash out to see if it was cracked or not. Since it takes several hours to get the dash apart before even knowing if I had a good one, that wasn't an option.

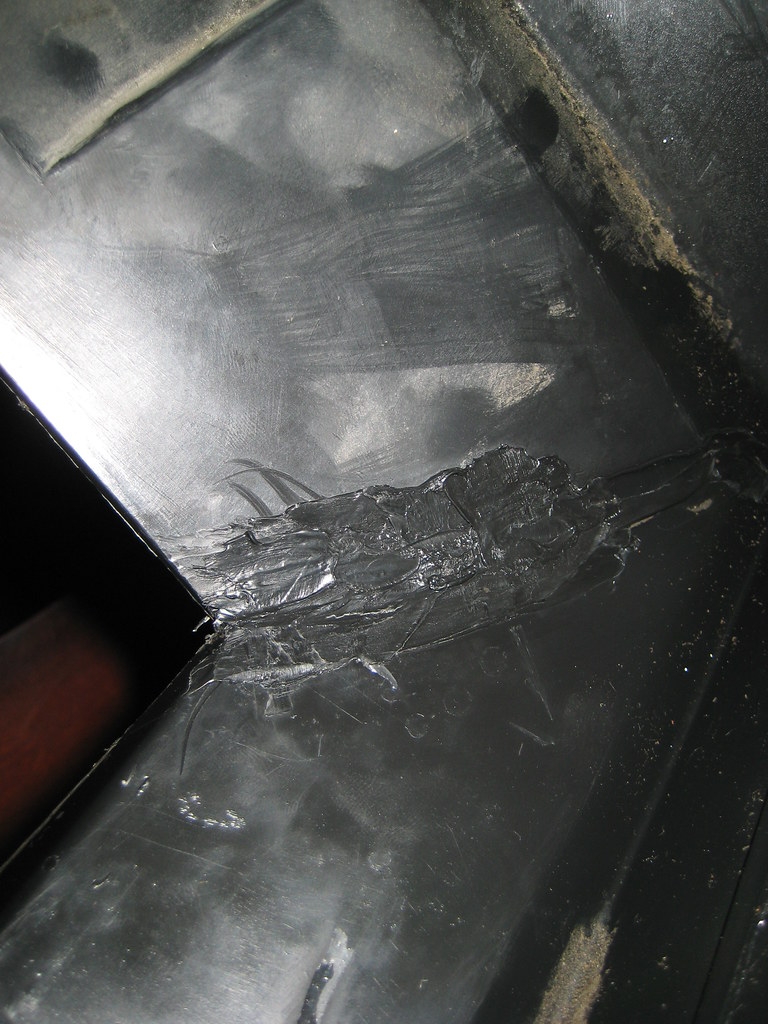
Someone suggested having the crack 'plastic welded'. I'd never heard of this, but it is basically what the name suggests: using molten plastic instead of steel to weld something together.

Jeff @ Mo's Speed Shop did it for me. Not the prettiest thing ever, but it will work. If I want I can sand it down to be flat, but since it will be hidden behind the dash I won't bother.

Pictures, Before:


After:


Installing Maximum Motorsports Caliper Sleeves

One thing I kept coming across when researching the upgrade to the brakes for the Capri was to get a pair of Maximum Motorsports caliper sleeves instead of relying on the rubber stock ones when I went for the 87+ brakes.

http://www.maximummotorsports.com/store/index.php?main_page=product_info&cPath=49_136_138&products_id=666

So over a couple of weekends I installed them. Why a couple of weekends? Well, this 27 year old car is proving to be a little fickle at times ...

FIRST THING TO CHECK. Make sure that the caliper bolts you have fit into the sleeves! Aftermarket bolts from Dorman you get at O'Reilly's or Autozone DON'T FIT the sleeves! Better to know this before you destroy the rubber isolators!

First step of installation is pretty easy, remove the calipers. Granted mine are brand new and I don't have brake lines yet. That being said, you don't need to remove the brake lines to do this, just make sure you don't leave them hanging by the hose if you take a break.

Next pull out the old rubber isolators with a pair of needle nose pliers.

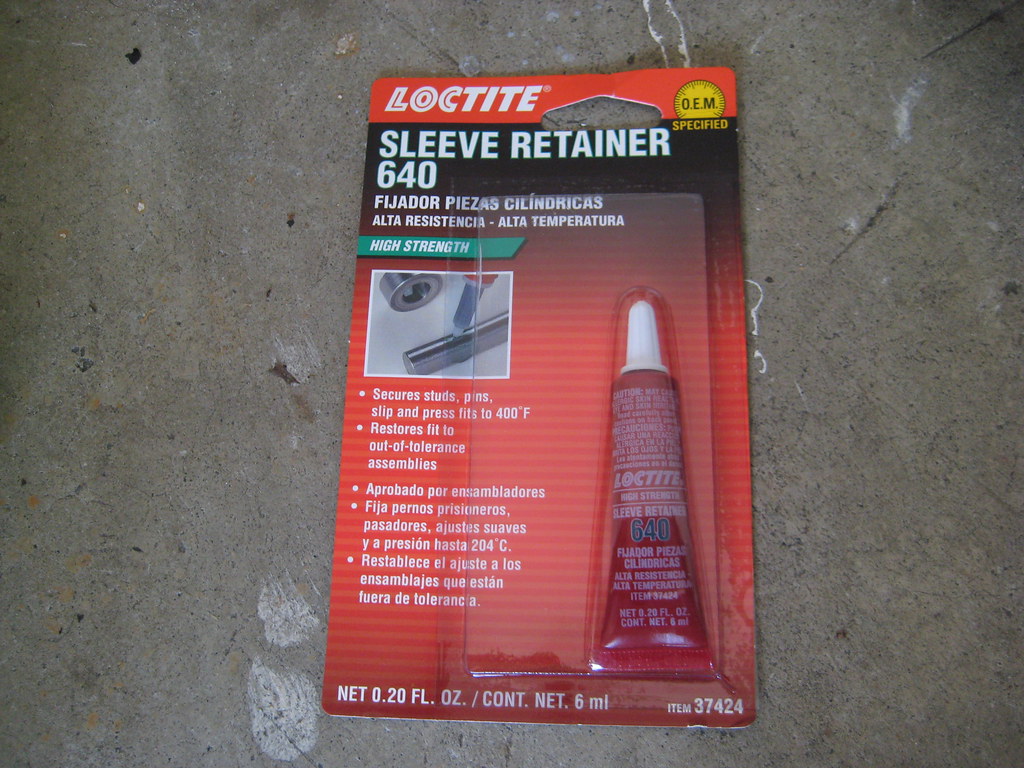
Then test fit each hole in each caliper to see if the sleeves slide in easily. Don't try to force them, you are looking for holes that are slightly larger than the sleeves, which means some extra work. I found one of mine was too large, so I asked MM's tech support line what to do and they told me use Loctite Sleeve Sealer #640 to attach the sleeve to the caliper. Note that I was unable to find this at any local hardware or auto parts store and had to order it online via Amazon.com.


If you have to do this, do the other sleeve on the caliper first using the instructions below before using the Loctite, since it take a day to setup before you can install.

For the sleeves that don't slide right in (which is good), use a simple c-clamp to push them into the caliper. Don't try hammering or using a punch, there isn't enough room. Plus using the c-clamp you don't have to remove the brake line.

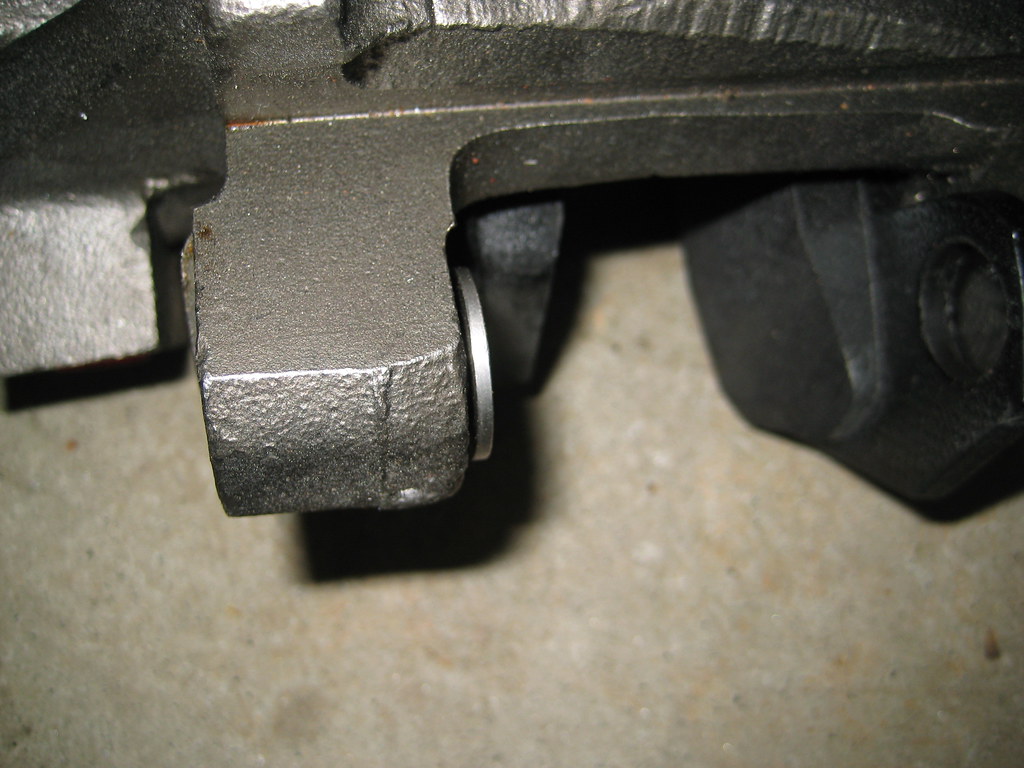
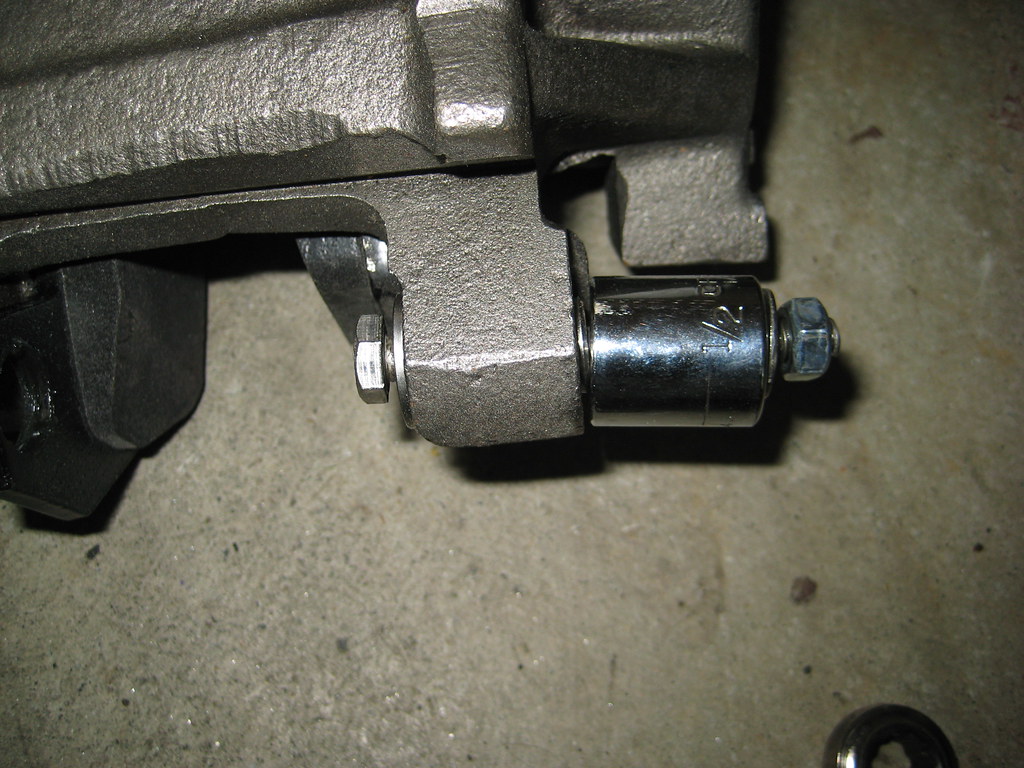
Next issue was that the c-clamp bottoms out on itself since the sleeves slide about 1/16 of an inch past the back of the caliper. See pictures below.


The trick here to use a 1/4" bolt with washers and a 3/8" socket flipped over to form a cavity for the sleeve to be pulled in. Two or three turns on the nuts and the sleeve was fully seated.


Install the caliper, add some anti-seize to the sleeve, Loctite blue to the threads on the caliper bolt and install.